
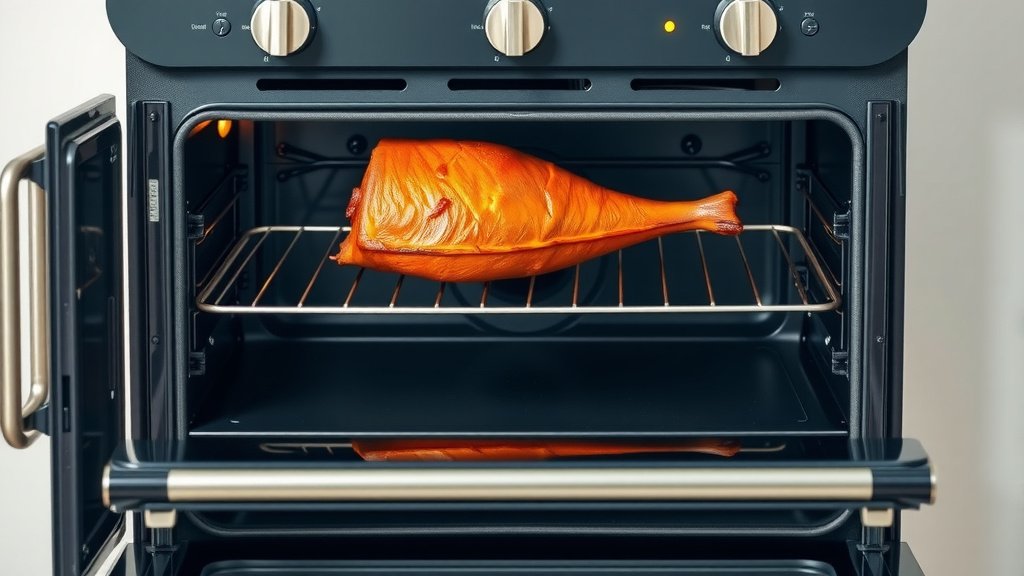
To cook a gammon joint in a dual fuel oven, start by boiling it on the gas hob to reduce saltiness and tenderize, then transfer it to the electric oven for even roasting and a perfect glaze.
Utilize the electric oven’s consistent heat for thorough cooking and crisping the fat, ensuring a moist and flavorful gammon joint every time.
- Boil your gammon on the gas hob first to tenderize and reduce salt.
- Roast it in the electric oven for even cooking and a lovely crust.
- Always use a meat thermometer to check for safe internal temperature.
- Glaze in the last 20-30 minutes for a beautiful, sticky finish.
- Allow the gammon to rest after cooking for maximum juiciness.
How To Cook Gammon Joint In Dual Fuel Oven?
Cooking a gammon joint in your dual fuel oven means you get the best of both worlds. You can start it on the gas hob for a quick boil, then finish it perfectly in the electric oven for even roasting.
Understanding Your Dual Fuel Oven
Your dual fuel oven is a kitchen powerhouse. It combines the instant heat control of a gas hob with the consistent, dry heat of an electric oven. Think of it as having two specialized tools at your disposal for one amazing meal.
Why Dual Fuel Excels for Gammon
We found that this combination is particularly good for gammon. The gas hob is fantastic for quickly bringing a pot to a boil, while the electric oven delivers a steady temperature. This consistency helps create a crispy exterior and a moist, tender interior for your gammon joint.
Choosing the Perfect Gammon Joint
Picking the right gammon is your first step to success. You’ll often find smoked or unsmoked options. Smoked gammon has a richer, more intense flavor, while unsmoked is milder and takes on glazes beautifully. Consider the size too; a larger joint will naturally need more cooking time.
Prepping Your Gammon for Success
Many experts suggest soaking your gammon if it’s a very salty variety (Food Standards Agency). This step can greatly reduce the salt content. After soaking, score the fatty rind with a sharp knife in a diamond pattern. This helps the fat render and gives you a nice surface for a glaze.
The Initial Boil (Optional, But Recommended)
Why boil first? Well, it’s a fantastic trick! Boiling your gammon joint before roasting helps to draw out excess salt, making it less overpowering. It also starts the tenderizing process, giving you a wonderfully soft texture later. Many cooks even add aromatics like bay leaves, peppercorns, and an onion to the boiling water for extra flavor.
The Roasting Process: Gas or Electric?
When it comes to roasting, we found that the electric oven really shines for gammon. Its consistent heat distribution prevents hot spots, ensuring your joint cooks evenly without one side being more done than the other. This steady heat is ideal for slow, gentle cooking that keeps the meat juicy.
Preheating is Key
Don’t just throw your gammon into a cold oven! Always preheat your electric oven to the correct temperature. This ensures even cooking from the moment you place the joint inside. It’s like warming up before a run; it gets everything ready for optimal performance.
Temperature and Timing Guide
Here’s a general guide for roasting your gammon. Remember, these are starting points; always use a meat thermometer!
| Gammon Joint Weight | Boiling Time (approx.) | Roasting Temperature (Electric Oven) | Roasting Time (approx.) | Internal Temperature |
|---|---|---|---|---|
| 1 kg (2.2 lbs) | 45-60 minutes | 180°C (350°F) | 30-40 minutes | 71°C (160°F) |
| 1.5 kg (3.3 lbs) | 60-75 minutes | 180°C (350°F) | 45-60 minutes | 71°C (160°F) |
| 2 kg (4.4 lbs) | 75-90 minutes | 180°C (350°F) | 60-80 minutes | 71°C (160°F) |
| 2.5 kg (5.5 lbs) | 90-105 minutes | 180°C (350°F) | 80-100 minutes | 71°C (160°F) |
Crafting That Irresistible Glaze
A good glaze takes your gammon joint from good to spectacular! Popular choices include honey and mustard, maple syrup, or even apricot jam. These sweet and tangy combinations caramelize beautifully, adding a fantastic depth of flavor and a lovely sheen to your gammon. Think about what flavors your family enjoys.
Applying Your Glaze Like a Pro
You’ll want to apply your glaze towards the end of the roasting time. Typically, in the last 20-30 minutes. This prevents the sugars in the glaze from burning. Brush it evenly over the scored fat and a bit onto the sides. Many cooks will apply a layer, then pop it back in the oven for 10-15 minutes, then add another layer for an extra sticky finish.
Checking for Doneness
The single most reliable way to know your gammon is cooked perfectly is with a meat thermometer. Forget guesswork! Insert the thermometer into the thickest part of the joint, avoiding any bone. The target internal temperature for fully cooked gammon is 71°C (160°F) (USDA).
Resting Your Gammon Joint
This step is often overlooked, but it’s vital! Once your gammon reaches temperature, take it out of the oven, cover it loosely with foil, and let it rest for 15-20 minutes. Resting allows the juices to redistribute throughout the meat, making it incredibly tender and moist. If you slice it too soon, those precious juices will run out onto the cutting board.
Troubleshooting Common Gammon Issues
Even seasoned cooks run into snags sometimes. Let’s look at a few common problems you might encounter and how to fix them. Don’t worry, a little tweak can often save the day!
Dry Gammon? Here’s How to Fix It
If your gammon turns out a bit dry, it’s often due to overcooking or not enough liquid during the initial boil. For future cooks, try covering the roasting pan loosely with foil for most of the cooking time. You can also baste it with some of the boiling liquid or apple juice periodically. For a dry joint already cooked, slicing it thinly and serving with a generous sauce or gravy can help.
Too Salty? A Simple Trick
If you forgot to soak your gammon, or it’s just naturally very salty, don’t despair! Try boiling it for a longer period next time, changing the water halfway through. If it’s already cooked, serving it with sweet accompaniments like apple sauce or a cranberry glaze can balance the saltiness. Rich, creamy mashed potatoes can also help mellow the flavor.
Checklist for Gammon Perfection
- Choose smoked or unsmoked based on preference.
- Soak if needed to reduce saltiness.
- Score the fat for even rendering.
- Boil on the gas hob for tenderness and less salt.
- Roast in the electric oven for consistent cooking.
- Use a meat thermometer for accurate doneness.
- Glaze in the last 20-30 minutes for a lovely finish.
- Rest the joint for 15-20 minutes before carving.
Conclusion
Cooking a delicious gammon joint in your dual fuel oven is surprisingly straightforward. By combining the strengths of your gas hob for initial preparation and the steady, even heat of your electric oven for roasting, you’re set for success. Remember to choose a good joint, prep it well, and always use a thermometer. With a little care and a fantastic glaze, you’ll be serving up a succulent, flavorful gammon that will impress everyone at your table. Enjoy the process and the amazing results!
What’s the ideal internal temperature for cooked gammon?
The ideal internal temperature for a safely cooked gammon joint is 71°C (160°F). Always use a reliable meat thermometer inserted into the thickest part of the meat to confirm.
Should I remove the rind before cooking gammon?
No, many cooks recommend leaving the rind on during cooking. It helps keep the joint moist and provides a protective layer. You can score the fat layer, but remove the rind only after cooking if you prefer.
Can I cook a gammon joint without boiling it first?
Yes, you can cook a gammon joint without boiling it first, especially if it’s a less salty variety. However, boiling helps tenderize the meat and reduces saltiness, which many people prefer. If you skip boiling, consider soaking it for a few hours.
How do I prevent my gammon glaze from burning?
To prevent your glaze from burning, apply it only in the last 20-30 minutes of the roasting time. This allows the sugars to caramelize without turning black. You can also lower the oven temperature slightly during the glazing phase if you notice it browning too quickly.
How long can cooked gammon be stored in the fridge?
Cooked gammon can be safely stored in an airtight container in the refrigerator for 3 to 4 days. For longer storage, you can freeze it for up to 2-3 months.
