
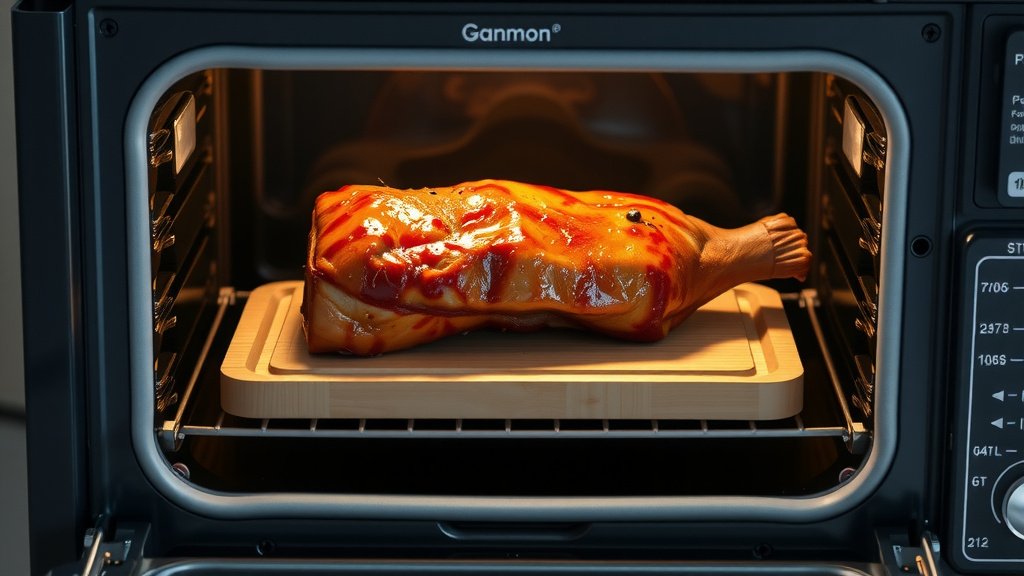
To cook a gammon joint in an electric oven, you will typically roast it at 180°C (350°F) for about 30 minutes per 450g (1 lb) plus an extra 30 minutes, ensuring it reaches a safe internal temperature.
Always pre-soak your gammon joint for several hours or overnight to reduce its saltiness, especially if it’s unsmoked, before placing it in a roasting tin and cooking.
Here’s a quick summary of cooking a gammon joint in your electric oven:
- Soak your gammon joint to remove excess salt, changing the water a few times.
- You can choose to boil it first or go straight to roasting for different textures.
- Preheat your electric oven to the recommended temperature for even cooking.
- Roast the gammon, checking its internal temperature for doneness.
- Add a delicious glaze in the final stages for an extra layer of flavor.
- Always let your gammon rest after cooking to keep it wonderfully juicy.
How To Cook A Gammon Joint In Electric Oven?
Cooking a gammon joint in an electric oven involves a few simple steps, usually beginning with soaking and then roasting at a steady temperature.
This method produces a flavorful, tender joint perfect for any meal or occasion.
Understanding Your Gammon Joint
Before you begin, consider the type and size of your gammon. You might have a smoked or unsmoked joint.
Smoked gammon has a richer, saltier taste, while unsmoked offers a milder flavor. The size will dictate your total cooking time.
The Pre-Cooking Ritual: Soaking is Key
Gammon is cured meat, meaning it contains a fair amount of salt. Soaking helps to reduce this saltiness, making your joint more enjoyable.
Place your gammon joint in a large bowl of cold water and leave it in the fridge for at least 6-12 hours, changing the water a couple of times.
Do You Always Need to Soak?
Most experts agree that soaking is a good idea for gammon. Some modern joints are less salty, but a good soak helps ensure a balanced flavor (Good Food Guide).
Even a quick 2-hour soak can make a difference, especially for larger pieces.
The Boiling or Roasting Debate
You have a choice here: boil the gammon first, or roast it directly. Both methods produce delicious results, but with slightly different textures.
We found that boiling first creates a very tender, less salty meat, while direct roasting offers a more intense, savory crust.
The Boiling Method First
If you opt to boil first, place the soaked gammon in a large pot. Cover it with fresh cold water, adding any aromatics like bay leaves or peppercorns.
Bring it to a boil, then reduce to a simmer and cook for about 20 minutes per 450g (1 lb). Drain and pat dry before roasting.
Direct Roasting: A Different Flavor
For direct roasting, you skip the boiling step entirely. This method is often preferred for crispier edges and a deeper roast flavor.
It’s simpler, requiring less active time, but make sure your joint is well-soaked to prevent it from being too salty.
Gather Your Kitchen Arsenal
Having your tools ready makes the process smooth. Here’s a quick checklist of what you might need:
- A large roasting tin.
- Aluminum foil or a lid for the roasting tin.
- A meat thermometer for checking doneness.
- A sharp carving knife.
- A wire rack (optional, for even cooking).
Step-by-Step Cooking Guide
Let’s walk through the exact steps to cook your gammon joint perfectly in an electric oven. It’s simpler than you might think.
Follow these directions for a wonderfully cooked piece of meat every time.
Step 1: Prep Your Gammon
After soaking, if you didn’t boil it, pat the gammon joint thoroughly dry with paper towels. You can trim any excess fat now, but leaving some helps keep it moist.
Score the fat in a criss-cross pattern if you plan to glaze it later; this helps the glaze stick beautifully.
Step 2: Preheating Your Oven
Preheat your electric oven to 180°C (350°F or Gas Mark 4). A properly preheated oven ensures your gammon starts cooking evenly and develops a nice crust.
Place your gammon joint in a roasting tin, optionally on a wire rack to allow air circulation.
Step 3: Roasting for Perfection
Cover the roasting tin loosely with aluminum foil. This helps to keep the gammon moist during the initial cooking phase, preventing it from drying out.
Many experts say to cook gammon for approximately 30 minutes per 450g (1 lb), plus an additional 30 minutes at 180°C (350°F) (Food Standards Agency).
Here’s a handy guide for typical cooking times:
| Gammon Weight | Approximate Cooking Time (180°C / 350°F) |
|---|---|
| 900g (2 lbs) | 1 hour 30 minutes |
| 1.35kg (3 lbs) | 2 hours 15 minutes |
| 1.8kg (4 lbs) | 2 hours 45 minutes |
| 2.25kg (5 lbs) | 3 hours 15 minutes |
Step 4: Glazing for That Extra Pop
About 20-30 minutes before the end of the cooking time, remove the foil. If you scored the fat, brush your chosen glaze generously over the joint.
Return it to the oven uncovered to allow the glaze to caramelize and become sticky and delicious.
Some popular glaze ideas include:
- Honey and mustard
- Maple syrup and brown sugar
- Apricot jam with a touch of ginger
- Orange juice and cloves
- Cola or ginger beer reduction
Step 5: Resting Your Joint
Once cooked, remove the gammon from the oven and transfer it to a carving board. Cover it loosely with foil and let it rest for 15-20 minutes.
This resting period allows the juices to redistribute throughout the meat, making it incredibly tender and moist when carved.
Checking for Doneness
The most reliable way to check if your gammon is cooked is with a meat thermometer. Insert it into the thickest part of the joint, avoiding any bone.
A safe internal temperature for gammon is 71°C (160°F) (USDA).
Common Pitfalls and How to Dodge Them
Sometimes things don’t go as planned. One common issue is a dry gammon joint.
This often happens if it’s overcooked or if the foil was removed too early. Another pitfall is excessive saltiness, usually due to insufficient soaking.
Always trust your meat thermometer and soak your gammon well. If it still feels a little dry, a flavorful gravy or sauce can save the day.
Serving Suggestions
Gammon is wonderfully versatile! For a classic roast dinner, serve it with roasted potatoes, seasonal vegetables, and a delicious apple sauce or gravy.
Cold gammon is also fantastic in sandwiches, salads, or chopped into a hearty quiche.
Conclusion
Cooking a delicious gammon joint in your electric oven is an achievable goal for any home cook. With a little preparation and attention to detail, you can create a centerpiece dish that’s both flavorful and tender.
Remember the key steps: soaking, preheating, precise timing, and a final glaze. Enjoy the process and the fantastic meal you’ll prepare!
What’s the ideal oven temperature for gammon?
The ideal oven temperature for cooking a gammon joint is typically 180°C (350°F or Gas Mark 4) in an electric oven. This moderate heat allows the joint to cook through evenly without drying out too quickly, especially when covered initially.
Do I need to add water to the roasting tin?
Generally, you don’t need to add water to the roasting tin when cooking gammon in an electric oven. Covering the joint loosely with foil helps create a steamy environment, keeping the meat moist. If you’re concerned about it drying, a small amount of liquid like apple juice or cider could be added, but it’s not strictly necessary.
Can I cook gammon from frozen in an electric oven?
We found that it is not recommended to cook a gammon joint from frozen. Always thaw it completely in the refrigerator before cooking to ensure even cooking and safe internal temperatures. Cooking from frozen can lead to an unevenly cooked joint, with the outside overcooked and the inside still cold.
How do I know if my gammon joint is cooked through?
The best way to know if your gammon joint is cooked through is by using a meat thermometer. Insert it into the thickest part of the meat, avoiding any bone. The gammon is safely cooked when it reaches an internal temperature of 71°C (160°F).
What’s the best way to get a crispy skin on gammon?
To achieve a crispy skin or glaze on your gammon joint, remove any foil during the last 20-30 minutes of cooking. If you’ve scored the fat, brush it with your chosen glaze (like honey and mustard) and increase the oven temperature slightly to 200°C (400°F) for the last 10-15 minutes, watching it closely to prevent burning.
