To cook ham in a gas oven, you will typically preheat your oven to 325-350°F (160-175°C), place the ham cut-side down in a shallow roasting pan, and cook until its internal temperature reaches 140°F (60°C) for pre-cooked or 145°F (63°C) for fresh ham.
Always cover the ham loosely with foil for most of the cooking time to maintain moisture, removing it for the last 30-45 minutes if you plan to apply a glaze.
- Get started by selecting a pre-cooked or uncooked ham, understanding that cooking times will vary.
- Preheat your gas oven to a moderate temperature, often around 325-350°F, to ensure even cooking.
- Prepare your ham by scoring it and adding any desired spices or glazes toward the end of the cooking process.
- Use a meat thermometer to confirm the ham reaches the correct internal temperature for food safety.
- Allow the ham to rest after cooking for juicy, flavorful slices, just like the pros do.
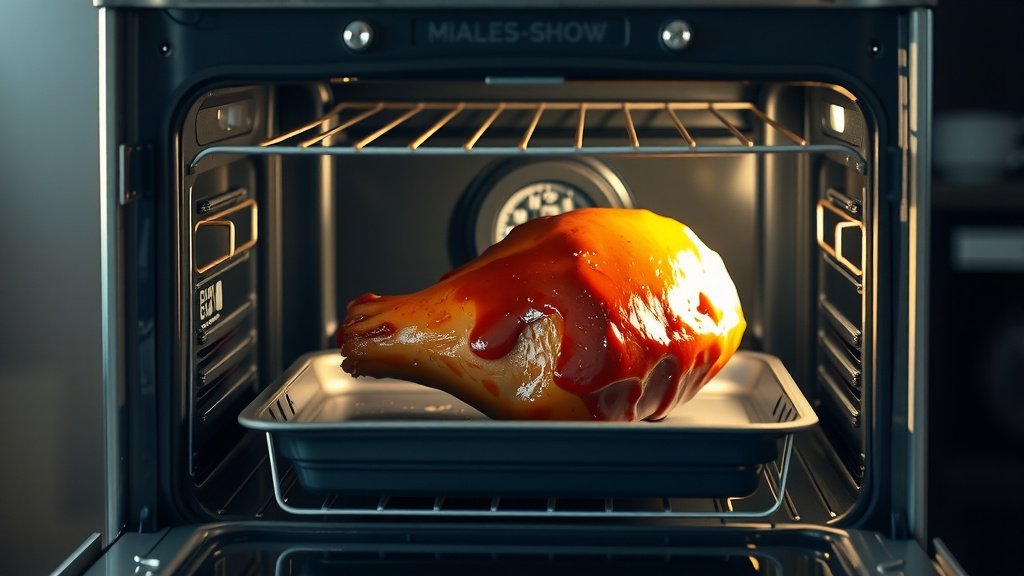
How To Cook Ham In A Gas Oven?
Cooking ham in a gas oven is simpler than you might think. The main goal is to heat it gently and evenly, ensuring it stays moist and develops a wonderful flavor. We found that the key lies in temperature control and patience.
Why a Gas Oven for Ham?
Gas ovens can be fantastic for cooking ham. Many home cooks appreciate that they often provide a slightly more humid cooking environment compared to electric ovens. This can help prevent your ham from drying out too quickly, which is a common worry.
Understanding Your Gas Oven’s Heat
Every oven has its quirks, and gas ovens are no exception. You might notice some areas are hotter than others, often near the back or sides. We found that using an oven thermometer can help you verify your oven’s actual temperature and identify any hot spots, allowing you to rotate your ham for even cooking.
Choosing the Right Ham for Your Feast
Before you even think about the oven, let’s talk ham. Are you starting with a pre-cooked ham, or a fresh, uncooked one? Most hams you buy are already fully cooked, meaning you’re mostly just reheating them. This makes your job much easier.
Bone-in or Boneless?
Both bone-in and boneless hams are delicious choices. A bone-in ham often offers more flavor and a wonderful presentation. Boneless hams are super convenient for carving and often cook a little faster. The choice truly depends on your preference for flavor versus ease of serving.
Gather Your Supplies: The Ham Prep Checklist
Getting organized before you start cooking can make the whole process much smoother. Think of it like packing for a trip; you want everything ready to go. Having your tools and ingredients at hand saves you time and stress later on.
- Large roasting pan with a rack
- Meat thermometer (digital is best!)
- Aluminum foil
- Sharp carving knife
- Ingredients for your glaze (if using)
- Basting brush
Prepping Your Ham for the Oven
A little preparation goes a long way to ensure your ham cooks beautifully. These steps are simple but make a real difference in the final product. We found that taking a few extra minutes here really pays off in flavor and texture.
Bringing Ham to Room Temperature
Allowing your ham to sit out of the refrigerator for an hour or two before cooking is a smart move. This helps the ham cook more evenly and prevents the outside from drying out while the inside struggles to heat up. It’s a common trick among culinary experts (Cook’s Illustrated).
Scoring and Studding Your Ham
If your ham doesn’t come pre-scored, take a sharp knife and make shallow, diamond-shaped cuts across the top. This isn’t just for looks! Scoring allows your glaze to penetrate deeper and makes for a lovely presentation. Some people like to stick whole cloves into the intersections of the scores for an extra aromatic kick.
The Ideal Temperature and Time for Your Gas Oven
This is where the rubber meets the road! Cooking temperatures and times are crucial for a perfectly done ham. Remember, most hams are pre-cooked, so you’re really just reheating them to a safe and delicious serving temperature.
Many experts suggest a temperature range of 325°F to 350°F (160-175°C) for reheating pre-cooked ham. This allows for gentle warming without overcooking. Uncooked hams will need a slightly higher internal temperature for safety.
Here’s a general guide for cooking times, but always use a meat thermometer:
| Ham Type | Oven Temp | Internal Temp Goal | Approx. Cooking Time (per pound) |
|---|---|---|---|
| Pre-cooked, Bone-in | 325-350°F | 140°F (60°C) | 15-20 minutes |
| Pre-cooked, Boneless | 325-350°F | 140°F (60°C) | 10-15 minutes |
| Uncooked (Fresh) | 325°F | 145°F (63°C) | 20-25 minutes |
Internal Temperature is Key
Forget the clock; trust your meat thermometer! For a pre-cooked ham, you’re aiming for an internal temperature of 140°F (60°C). For a fresh, uncooked ham, the safe internal temperature is 145°F (63°C) (USDA). Insert the thermometer into the thickest part of the ham, avoiding the bone.
Crafting the Perfect Ham Glaze
A good glaze elevates your ham from tasty to truly unforgettable. It adds a beautiful sheen and a burst of complementary flavor. Many people apply the glaze during the last 30-45 minutes of cooking. This allows it to caramelize without burning.
Popular Glaze Ideas
The possibilities for glazes are endless. We found that fruit-based glazes are always a hit. Think about what flavors you and your family enjoy. Do you prefer sweet, tangy, or a bit of spice?
- Brown Sugar & Mustard: A classic, simple, and always delicious.
- Pineapple & Honey: Sweet and tropical, giving your ham a bright flavor.
- Apricot & Dijon: Tangy and slightly sweet, a sophisticated choice.
- Maple & Bourbon: Adds a rich, deep flavor profile with a hint of warmth.
- Orange & Clove: Aromatic and festive, especially for holiday hams.
Tips for a Moist and Flavorful Ham
Nobody wants a dry ham. It’s truly disappointing after all your effort. Luckily, there are a few simple tricks you can use to keep your ham wonderfully moist. Many chefs swear by these methods (Food Network Kitchen).
First, always place your ham cut-side down in a shallow roasting pan. This keeps the juices within the ham. Second, cover your ham loosely with aluminum foil for the majority of the cooking time. This creates a little steam bath for your ham, locking in moisture.
Dealing with a Dry Ham
If you’re worried about dryness, you can add about half a cup of water, broth, or even apple juice to the bottom of your roasting pan. This creates a humid environment in your gas oven, further preventing moisture loss. Basting the ham every 20-30 minutes with its own pan juices or glaze can also help.
Resting Your Ham: Don’t Skip This Step!
Once your ham reaches the target internal temperature, remove it from the oven. This next step is incredibly important, yet often overlooked. You’ve got to let it rest! Many culinary schools teach that resting meat is non-negotiable.
Cover the ham loosely with foil and let it rest on your cutting board for at least 15-20 minutes. This resting period allows the juices to redistribute throughout the meat. If you cut it too soon, those delicious juices will just run out onto your board, leaving you with a drier ham. After resting, slice and serve!
Conclusion
Cooking ham in a gas oven doesn’t have to be intimidating. By understanding your oven, choosing the right ham, and paying attention to internal temperatures, you can create a centerpiece that’s both delicious and moist. Remember to pre-warm your ham, glaze it towards the end, and always give it time to rest. With these simple steps, you’re all set to impress your family and friends with a perfectly cooked ham, every single time. Enjoy your cooking!
How do I prevent my ham from drying out in a gas oven?
To keep your ham moist, place it cut-side down in a roasting pan and cover it loosely with aluminum foil for most of the cooking time. Adding a little water or broth to the bottom of the pan also helps create a humid environment, preventing dryness.
Should I cook a ham covered or uncovered in a gas oven?
You should cook your ham covered with foil for the majority of the cooking time to retain moisture. Remove the foil for the last 30-45 minutes if you plan to apply a glaze, allowing it to caramelize nicely.
What is the ideal internal temperature for a pre-cooked ham?
For a pre-cooked ham, the ideal internal temperature you’re aiming for is 140°F (60°C). Always use a reliable meat thermometer inserted into the thickest part of the ham to ensure it reaches this safe and delicious serving temperature.
When should I apply the glaze to my ham?
Most experts suggest applying your ham glaze during the last 30 to 45 minutes of the cooking process. This timing allows the glaze to heat up and caramelize, forming a delicious crust without burning, which can happen if applied too early.
Do I need to add water to the pan when cooking ham in a gas oven?
Adding about 1/2 inch of water, broth, or even fruit juice to the bottom of your roasting pan is an excellent way to add moisture to the cooking environment in your gas oven. This step is particularly helpful if you’re concerned about your ham drying out, especially with leaner cuts.