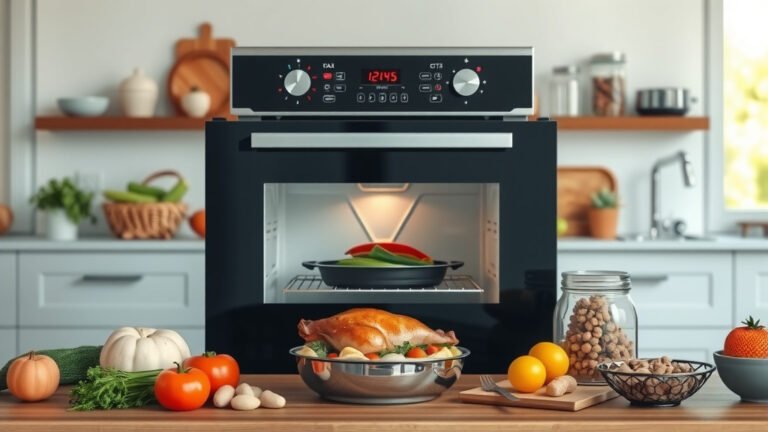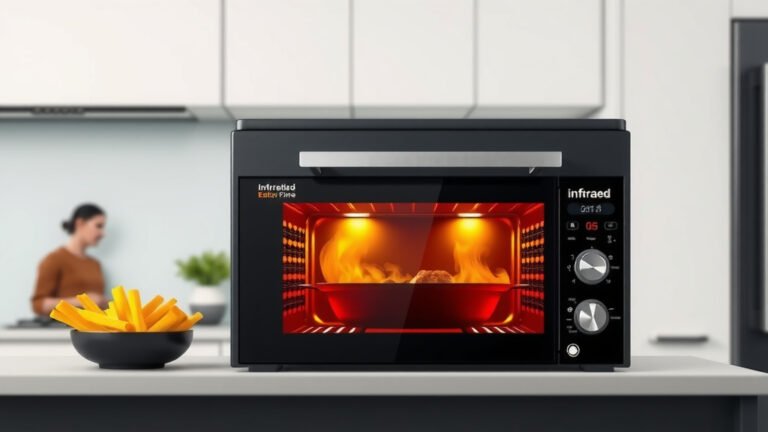
To cook a whole chicken in a gas oven, preheat your oven to 400°F (200°C) and roast for about 1 hour and 20 minutes to 1 hour and 40 minutes, or until the internal temperature reaches 165°F (74°C).
For a beautifully browned and juicy whole chicken in a gas oven, ensure even cooking by turning the bird halfway through, and always check the temperature in the thickest part of the thigh.
Here’s what you’ll learn in a nutshell:
- Preheat your gas oven to 400°F (200°C) for best results.
- Season your chicken well and consider tying the legs for even cooking.
- Roast for 1 hour 20 minutes to 1 hour 40 minutes, flipping halfway.
- Always use a meat thermometer to ensure a safe internal temperature of 165°F (74°C).
- Let the chicken rest for 10-15 minutes before carving for juicy results.
How To Cook Whole Chicken In Gas Oven?
Cooking a whole chicken in a gas oven requires proper temperature control and timing for a juicy, flavorful meal. You’ll need to preheat your oven correctly and monitor the internal temperature to achieve perfection.
Understanding Your Gas Oven
Gas ovens cook a bit differently than electric ones. They often create a moister cooking environment, which can be great for chicken. However, they can also have more noticeable hot spots.
This means your chicken might brown faster in some areas. Knowing your oven helps you adjust and get consistent results. Don’t worry, we’ll guide you through it.
The Heat Distribution Difference
Gas ovens use a flame at the bottom to heat the air. This often causes the bottom of the oven to be warmer. Some research shows that gas ovens often have less even heat distribution overall compared to electric models (Consumer Reports).
You might notice your chicken cooking a little faster on the bottom. This is perfectly normal. We will talk about how to manage this.
Choosing the Right Chicken
The success of your roast starts with the bird itself. A good quality chicken will naturally yield better flavor and texture. Think about the size and type you want.
Smaller chickens often cook more evenly. Larger ones might need a little more attention and time.
Fresh vs. Frozen
When you choose between fresh or frozen, remember that fresh chicken generally offers convenience. It requires less prep time before cooking. Frozen chicken needs careful thawing first.
We found that both can taste wonderful when prepared correctly. Your choice depends on your schedule and preference.
Preparing Your Chicken for Roasting
Proper preparation is half the battle won when roasting. This step ensures your chicken cooks evenly and develops a crispy skin. It also locks in moisture and flavor.
Don’t skip these simple but crucial steps. They truly make a difference.
Thawing Safely
If your chicken is frozen, you must thaw it completely. The safest way is in the refrigerator. This can take up to 24 hours for every 5 pounds of chicken (USDA guidelines).
Never thaw chicken at room temperature. This can lead to unsafe bacterial growth. Once thawed, cook within 1-2 days.
Seasoning for Flavor
A well-seasoned chicken is a happy chicken! Pat the bird dry with paper towels first. This helps the skin crisp up. Then, rub it all over with your chosen seasonings.
Many experts say to use a good amount of salt and pepper. You can also add garlic powder, paprika, dried herbs, or fresh rosemary and thyme. Some even put lemon halves or onion wedges inside the cavity for extra aromatic flavor.
Trussing (Optional, But Recommended)
Trussing means tying the chicken legs together with kitchen twine. This simple step helps the chicken cook more evenly. It keeps the wings and legs from overcooking before the breast is done.
Research shows that trussing creates a more compact shape. This leads to a moister breast and crispier skin overall. It takes only a minute or two to do.
Here’s a quick checklist before your chicken hits the oven:
- Thawed completely (if frozen)
- Pat dry thoroughly
- Seasoned generously
- Trussed (if desired)
- Oven preheated
The Roasting Process: Step-by-Step
Now for the fun part: getting that chicken into the oven! Following these steps will guide you to a perfectly roasted bird. Patience is a virtue here, but the aroma will make it worth it.
You’re just a few steps away from a delicious meal. Let’s make it happen.
Preheat is Key
Always preheat your gas oven to 400°F (200°C). This temperature ensures the chicken starts cooking immediately. A hot oven helps to crisp the skin quickly.
Give your oven at least 20-30 minutes to reach and hold this temperature. This creates the ideal environment for roasting.
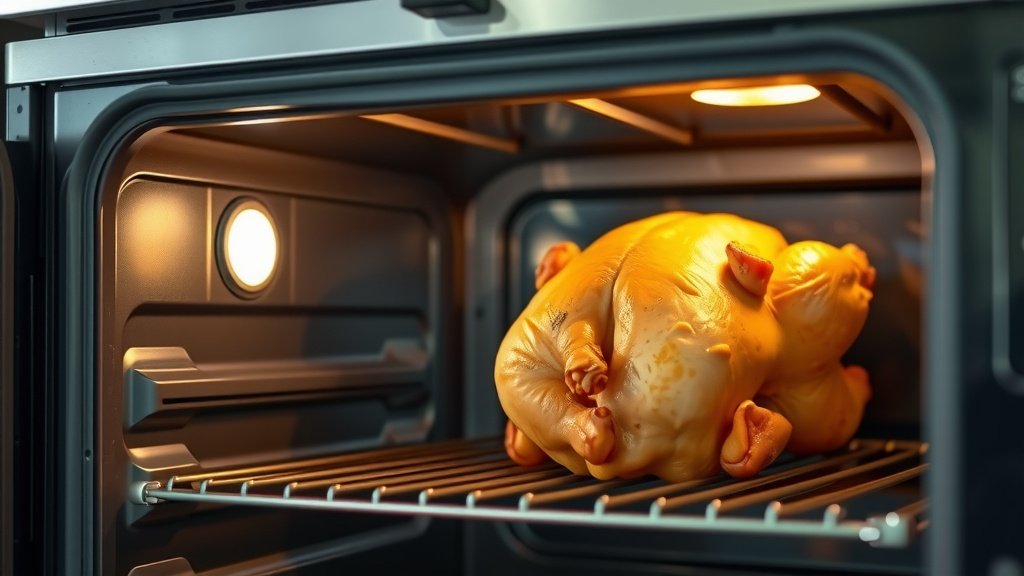
Positioning Your Chicken
Place your seasoned chicken, breast-side up, on a roasting rack. A rack allows air to circulate around the entire bird. This promotes even cooking and crispy skin on all sides.
If you don’t have a rack, you can use a bed of chopped vegetables. Carrots, celery, and onions work great. They will also absorb delicious juices.
Flipping for Evenness
Because gas ovens can have hot spots, flipping is helpful. After about 45 minutes to an hour, carefully turn the chicken breast-side down. This helps the breast meat stay juicy.
Then, after another 20-30 minutes, flip it back breast-side up. This final flip ensures the skin gets beautifully brown and crisp. This technique is a game-changer for gas oven users.
Checking for Doneness
The most important step is checking the internal temperature. Use a reliable meat thermometer. Insert it into the thickest part of the thigh, not touching the bone.
The chicken is safe to eat when it reaches 165°F (74°C) (FoodSafety.gov). If you see any pink juices, keep cooking. Some people aim for 170°F (77°C) for a slightly softer texture.
Here’s a general guide for roasting times, but always rely on a thermometer:
| Chicken Weight | Approximate Roasting Time @ 400°F (200°C) |
|---|---|
| 3-4 pounds (1.4-1.8 kg) | 1 hour 15 minutes – 1 hour 30 minutes |
| 4-5 pounds (1.8-2.3 kg) | 1 hour 30 minutes – 1 hour 45 minutes |
| 5-6 pounds (2.3-2.7 kg) | 1 hour 45 minutes – 2 hours 15 minutes |
Resting Your Roasted Chicken
Once your chicken hits the target temperature, resist the urge to carve it right away. Remove it from the oven and tent it loosely with foil. Let it rest for 10-15 minutes.
This resting period allows the juices to redistribute throughout the meat. You’ll find your chicken is much juicier and more tender. It’s a small wait for a big reward.
Troubleshooting Common Issues
Even seasoned cooks face challenges sometimes. Don’t be discouraged if your first attempt isn’t perfect. We’ve gathered some common issues and their solutions for you.
Learning to adapt is part of the cooking journey. You’ve got this!
Dry Chicken Fixes
If you find your chicken is consistently dry, there are a few things you can try. One popular method is brining the chicken before roasting. A simple salt and water brine can add a lot of moisture.
You can also cover the breast with foil halfway through cooking. This protects the leaner breast meat from drying out while the dark meat finishes. Some people also recommend rubbing butter under the skin for added moisture and flavor.
Uneven Browning Tips
As we discussed, gas ovens can have hot spots. If one side of your chicken is browning faster, simply rotate the roasting pan. You can do this every 30-45 minutes.
If the skin is browning too quickly before the inside is cooked, you can lower the oven temperature slightly. Or, tent the chicken with foil to slow the browning. Remember, a beautiful crust is achievable with a little attention.
Conclusion
Cooking a whole chicken in a gas oven can be a truly rewarding experience. With a little preparation, understanding your oven’s nuances, and a meat thermometer, you’ll achieve delicious results every time. Remember to season generously, consider trussing, and always let your chicken rest for that perfectly juicy finish. Enjoy your culinary creation!
What is the best temperature to roast a whole chicken in a gas oven?
The best temperature to roast a whole chicken in a gas oven is generally 400°F (200°C). This temperature promotes crispy skin while allowing the meat to cook thoroughly.
How do I prevent my whole chicken from drying out in a gas oven?
To prevent your whole chicken from drying out, you can brine it before cooking, rub butter under the skin, or tent the breast with aluminum foil halfway through roasting. Also, always use a meat thermometer to avoid overcooking.
Should I flip the chicken when cooking in a gas oven?
Yes, it’s often a good idea to flip the chicken when cooking in a gas oven. Turning it breast-side down for a portion of the cooking time helps keep the breast juicy, and then flipping it back up ensures crispy, golden skin.
How long should a whole chicken rest after roasting?
A whole chicken should rest for 10-15 minutes after roasting. This crucial step allows the meat fibers to relax and the juices to redistribute, leading to a much more tender and moist chicken.
Can I cook a stuffed chicken in a gas oven?
Yes, you can cook a stuffed chicken in a gas oven, but you must ensure the stuffing reaches a safe internal temperature of 165°F (74°C). Cooking times may also need to be extended slightly, so monitor with a thermometer carefully.