
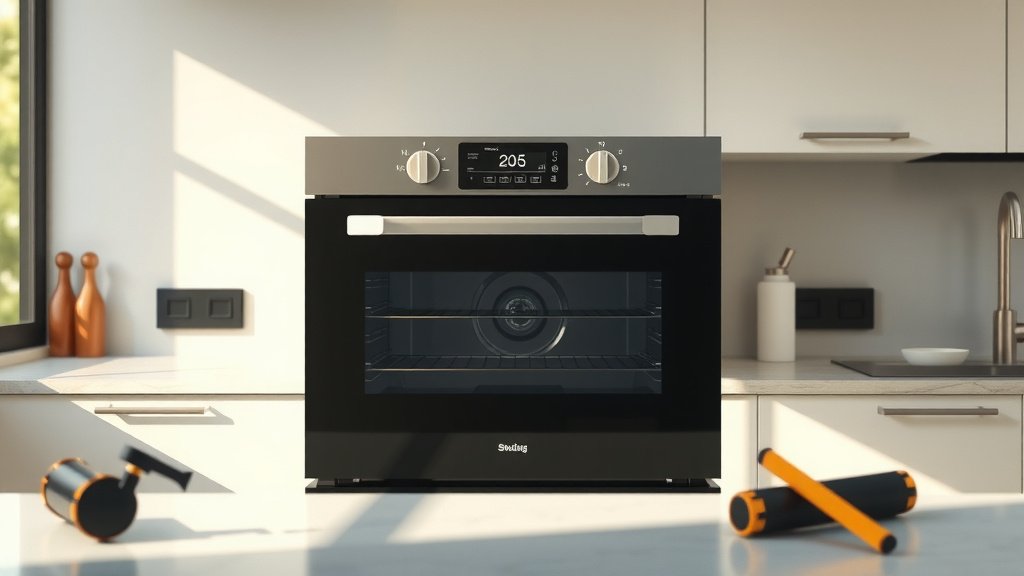
Installing an electric oven generally requires turning off the main power, carefully connecting the appliance to your home’s electrical supply, and securing it properly in its designated space.
You can often install an electric oven as a DIY project, but always confirm your comfort with electrical work and consider professional help if the wiring seems complex or if you are unsure.
TL;DR for Oven Installation:
- Turn off all power to your kitchen at the circuit breaker before starting any work.
- Match your new oven’s power needs to your home’s electrical outlet or wiring.
- Gather basic tools like screwdrivers, wire strippers, and a voltage tester.
- Follow the manufacturer’s directions for connecting the electrical wires carefully.
- Always attach the oven’s anti-tip bracket to the wall or floor for safety.
- Test the oven’s functions fully before you use it for cooking.
How To Install An Electric Oven?
Installing a new electric oven can feel like a big project, but with the right steps, you can get it done. It mostly involves careful electrical connections and making sure the unit fits well in your kitchen space.
We will walk you through each step, making sure you feel confident and ready. Your kitchen will be baking again in no time!
Safety First: Your Most Important Step
Before touching any wires or even looking at your new oven, you must prioritize safety. Electricity can be dangerous if not handled with care. This first step is non-negotiable.
Go to your home’s main electrical panel. Find the breaker that controls your kitchen or the specific oven circuit. Flip it to the “OFF” position. You might want to put a piece of tape over it, just so no one accidentally turns it back on while you are working.
It’s a bit like closing the main water valve before fixing a leaky faucet. We found this is the number one safety rule (Electrical Safety Foundation International).
Gathering Your Tools: What You’ll Need
Having the right tools makes the job much smoother. You won’t want to stop mid-project to search for a screwdriver. A little planning goes a long way here.
Here is a quick checklist of common tools and items you will likely need:
- A voltage tester (very important for confirming power is off)
- Screwdrivers (Phillips and flathead)
- Wire strippers and cutters
- Pliers
- Adjustable wrench or socket set
- Work gloves
- Duct tape or electrical tape
- Owner’s manual for your new oven
- A friend to help lift (optional, but highly recommended!)
Preparing Your Kitchen: Pre-Installation Checks
Think of this as setting the stage. Before bringing in the star of the show, the oven, you need to check a few things. This helps avoid surprises later on.
Checking Electrical Supply and Outlet
Electric ovens need a dedicated circuit. This means it has its own circuit breaker and heavy-duty wiring. Does your current setup match your new oven’s needs?
Most electric ovens need a 240-volt, 30-amp or 40-amp circuit. Check your oven’s manual for its exact power requirements. Look at your current outlet or wiring. Does it match? Many experts say not matching these is a common error (National Electrical Code).
If your home has an older setup or a different type of outlet, you might need an electrician. This isn’t a step to guess at.
Measuring Your Space
Will your new oven fit? It sounds obvious, but ovens can vary slightly in size. Measure the width, height, and depth of your cabinet opening carefully.
Also, account for any gas lines if you are converting from gas to electric. You’ll need to cap off that gas line if it’s there. We found that allowing a small amount of space for air circulation around the oven is usually a good idea, as recommended by many manufacturers.
Removing Your Old Oven (If Applicable)
Out with the old, in with the new! If you are replacing an existing oven, this part comes first. It is usually a straightforward process.
Disconnecting the Power Safely
Remember that circuit breaker you turned off earlier? Now is when you confirm it. Use your voltage tester to touch the wires where the old oven connects. If the tester lights up or beeps, the power is still on! Go back to the breaker panel.
Once you are absolutely certain there is no power, you can proceed. Safety first, always.
Connecting Your New Electric Oven
This is where the real “installation” begins. Pay close attention to your oven’s specific manual, as connections can vary slightly between models.
Understanding Electrical Connections
Your oven will connect in one of two ways: either with a power cord that plugs into an outlet or by direct wiring to your home’s electrical system. Many new ovens come without a power cord, meaning you might need to buy one separately or reuse your old one if compatible.
Typically, you will see three or four wires: two “hot” wires (usually black and red), a neutral wire (white), and a ground wire (green or bare copper). The number of wires depends on your home’s wiring system.
Making the Connection Securely
Open the terminal block access panel on the back of your new oven. This is where the wires connect. Strip about 1/2 to 3/4 inch of insulation from the ends of your home’s electrical wires (or the power cord wires).
Match the wires color-for-color (e.g., black to black, red to red, white to white, ground to ground). Use wire nuts or screw terminals to make firm connections. Ensure no bare wire is exposed outside the connectors. Loose connections can heat up and cause issues (Consumer Product Safety Commission).
Double-check every connection. Give each wire a gentle tug to be sure it is snug.
Placing and Securing the Oven
With the wires connected, you are almost there! Now it is time to slide your new appliance into its home.
Attaching the Anti-Tip Bracket
This bracket is not optional; it is a critical safety item. The anti-tip bracket keeps the oven from tipping over if someone leans on an open oven door or if a child climbs on it. Many fire safety organizations highlight the importance of these brackets.
Mount the bracket to the wall or floor behind the oven according to your manual. Then, as you slide the oven in, make sure its leg or slot engages with the bracket. A bit like fitting a key into a lock. This simple step can prevent serious accidents.
Testing Your New Oven
You have connected everything and the oven is in place. It is time for the moment of truth!
Go back to your main electrical panel and flip the circuit breaker back to the “ON” position. Come back to the kitchen. Set your oven to a low temperature, like 250 degrees Fahrenheit. Listen for fans, look for indicator lights, and feel for heat.
It is normal for new ovens to have a “new appliance smell” during their first use. Just open a window for ventilation. Let it run for 15-20 minutes, then turn it off. Check that all functions, like the broiler and oven light, also work.
Mistakes to Avoid and When to Call for Help
Even with careful planning, things can go wrong. Knowing common errors helps you steer clear of them. And sometimes, calling an expert is just the smartest move.
| Common Issue | What to Watch For | Solution or Action |
|---|---|---|
| Oven does not turn on | No lights, no heat, no fan sound | Check breaker, confirm wire connections, use voltage tester. |
| Smoke or burning smell (not new oven smell) | Strong, acrid odor, visible smoke | Turn off power immediately! Disconnect oven and call an electrician. |
| Loose fit in cabinet | Oven wobbles or slides easily | Adjust leveling legs, re-check cabinet opening dimensions. |
| No power to some functions | Light works, but not heating elements | Could be an internal wiring issue or faulty component. |
Getting Professional Assistance
When should you call a licensed electrician? If you feel uneasy at any point, that is your first sign. If your existing wiring does not match the oven’s needs, you need a pro. If the oven does not turn on after checking the breaker and connections, or if you see sparks or smoke, call an expert right away.
Never take chances with electricity. Your safety is worth the cost of professional help.
Conclusion
Installing an electric oven is a job many homeowners can tackle. The process includes turning off power, ensuring your electrical setup matches, making secure connections, and attaching the anti-tip bracket. Always put safety first. Double-check every step.
When in doubt, or if you face a tricky electrical situation, do not hesitate to call a certified electrician. Enjoy your new oven and all the delicious meals you will make!
How long does it take to install an electric oven?
Installing an electric oven typically takes most people between 1 to 3 hours. This time includes setting up, removing an old oven, making electrical connections, and securing the new unit. More complex situations, like needing electrical upgrades, can extend the timeline significantly.
Can I install an electric oven by myself without professional help?
Yes, many people install electric ovens themselves, especially if it is a direct replacement with existing, compatible wiring. You need to be comfortable working with basic electrical connections and follow all safety guidelines. If you are unsure at any point, a professional is always a good choice.
What is the most important safety step when installing an electric oven?
The most important safety step is always to turn off the power to the oven circuit at your main electrical breaker panel. Use a voltage tester to confirm that the power is truly off before you touch any wires. This prevents electrical shock.
Do all electric ovens require an anti-tip bracket?
Yes, nearly all electric range ovens require an anti-tip bracket for safety. These brackets are designed to prevent the oven from tipping forward, which can happen if weight is put on an open oven door. Your oven’s manual will show you how to install it correctly.
What should I do if my new electric oven does not turn on after installation?
If your new oven does not turn on, first check that the circuit breaker for the oven is flipped to the “ON” position. Next, re-check your electrical connections at the back of the oven to ensure they are secure and correctly wired according to the manual. If these steps do not solve the problem, it is best to call a qualified electrician or the oven manufacturer for assistance.
