
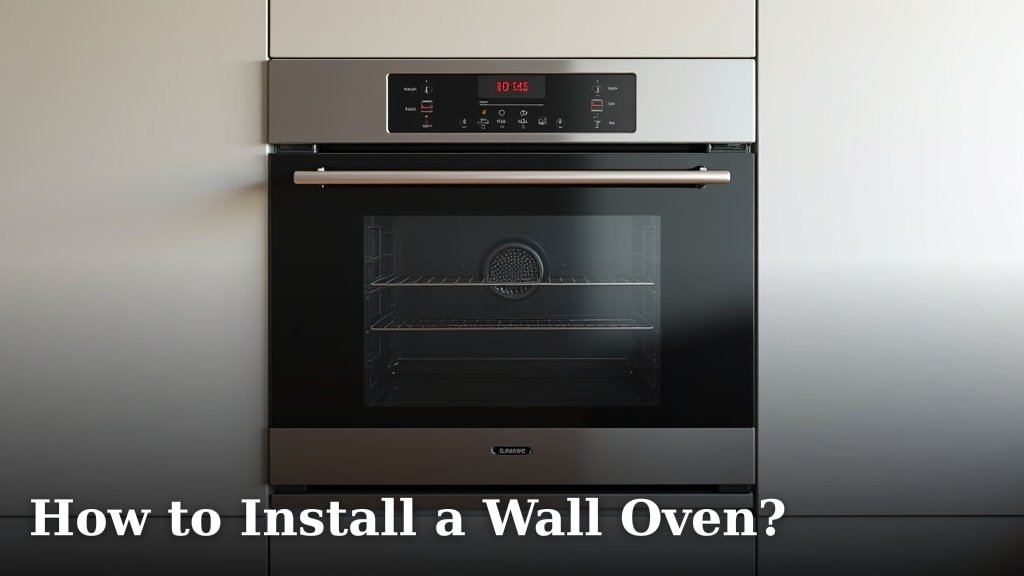
Installing a wall oven yourself is definitely achievable if you’re comfortable with basic electrical work and careful measurement. You’ll need to safely disconnect power, remove the old unit, and then precisely fit and connect the new one. This guide will help you navigate the process successfully.
Replacing a wall oven can significantly update your kitchen’s look and functionality. It’s important to ensure the new oven’s dimensions match your existing cabinet cutout to avoid costly modifications. Always follow manufacturer instructions and local building codes for a safe and compliant installation.
- Disconnect power before starting.
- Measure your cabinet opening carefully.
- Ensure the new oven fits snugly.
- Wire the oven correctly and safely.
- Test the oven thoroughly after installation.
Ready to get your new oven installed? Let’s walk through exactly how this works step by step, from unplugging the old to plugging in the new.
Installing Your New Wall Oven: A Step-by-Step Guide
Bringing a new wall oven into your kitchen is exciting! It’s a big appliance and a big upgrade. Luckily, with careful planning and a few basic tools, you can tackle this installation yourself. We’ll guide you through the process, from ensuring it fits perfectly to making those all-important electrical connections safely. Let’s get started on making your kitchen dreams a reality.
Preparation is Key: Before You Even Touch the Old Oven
Before you can install your shiny new oven, a little prep work goes a long way. This isn’t just about gathering tools; it’s about making sure your kitchen is ready for its new star appliance. A little foresight here saves a lot of headaches later.
Confirming Your Oven’s Fit
This is probably the **most critical first step**. Your new oven needs to fit the space your old one left behind. Wall ovens come in standard sizes, but cabinet openings can vary. You’ll want to measure the height, width, and depth of the existing cutout very carefully. Most standard wall ovens are 24, 27, or 30 inches wide. Compare these measurements to your new oven’s specifications. If the new oven is too big, you might need professional help to modify the cabinetry, which can be expensive. If it’s too small, you’ll need filler panels to close the gaps neatly.
Gathering Your Tools and Materials
Having everything ready before you start makes the job much smoother. You’ll need basic tools like a screwdriver set, a voltage tester (a non-contact one is great for safety), a level, a tape measure, and possibly some pliers or wire strippers. You might also need some new wire nuts or electrical tape, depending on how you connect the wiring. Don’t forget safety gear like work gloves and safety glasses. It’s always better to have it and not need it!
Reading the Manuals (Yes, Both of Them!)
Your old oven likely had a manual, and your new one certainly will. Give the new oven’s manual a **thorough read** before you begin. It contains specific instructions, safety warnings, and wiring diagrams unique to your model. You might also want to review the manual for your old oven if you still have it, especially for the disconnection steps.
Removing the Old Wall Oven Safely
Taking out the old oven requires patience and a focus on safety. This is where you’ll be dealing with electricity, so it’s vital to proceed with caution. We want to make sure no power is flowing before you start touching wires.
Step 1: Turn Off the Power!
This cannot be stressed enough: **disconnect the power** at the breaker box before you do anything else. Find the circuit breaker that controls your oven and flip it to the “Off” position. If your oven is plugged into an outlet, unplug it. If it’s hardwired, you’ll be working directly with the wires later. To be absolutely sure, use a non-contact voltage tester on the wires or outlet after you’ve flipped the breaker. If the tester lights up or beeps, the power is still on. Go back to the breaker box and try again. Many guidelines suggest testing your tester on a known live circuit first to ensure it’s working correctly (CDC).
Step 2: Accessing the Oven
Most wall ovens are held in place by screws or clips around the frame. Open the oven door and look for these fasteners. They are often located along the top and bottom edges of the oven’s outer frame, visible when the door is open. Some models might have screws hidden behind trim pieces.
Step 3: Gently Pulling Out the Oven
Once you’ve removed any screws or clips, the oven should be ready to slide out. You might need to **gently rock it back and forth** to loosen it from its housing. Be careful not to force it. If it’s stuck, double-check for any hidden screws or mounting brackets. It’s helpful to have someone assist you here, as ovens can be heavy and awkward to maneuver.
Step 4: Disconnecting the Wiring
Once the oven is pulled out enough to access the electrical connection, you’ll find a junction box or a wiring harness. Again, **confirm the power is off** with your voltage tester. Carefully disconnect the wires. There will typically be three wires: a black (hot), a white (neutral), and a green or bare copper (ground). Unscrew the wire nuts connecting the oven wires to the house wiring. Keep these wires separate and secure. Tuck them away so they don’t touch anything metallic.
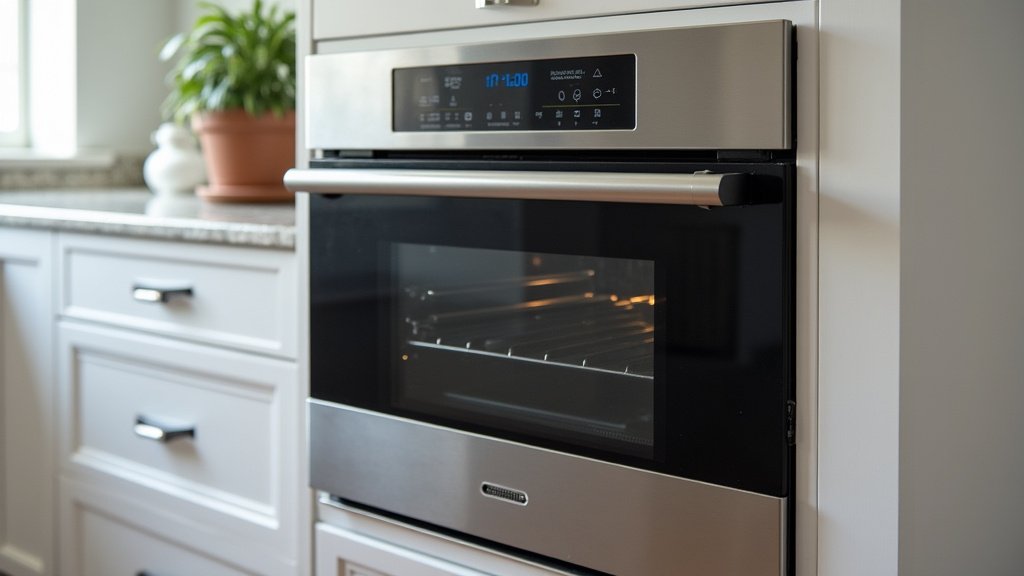
Installing the New Wall Oven
Now for the exciting part: putting your new oven in place! This involves sliding it into the cabinet and making the electrical connections. Precision and care are your best friends here.
Step 1: Preparing the Cabinet Opening
Before sliding in the new oven, clean out the cabinet opening. Remove any dust, debris, or old insulation. Check the wiring. If the old wiring looks frayed or damaged, it’s a good idea to replace it or have an electrician assess it. Ensure the electrical box or conduit is still securely mounted.
Step 2: Connecting the Power to the New Oven
This is similar to disconnecting the old oven, but in reverse. Again, **ensure the power is OFF** at the breaker. Refer to your new oven’s manual for the specific wiring diagram. Connect the corresponding wires from your house supply to the oven’s wiring harness using new wire nuts. Typically, you’ll connect black to black, white to white, and ground to ground. Make sure the connections are **secure and tight**. Once connected, carefully tuck the wires back into the junction box or behind the oven.
Step 3: Sliding the New Oven into Place
With the wiring done, it’s time to slide the new oven into the cabinet. Again, it’s best to have a helper for this. Line up the oven with the opening and **carefully push it in**. Don’t force it. Ensure it slides smoothly. Once it’s almost flush with the cabinet front, you might need to adjust the wiring slightly to prevent pinching. Make sure the oven is centered in the opening.
Step 4: Securing the New Oven
Once the oven is in its final position, secure it to the cabinet. Reinstall any screws or mounting brackets you removed from the old oven. Make sure the oven is **level and stable**. Use your level to check that it’s not tilting forward, backward, or to the sides. Proper leveling ensures the oven door seals correctly and the oven operates efficiently.
Final Checks and Testing
You’ve done the heavy lifting! Now for the crucial final steps to ensure everything works correctly and safely.
Step 1: Restore Power and Test
Go back to your breaker box and flip the breaker for the oven back to the “On” position. Your oven should power up. Check the display panel for any error codes. Consult your manual if you see any.
Step 2: Run a Test Cycle
It’s a good idea to run the oven through a complete cycle. Set it to a moderate temperature (like 350°F or 375°F) and let it run for about 20-30 minutes. Many new ovens have a break-in period, and some manufacturers recommend running this initial cycle with the oven empty to burn off any residual manufacturing oils. You might notice a slight odor during this first cycle, which is usually normal. Check that the heating elements are working and that the temperature seems correct. Some experts suggest using an oven thermometer to verify accuracy (Cleveland Clinic).
Step 3: Final Inspection
Give everything one last look. Check that the oven door seals tightly. Ensure there are no unusual noises or smells. Wipe down the exterior and interior of your new oven. You’ve successfully installed your new wall oven!
Here is a quick checklist of important steps:- Confirm dimensions of the cabinet opening before buying.
- Always turn off power at the breaker before working with wires.
- Test your voltage tester to ensure it’s functional.
- Secure wire connections tightly with wire nuts.
- Level the oven in its final position.
- Run a test cycle to confirm proper operation.
Conclusion
You’ve successfully navigated the steps to install your new wall oven! By focusing on safety, precise measurements, and careful electrical connections, you’ve updated your kitchen with a functional centerpiece. Remember, preparation was key, from checking cabinet dimensions to gathering the right tools. Always prioritize turning off power before touching wires and ensuring secure connections. With your new oven in place and tested, you can now enjoy cooking with confidence. Enjoy your upgraded kitchen!
Frequently Asked Questions
What if my new wall oven’s dimensions don’t exactly match the old one?
If your new oven is slightly smaller, you’ll need filler panels to close any gaps and create a clean look. If it’s larger, you might need to modify your cabinetry, which often requires professional help. Always confirm measurements before purchasing.
How do I know if the power is truly off before I start wiring?
Always use a non-contact voltage tester. Test the tester on a known live circuit first to confirm it’s working. Then, carefully test the wires you’ll be working with. If the tester lights up or beeps, power is still on, and you need to return to the breaker box.
Can I reuse the old oven’s wiring, or should I get new wiring?
Inspect the existing wiring carefully. If it appears frayed, damaged, or outdated, it’s best to have an electrician replace it. Ensuring your wiring is in good condition is vital for safety and performance.
What should I do if I see error codes on the oven display after installation?
Refer immediately to your new oven’s user manual. Error codes are specific to the model and indicate what the issue might be. The manual will guide you on troubleshooting steps or when to call for professional service.
Is it normal for a new oven to smell during the first use?
Yes, it’s quite common. During the initial test cycle, manufacturing oils and protective coatings burn off. This usually results in a slight odor that dissipates after the first cycle or two. Ensure good ventilation during this time.
