
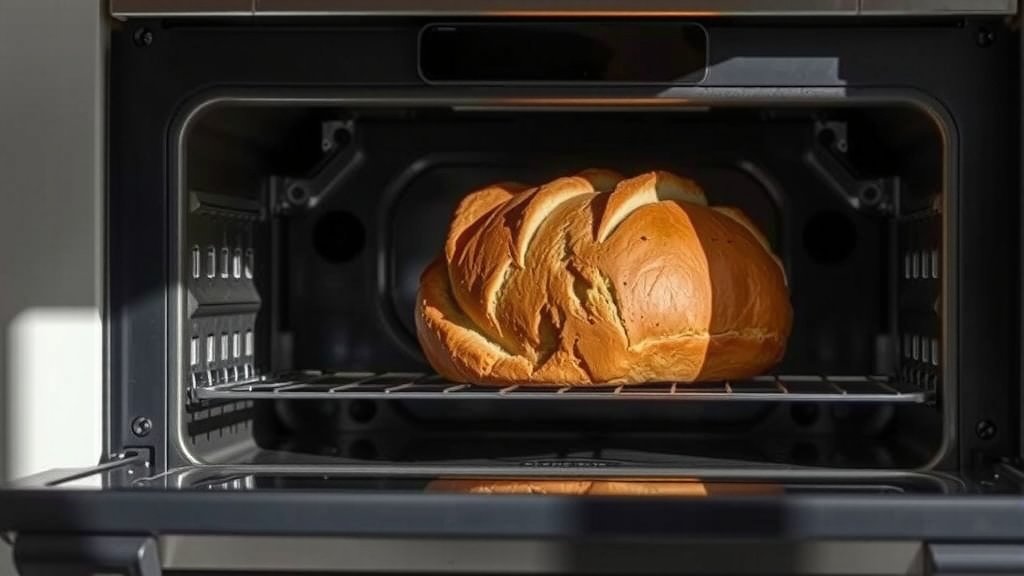
To make bread rise faster in a gas oven, you can create a warm, humid environment perfect for yeast. Place your dough in a lightly oiled bowl in a slightly warm, OFF oven with a pan of hot water.
Maintaining a consistent temperature between 75-85°F (24-30°C) inside the oven cavity will significantly speed up the yeast activity for a quicker rise.
TL;DR: Speed Up Your Bread Rise!
- Warm your gas oven slightly (around 80°F), then turn it OFF before proofing.
- Place a pan of hot, steamy water inside the oven with your dough for humidity.
- Ensure your yeast is fresh and activated properly for best results.
- Cover your dough to trap warmth and moisture, preventing a dry crust.
- Avoid temperatures too high, as this can kill the yeast, stopping the rise completely.
How To Make Bread Rise Faster In Gas Oven?
Making bread rise faster in a gas oven involves creating a perfect microclimate. You need a warm, draft-free spot with good humidity.
Understanding the Proofing Process
Proofing is when yeast ferments, producing carbon dioxide gas. This gas gets trapped in your dough, causing it to expand. A warmer environment helps this process move along quickly (Scientific American).
Think of yeast as tiny workers. They get busy when they are warm and have food. Your job is to make their working conditions ideal.
The Role of Temperature
Yeast loves warmth, but not too much. The ideal temperature range for proofing is generally 75-85°F (24-30°C). Go too cold, and the rise will be slow. Go too hot, and you risk killing the yeast entirely.
We found that temperatures above 110°F (43°C) can start to damage yeast cells. This means your bread might not rise at all (The Bread Baker’s Guild of America).
The Role of Humidity
Humidity is just as important as temperature. A humid environment stops the dough surface from drying out. A dry crust can prevent the dough from expanding freely.
Imagine a balloon. If its surface is stiff, it won’t inflate well. Your dough is similar; it needs a flexible skin.
Preparing Your Gas Oven for Proofing
Gas ovens can be great for proofing because they often retain heat well. Let’s look at how to set yours up.
Gentle Warming Techniques
You want a warm oven, but not a cooking oven. The goal is a cozy, not scorching, environment.
One common method is to turn your oven on for just a minute or two. Then, turn it off completely. Feel the inside; it should be just warm to the touch, like a summer day.
The Hot Water Bath Method
This is a favorite technique for many bakers, and we found it works very well. Boil some water and pour it into an oven-safe pan or bowl.
Place this pan on the bottom rack of your *turned-off* oven. The steam from the hot water will create a wonderfully humid and warm atmosphere for your dough.
Using the Oven Light
Did you know your oven light can generate enough heat? For a very slow and gentle rise, simply turn on your oven light and leave the dough inside the *turned-off* oven.
This provides a consistent, low-level warmth. It might not be the fastest, but it is super reliable for a steady rise.
Dough Preparation for a Quicker Rise
The oven isn’t the only factor. Your dough itself plays a big part.
Activating Your Yeast Properly
Fresh, active yeast is key. Always check the expiration date. Many experts say to “proof” your yeast first. Mix it with warm water (around 105-115°F or 40-46°C) and a pinch of sugar.
If it foams up within 5-10 minutes, your yeast is happy and ready to work. If not, get new yeast!
Ensuring Adequate Hydration
A slightly wetter dough can sometimes rise a bit faster. This is because the yeast has more water to move around in. However, too much water makes for a sticky, hard-to-handle dough.
Aim for a dough that is soft and pliable, but not soupy (King Arthur Baking Company).
The Impact of Kneading
Proper kneading develops gluten, which creates the structure that traps gas. Knead until your dough is smooth and elastic. This “windowpane test” is a good sign: you should be able to stretch a small piece thin enough to see light through it without tearing.
Best Practices During Proofing
Once your dough is in the oven, a few habits will help ensure success.
Covering Your Dough
Always cover your dough bowl. Use plastic wrap, a damp kitchen towel, or a dedicated proofing cover. This helps trap the humidity you’ve created inside your oven.
It also prevents a tough skin from forming on the dough. A dry skin will resist stretching, making your rise less impressive.
Monitoring the Rise
Keep an eye on your dough. How long it takes to rise depends on many factors. Instead of watching the clock, watch the dough.
It should double in size for the first proof, and often less for the second proof. A gentle poke test can tell you if it’s ready.
Quick Proofing Checklist:
- Gas oven turned OFF after a brief warm-up.
- Pan of hot, steaming water placed inside.
- Dough covered loosely in an oiled bowl.
- Oven door closed to trap warmth and steam.
- Check dough periodically, don’t over-proof.
Troubleshooting Common Proofing Issues
Sometimes things don’t go as planned. Don’t worry; it happens to everyone!
Dough Not Rising At All?
If your dough isn’t moving, the most common culprit is dead yeast. This could be from old yeast or water that was too hot. Yeast can also die if exposed to too much salt directly.
We found that sometimes the water temperature during activation is the biggest mistake. Too cold, and it’s slow; too hot, and it’s gone (Culinary Institute of America).
Dough Rising Too Fast?
A super-fast rise might seem good, but it can sometimes lead to less flavor development. If your environment is too warm, your dough might over-proof.
Over-proofed dough can collapse when baked, or have a less robust structure. Keep the temperature steady, as a slow, controlled rise often makes better bread.
Comparing Proofing Methods
Let’s look at how different methods stack up for speeding up your bread rise.
| Method | Pros | Cons | Speed |
|---|---|---|---|
| Gas Oven (Warm & Off) + Hot Water | Consistent warmth, high humidity | Requires attention to initial oven temp | Fast |
| Gas Oven (Light Only) | Gentle, very consistent, low effort | Slower than other oven methods | Medium |
| Room Temperature | No special equipment, good flavor development | Slowest method, inconsistent with drafts | Slow |
| Microwave (Warm & Off) + Hot Water | Excellent small space, very fast | Only for small batches, potential for uneven heat | Very Fast |
Many bakers use the microwave trick for smaller batches (America’s Test Kitchen). Just warm a cup of water until steaming, remove it, then pop your covered dough into the warm, off microwave. It works wonders for speed!
Conclusion
Making bread rise faster in a gas oven comes down to managing temperature and humidity. By creating a cozy, steamy environment in your oven, you activate your yeast effectively.
Remember to prepare your dough well and monitor its progress. With these tips, you’ll be enjoying fresh, perfectly proofed bread in no time. Happy baking!
Frequently Asked Questions
Can I use my gas oven’s “proof” setting if it has one?
Absolutely, if your gas oven has a dedicated “proof” setting, it’s designed to maintain the ideal low temperature and sometimes humidity for rising dough. This is usually the easiest and most consistent method for a quicker rise.
How do I know if my bread dough is over-proofed?
Over-proofed dough often looks excessively puffy and stretched, sometimes with large, uneven bubbles. When you gently poke it, the indentation will remain without springing back at all. It might also smell overly yeasty or alcoholic, and can collapse when baked.
Is it better to proof dough slowly or quickly for flavor?
Generally, a slower, colder proof allows for more complex flavor development in your bread. The yeast has more time to break down starches and create nuanced flavors. However, a faster proof in a warm environment is perfectly fine for many recipes, especially if you’re in a hurry and still want delicious bread.
Can I put my bread dough directly into a slightly warm oven without a water bath?
You can, but adding a pan of hot water significantly helps. Without the water, the oven environment might be warm but it will also be very dry. This can cause the surface of your dough to dry out and form a crust, which hinders its ability to rise fully.
What if my kitchen is already very warm? Do I still need the oven?
If your kitchen is consistently warm, perhaps 75-80°F (24-27°C) or higher, you might not need the oven at all! Just cover your dough and leave it on the counter in a draft-free spot. The oven method is best when your kitchen is cooler and you need an extra boost of warmth and humidity.
