
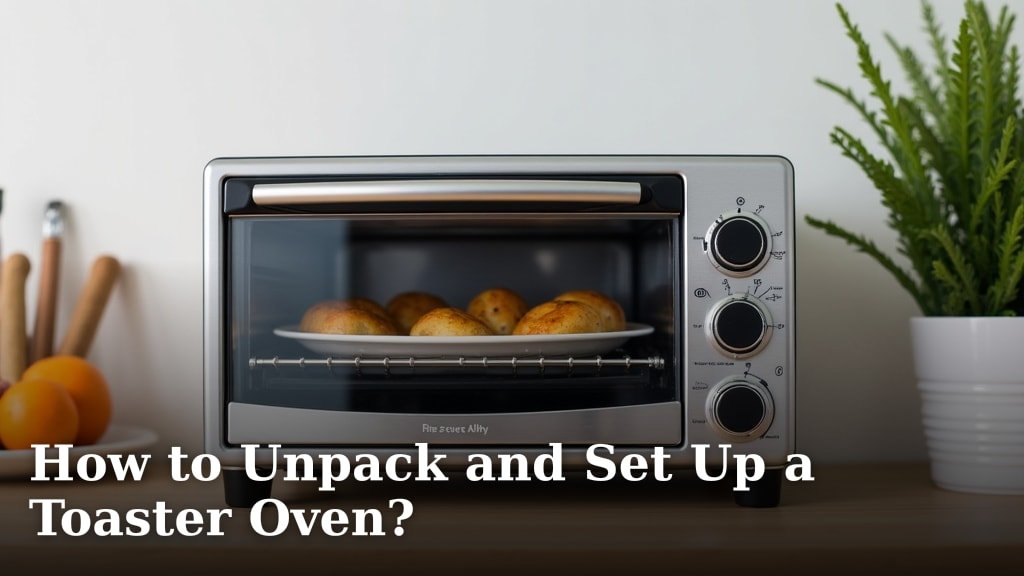
Unpacking and setting up your new toaster oven is a straightforward process. You’ll want to start by removing all packaging and accessories. Then, a quick wipe-down and placement on a stable surface are all you need. This ensures your toaster oven is ready for its first delicious meal.
Getting your toaster oven ready involves more than just plugging it in. We found that it’s important to check for any included manuals or warranty information. Proper setup also means giving it adequate ventilation space. This protects both your appliance and your kitchen counters from overheating. Plus, it’s a great way to start enjoying toast and more!
- Remove all packing materials.
- Check for manuals and accessories.
- Clean the interior and exterior.
- Find a stable, well-ventilated spot.
- Plug it in and you’re good to go!
Let’s walk through exactly how to unpack and set up your new toaster oven, step by step, so you can start cooking in no time.
Getting Your New Toaster Oven Ready to Cook
So, you’ve got a shiny new toaster oven! That’s exciting. Now comes the fun part: setting it up so you can start making everything from perfect toast to yummy baked goods. We’ve found that a little care during this initial setup phase makes all the difference. It ensures your oven works well and stays that way for a long time.
Unboxing Your Toaster Oven: A Gentle Start
First things first, let’s get this beauty out of its box. Be gentle here. These appliances can be a bit heavy, and we don’t want any surprises. Carefully open the carton. You might find tape holding it shut. Use a utility knife or scissors to cut through it. Be mindful of the blade’s depth.
Once the top flaps are open, you’ll see all the protective materials. Think foam, plastic wrap, and sometimes cardboard inserts. Gently lift these out. Most toaster ovens come with removable racks, crumb trays, and sometimes baking pans. Set these aside for now. Don’t forget to check the very bottom of the box. Sometimes small parts hide there.
What’s Inside? Checking for Accessories and Manuals
Now, let’s make sure you have everything the manufacturer intended. You should find your toaster oven, of course. But look for a user manual, a warranty card, and any other included accessories. We found that it’s incredibly helpful to keep the manual handy. It has important safety instructions and cooking tips.
Take a quick peek at the warranty information. Registering your product is usually a good idea. It can save you a headache later if anything goes wrong. And about those accessories? Make sure you have all the racks and pans that are supposed to come with your model. Your user manual will often list these.
A Good Cleaning is Always Recommended
Before you even think about plugging it in, a quick clean is a smart move. Why? Because shipping and handling can sometimes leave a fine layer of dust or packaging residue on the surfaces. This isn’t usually harmful, but you definitely don’t want it heating up in your kitchen.
Grab a soft, damp cloth. You can use a bit of mild dish soap if you need to. Wipe down the interior surfaces first. Get into the corners and around the heating elements, but be careful not to damage them. Then, clean the exterior of the toaster oven. Don’t forget the door and the control panel.
Cleaning the Crumb Tray: A Small Step for Big Results
Most toaster ovens have a removable crumb tray. This is usually at the bottom. It’s designed to catch all those pesky crumbs. Before you use the oven for the first time, take it out and give it a wash. Even if it looks clean, a quick rinse is a good habit. It ensures no stale odors or residues are present. Dry it completely before putting it back.
Finding the Perfect Spot for Your Toaster Oven
Where you place your toaster oven is more important than you might think. It affects its performance, safety, and how easy it is to use. We’ve learned that ventilation and stability are key factors here. Let’s find that sweet spot in your kitchen.
Ensuring Proper Ventilation: Keep it Cool!
Toaster ovens generate heat. A lot of heat, sometimes! They need space to breathe. Experts often recommend keeping at least a few inches of clearance around the sides, back, and top of the appliance. This allows hot air to escape and prevents overheating.
Research by consumer safety organizations consistently points to the need for adequate airflow. Overheating can damage the appliance. It can also pose a fire hazard. So, make sure your chosen spot isn’t crammed between cabinets or right up against a wall. Give it room to work!
Ventilation and Surfaces: What to Avoid
We found that placing a toaster oven directly on a carpet or tablecloth is a definite no-no. These surfaces are not heat-resistant and can scorch or even catch fire. Always place your toaster oven on a hard, stable, and heat-resistant surface. Your kitchen countertop is usually the best bet.
Also, avoid placing it directly beneath cabinets if there’s very little clearance. The heat rising from the oven can damage the underside of the cabinets over time. Check your owner’s manual; it will specify the recommended clearances for your particular model.
Stability is Key: No Wobbling Allowed
You want your toaster oven to sit level and steady. A wobbly appliance is not only annoying but can also be unsafe. If the oven slides around when you open the door or turn the knobs, it could fall. Ensure the surface is flat and even.
Some toaster ovens have little rubber feet on the bottom. Make sure these are all intact and making contact with the counter. If your counter surface is slightly uneven, you might need to adjust the oven’s position slightly to find its most stable spot. It’s a small thing, but it matters for safety and ease of use.
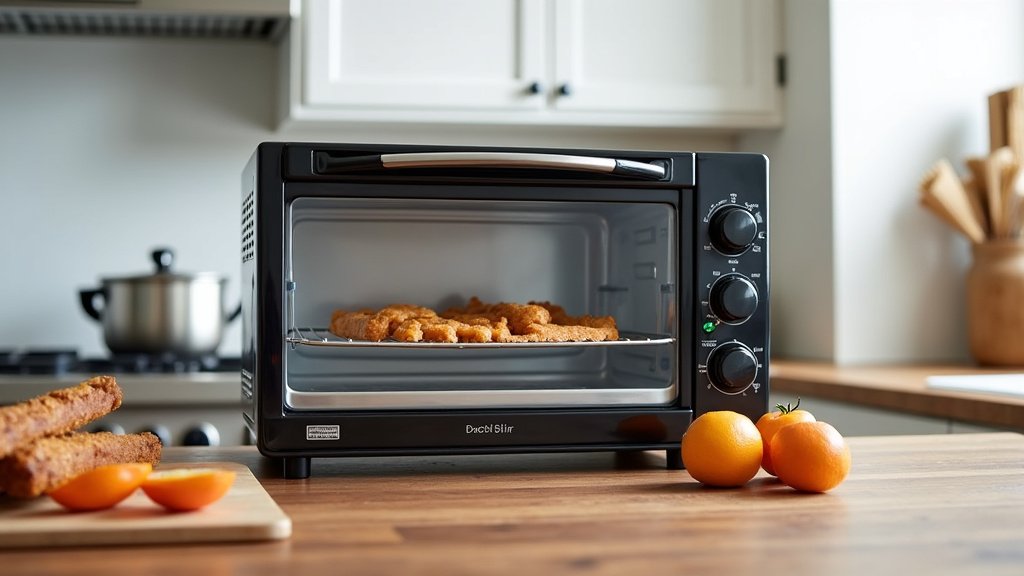
The Final Steps: Plugging In and First Use
You’re almost there! The excitement is building. Now we just need to get it powered up and ready for its very first toasting (or baking, or broiling!) adventure. These last steps are quick and easy.
Checking Your Power Outlet
Before you plug in your toaster oven, take a quick look at the outlet. Toaster ovens can draw a fair amount of power, especially when heating up. Make sure the outlet is properly grounded. It should be a three-prong outlet. Avoid using extension cords if possible, as they might not be rated for the appliance’s power draw.
Many appliance safety guidelines suggest plugging directly into a wall outlet. If you absolutely must use an extension cord, ensure it’s heavy-duty and rated for the wattage of your toaster oven. Your manual will likely specify the power requirements.
The Moment of Truth: Plugging It In
With the oven in its designated spot and a suitable outlet identified, it’s time to connect the power. Gently plug the power cord into the outlet. You might hear a little beep or see a light come on, depending on your model. This indicates it’s receiving power.
Once plugged in, double-check that the oven is stable and the cord isn’t creating a tripping hazard. Make sure it’s not kinked or pinched anywhere. This simple check is part of good practice for any electrical appliance.
Your Toaster Oven Setup Checklist
Let’s recap the main points to ensure you haven’t missed anything. Think of this as your quick guide to a perfectly set-up toaster oven:
- All packaging materials removed from inside and outside.
- User manual and warranty information located and reviewed.
- Interior and exterior surfaces wiped down with a damp cloth.
- Crumb tray cleaned and dried.
- Oven placed on a stable, heat-resistant surface with adequate ventilation.
- Power cord plugged into a properly grounded wall outlet.
You’ve done it! Your new toaster oven is now unpacked, cleaned, and set up safely. It’s ready for its first culinary mission. Now, go ahead and preheat it according to your manual’s instructions for its first use. Get ready for some delicious results!
Conclusion
You’ve successfully unpacked and set up your new toaster oven! By carefully removing all packaging, giving it a quick clean, and placing it in a well-ventilated, stable spot, you’ve ensured it’s ready for action. We’ve found that taking these initial steps protects your appliance and makes your cooking experience safer and more enjoyable. Your toaster oven is now all set to help you whip up delicious meals. Your next step? Consult your user manual for the first preheating cycle and get ready to enjoy your first perfectly toasted treat!
Frequently Asked Questions
Can I use my toaster oven immediately after unpacking?
It’s best to avoid using it immediately. We recommend a quick clean to remove any dust or residue from shipping. Also, ensure you’ve checked for all accessories and read the safety instructions in your manual.
How much space do I really need around my toaster oven?
Most toaster ovens require at least a few inches of clearance on the sides, back, and top. This ventilation is vital to prevent overheating, which can damage the oven or create a fire hazard. Always check your specific model’s manual for exact recommendations.
What kind of surface should I place my toaster oven on?
Always place your toaster oven on a hard, stable, and heat-resistant surface like a kitchen countertop. Avoid placing it on carpet, tablecloths, or any surface that could scorch or catch fire easily.
Is it okay to use an extension cord for my toaster oven?
It’s generally recommended to plug your toaster oven directly into a grounded wall outlet. If you must use an extension cord, ensure it’s a heavy-duty one rated for the appliance’s wattage to prevent electrical issues.
Why do I need to clean the crumb tray before the first use?
Even if it looks clean, the crumb tray might have dust or residue. Cleaning it ensures no stale odors or burnt particles affect the taste of your first meal. A quick wash and dry prevent this.
