
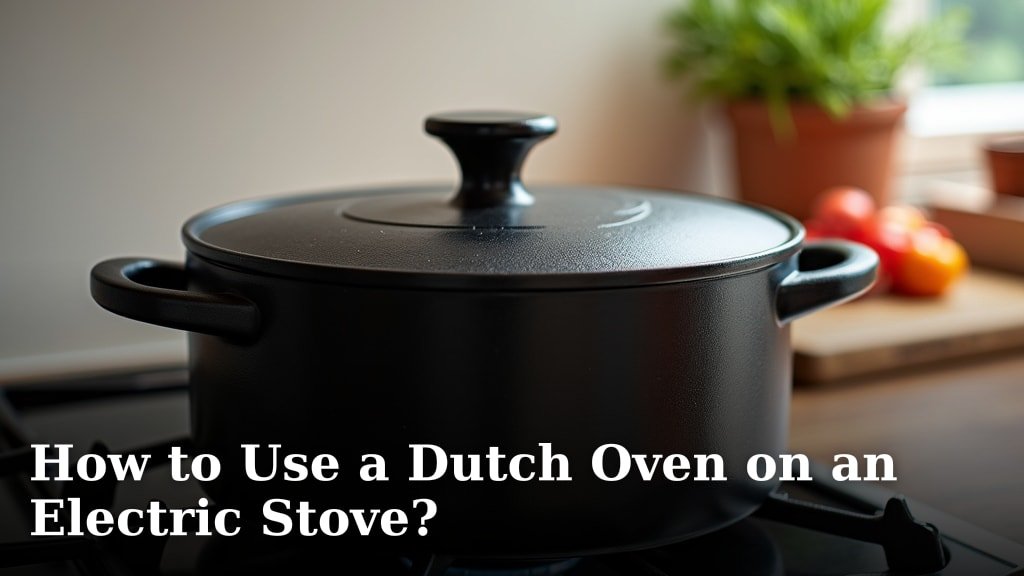
To use a Dutch oven on an electric stove, you need to use a low to medium heat setting. This prevents hot spots and protects both your pot and stovetop. Gentle, even heat is key for delicious results.
Many home cooks worry about damaging their electric burners or the Dutch oven itself. We found that with a few simple precautions, using this versatile cookware on electric stoves is perfectly safe. You can easily make comforting stews, roasts, and even bread.
- Keep heat low to medium.
- Avoid sudden temperature changes.
- Use the correct burner size.
- Clean your stovetop and pot well.
Ready to master your kitchen? Let’s walk through exactly how to safely and effectively use a Dutch oven on an electric stove.
Mastering Your Dutch Oven on an Electric Cooktop
Using a Dutch oven on an electric stove is straightforward once you understand the basic principles. The main goal is to protect both your cookware and your cooktop. Let’s dive into the details.
Understanding Electric Stove Burners
Electric stoves heat differently than gas stoves. Gas flames wrap around the pot, distributing heat more evenly. Electric burners, especially coil or radiant types, apply direct heat to the bottom of the pot. This can create “hot spots” if you’re not careful.
Coil Burners
These are the traditional, visible metal coils. They heat up and cool down slowly. You need to be patient with coil burners. Their uneven heating pattern can be tricky for some dishes.
Radiant Glass-Ceramic Stovetops
These smooth, flat surfaces hide the heating elements underneath. They look sleek and are easy to clean. Radiant burners heat up faster than coils but still distribute heat from a central point. Always ensure your Dutch oven has a flat, smooth bottom to make good contact with this surface.
Choosing the Right Dutch Oven for Electric Stoves
While most Dutch ovens work, some are better suited for electric stovetops. You want one that can handle consistent, often direct heat without warping or cracking.
Material Matters: Cast Iron is King
Enameled cast iron is the top choice. It’s incredibly durable and retains heat like a champ. The enamel coating also prevents sticking and makes cleaning easier. Plain cast iron works too, but requires seasoning and more careful maintenance.
Flat Bottoms are Essential
For electric stoves, especially glass-ceramic ones, a Dutch oven with a perfectly flat bottom is critical. A warped or uneven bottom won’t make good contact with the burner. This leads to inefficient heating and potential hot spots. Always check the base of your pot.
Prepping Your Stovetop and Dutch Oven
A little preparation goes a long way. This ensures safety and the best cooking results.
- Clean your stovetop: Any burnt-on food or debris can cause uneven heating or even scorch marks on your pot. We found a clean surface helps immensely.
- Clean your Dutch oven: Make sure the bottom of your pot is clean and dry. Food residue can burn and stick to your stovetop.
- Match burner size to pot size: Use a burner that’s roughly the same diameter as the bottom of your Dutch oven. Too small, and you’ll get hot spots in the center. Too large, and heat can escape, potentially damaging the enamel sides of your pot over time.
The Golden Rule: Low and Slow Heat
This is arguably the most important tip for electric stoves. You’ll hear us say it often!
Electric burners can get very hot, very quickly. High heat can cause problems. It can damage the enamel on your Dutch oven, leading to cracking or chipping. It can also scorch your food and create super-hot spots on your stovetop.
Start with low to medium heat settings. Let your Dutch oven preheat slowly. This allows the cast iron to absorb and distribute the heat evenly. Think of it like warming up a cold engine. You wouldn’t rev it to maximum power right away, would you?
Preheating Your Dutch Oven Safely
Unlike some other pots, you shouldn’t just blast your Dutch oven with high heat. We recommend a gentle approach.
Place your empty Dutch oven on the appropriate burner. Turn the heat to low or medium-low. Allow it to heat for 5-10 minutes. You want the entire pot to be warm, not just the bottom. This gradual warming prevents thermal shock, which can damage enamel.
Cooking Techniques for Electric Stoves
Once your Dutch oven is preheated, you’re ready to cook. Remember that even heat distribution is your friend.
Browning and Sautéing
For browning meats or sautéing vegetables, you might need slightly higher heat, but still keep it in the medium range. Resist the urge to crank it up to high. If food isn’t browning, it’s often because the pot wasn’t preheated long enough. Give it more time, not more heat.
Simmering and Braising
This is where the Dutch oven truly shines, especially on an electric stove. Its excellent heat retention means you can turn the heat down to very low for long periods. Your food will gently simmer without constant monitoring. Many experts say a Dutch oven is ideal for low-and-slow cooking (America’s Test Kitchen).
Baking in a Dutch Oven
Yes, you can even bake in a Dutch oven on an electric stove! This is perfect for things like no-knead bread. You’ll typically preheat the empty Dutch oven in the oven, then carefully add your dough. The radiant heat from the pot helps create a crisp crust.
Avoiding Common Pitfalls
Knowing what not to do is just as important as knowing what to do. These mistakes can harm your cookware or lead to disappointing meals.
| Mistake | Why It’s Bad | Solution |
|---|---|---|
| High Heat Setting | Damages enamel, creates hot spots, burns food. | Always use low to medium heat. Preheat slowly. |
| Using Cold Pot on Hot Burner | Causes thermal shock, can crack enamel. | Preheat Dutch oven slowly with the burner. |
| Incorrect Burner Size | Uneven heating, wasted energy, potential pot damage. | Match burner to pot base diameter. |
| Sliding Pot on Glass Top | Scratches stovetop, wears down pot base. | Always lift the pot, never slide it. |
Care and Maintenance After Cooking
Proper cleaning extends the life of your Dutch oven and keeps your stovetop looking good. We found that immediate care prevents bigger problems later.
- Let your Dutch oven cool down completely before washing.
- Use warm, soapy water and a soft sponge or nylon brush.
- For stuck-on food, let it soak in warm water first.
- Avoid abrasive cleaners or steel wool, which can damage the enamel.
- Always dry your Dutch oven thoroughly to prevent rust on exposed cast iron.
- Clean your electric stovetop after each use, especially if there are spills.
Your Electric Stove Dutch Oven Checklist
Keep this handy guide in mind next time you cook. It covers the key steps for success.
- Always choose a flat-bottomed Dutch oven.
- Ensure your stovetop and pot are clean and dry.
- Select a burner that matches your pot’s base.
- Begin with low to medium heat and preheat slowly.
- Avoid sudden temperature changes – gradual is best.
- Lift the pot to move it, never slide, especially on glass-ceramic.

Conclusion
You now have all the tools to confidently use your Dutch oven on an electric stove. Remember, the core principles are gentle heat, slow preheating, and proper care. We found that embracing “low and slow” cooking not only protects your equipment but also yields incredibly flavorful results.
Don’t let the type of stovetop limit your culinary adventures. By following these straightforward tips, you’ll be making delicious, comforting meals in your Dutch oven for years to come. Go ahead, choose your next recipe and start cooking!
Frequently Asked Questions
Can a Dutch oven scratch a glass-top stove?
Yes, a Dutch oven can scratch a glass-top stove if it’s slid across the surface. Always lift your Dutch oven to move it, especially if it’s heavy or has any imperfections on its base. Maintaining a clean stovetop also helps prevent abrasions.
How do I prevent my Dutch oven from burning on an electric stove?
The best way to prevent burning is to use low to medium heat settings and preheat your Dutch oven slowly. Electric stoves can get very hot, so giving the pot time to absorb and distribute heat evenly is crucial. Never blast it with high heat from the start.
Is it okay to put a hot Dutch oven directly into cold water?
No, you should never put a hot Dutch oven directly into cold water. This can cause thermal shock, which may crack or chip the enamel coating. Always let your Dutch oven cool down completely to room temperature before washing it.
Why is a flat bottom important for Dutch ovens on electric stoves?
A perfectly flat bottom is essential for efficient heating and to prevent hot spots. An uneven or warped bottom won’t make full contact with the electric burner, leading to inconsistent cooking and potential damage to the pot or stovetop. This is especially true for glass-ceramic surfaces.
Can I use a Dutch oven for deep frying on an electric stove?
You can use a Dutch oven for deep frying, but exercise extreme caution with oil temperatures on an electric stove. Electric burners can maintain very high heat, so monitor the oil carefully with a thermometer. Always keep the heat setting at a controlled medium, never high, to prevent overheating the oil.
