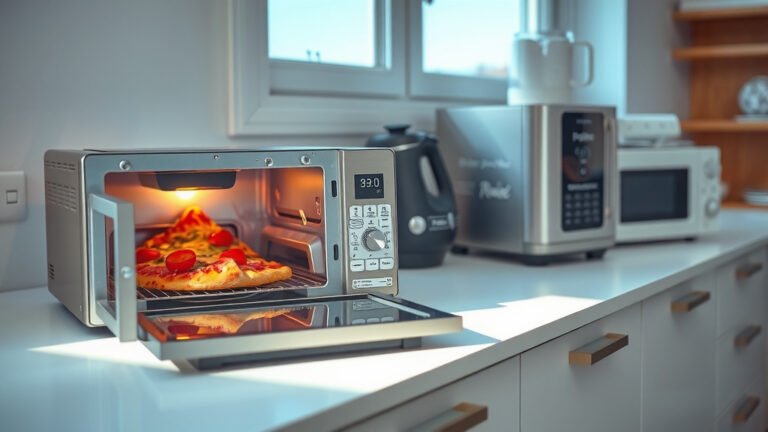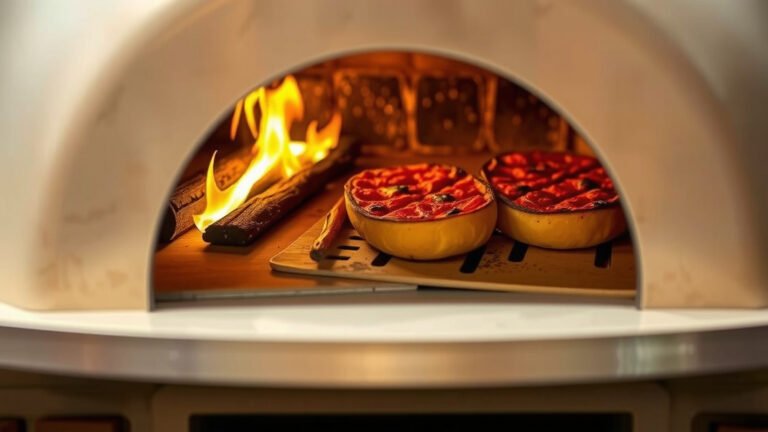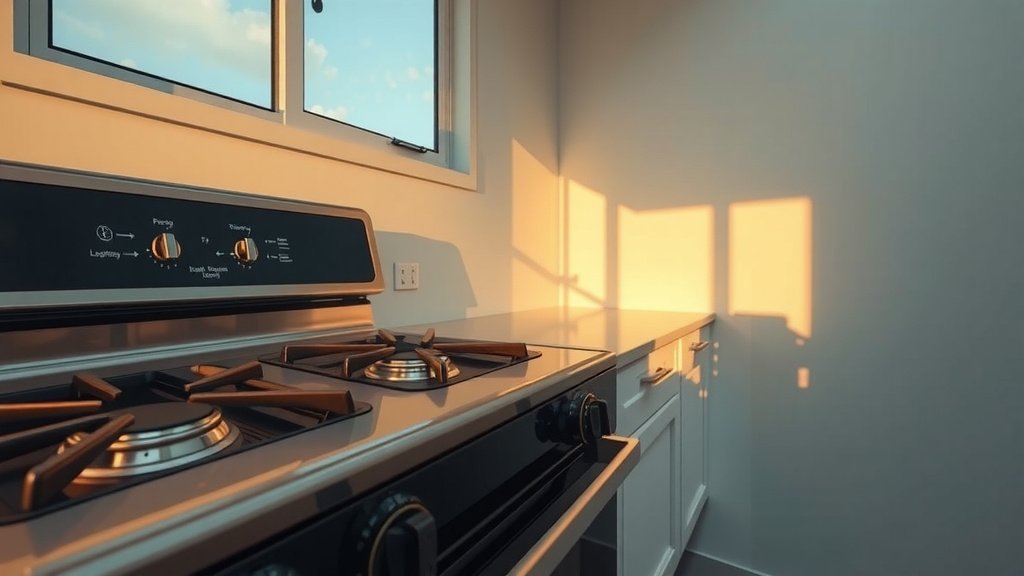
How to use a gas oven for the first time involves a few simple steps to ensure safety and proper function before you start cooking. You’ll need to clean it thoroughly, perform an initial ‘burn-off’ to remove manufacturing oils, and then familiarize yourself with the controls for accurate cooking.
Beginning with a new gas oven can feel a bit daunting, but with the right guidance, you’ll be baking and roasting like a pro in no time, making your first experience safe and successful.
TL;DR: Starting with your new gas oven is straightforward if you follow these key steps:
- Before anything else, give your new gas oven a good cleaning inside.
- Perform a ‘burn-off’ cycle to eliminate factory smells and residues.
- Take time to understand your oven’s controls and how to ignite the flame.
- Always keep your kitchen well-ventilated, especially during the first few uses.
- Start with simple recipes to help you get a feel for its unique heat distribution.
How To Use A Gas Oven For The First Time?
Using a gas oven for the very first time primarily means focusing on safety, cleaning, and understanding its unique operational rhythm. The goal is to prepare it for cooking and familiarize yourself with its functions.
Unboxing and Initial Setup
When your new gas oven arrives, the excitement is real! Before you even think about turning it on, there are a few important initial steps to take. It’s like preparing a canvas before painting your masterpiece.
Check for Gas Connections
First, confirm that your gas oven is correctly and securely connected to the gas supply line. Many experts recommend having a certified professional install it (NFPA guidelines). This ensures there are no leaks and everything is up to code.
A loose connection is a safety hazard, so double-check or ask someone knowledgeable to confirm. You want to be sure everything is snug and leak-free.
Clean Your Oven Thoroughly
New ovens, whether gas or electric, often come with manufacturing residues, dust, and sometimes even packing materials. Grab a soft cloth and a mild, non-abrasive cleaner to wipe down the interior and exterior surfaces. This step helps remove any lingering debris.
Don’t forget the oven racks; they might also have a light coating. A quick wash in the sink with soapy water works wonders to get them sparkling clean. Think of it as spring cleaning, but for your brand-new appliance!
The All-Important Burn-Off
This might sound a bit dramatic, but a burn-off is a critical step for your new gas oven. It’s often overlooked, but it truly makes a difference in your first cooking experience.
Why You Need to Burn Off
New appliances, especially ovens, often have a protective coating or residual oils from the manufacturing process. When heated, these can produce a distinct, sometimes unpleasant, odor and a bit of smoke. A burn-off cycle essentially cooks away these elements before you introduce food (Consumer Reports).
Skipping this step might mean your first batch of cookies tastes a little…factory-like. You want your food to taste like your cooking, not new appliance fumes, right?
How to Perform a Burn-Off Safely
To perform a burn-off, open a window and turn on your kitchen exhaust fan. Set your oven to its highest temperature, typically around 450-500°F (230-260°C). Let it run for 30 to 60 minutes. You might notice some smoke and a strong smell; this is normal. Just ensure good ventilation throughout.
Once the time is up, turn off the oven and let it cool completely with the oven door slightly ajar. After it cools, you can wipe it down again if there’s any residue. Now your oven is ready for food!
Getting to Know Your Gas Oven Controls
Gas ovens operate a bit differently from electric ones. Taking a moment to understand the controls will make your first cooking adventure much smoother. It’s not rocket science, but it’s worth understanding clearly.
Understanding the Knob and Ignition
Most gas ovens have a single control knob that you push in and turn to light the burner. You’ll typically turn it to a specific temperature, and then you might hear a clicking sound as the igniter sparks. Keep holding it for a few seconds after the flame lights to allow the safety mechanism to engage. Once the flame is stable, you can release the knob. Some modern ovens have automatic igniters; simply turn the knob to your desired temperature, and it will light itself. Always look for the flame to confirm ignition.
Gas Oven Temperature Settings
Gas oven temperatures can sometimes feel a bit less precise than electric ones. Many experts suggest that gas ovens often run a little hotter or have slight temperature fluctuations (Good Housekeeping). Using an external oven thermometer placed inside can help you verify the actual internal temperature, which is a great practice for accurate baking and roasting.
Here’s a quick overview of common temperature ranges:
| Temperature Range | Common Uses |
|---|---|
| 250-300°F (120-150°C) | Slow cooking, warming food, keeping things warm. |
| 325-375°F (160-190°C) | Roasting vegetables, baking cakes, casseroles. |
| 400-450°F (200-230°C) | Roasting meats, pizzas, crisping foods. |
| 475-500°F (245-260°C) | Broiling (if applicable), high-heat searing. |
First-Time Cooking Tips and Tricks
Now that your oven is prepped, let’s talk about actually cooking! Your first dish in a new oven is a special moment, so let’s make it count. Don’t be afraid to start simple.
Preheating is Not Optional
Always preheat your gas oven thoroughly before placing food inside. Gas ovens can take a little longer to reach and stabilize at the set temperature compared to electric. Give it at least 15-20 minutes, or even longer for higher temperatures, after the indicator light goes off. This ensures your food cooks evenly and to the desired texture. A properly preheated oven is the secret to consistent results.
Using Oven Racks Wisely
Gas ovens often have a direct heat source from the bottom. This means items on the lowest rack might cook faster on the bottom. If you’re baking cookies, for example, consider using the middle rack. For even cooking, especially with larger items, you might want to rotate your dishes halfway through the cooking time. Understanding where the heat comes from helps you position your food best.
Monitoring Your Food
Keep an eye on your food, especially during the first few uses. Don’t just set a timer and walk away. Gas ovens can sometimes run slightly hotter or cooler than the dial suggests. Peek through the oven window or open the door briefly to check progress. This helps you learn your oven’s “personality” and adjust cooking times as needed. You’ll develop a natural feel for it over time.
Safety First: Essential Gas Oven Guidelines
Safety is always paramount when working with gas appliances. Knowing a few basic rules will keep your kitchen a happy and safe place. These tips are for everyone in the home.
Ventilation is Your Friend
Whenever you’re using your gas oven, always ensure good ventilation. This means turning on your exhaust fan or opening a window. Burning gas produces byproducts like carbon monoxide, which needs to dissipate. Good airflow is not just for preventing smoke alarms; it’s also for your health and well-being.
What to Do If You Smell Gas
If you ever smell gas, even faintly, take it seriously. Turn off the oven, open windows and doors to ventilate the area, and step outside. Do not turn on or off any lights or electrical appliances, as a spark could ignite gas. Call your gas company or emergency services immediately from a safe location. This is a rare occurrence with proper installation but it’s always better to be prepared and safe (NIH advises caution).
Your Gas Oven Safety Checklist:
- Always confirm the gas connection is secure before use.
- Ensure adequate ventilation by opening a window or using an exhaust fan, especially during initial burn-off.
- Never leave the oven unattended during its first few cooking cycles.
- Keep flammable items, like dish towels or curtains, away from the oven.
- Do not store anything inside the oven when not in use.
Conclusion
Using a gas oven for the first time is a journey of discovery that begins with safety and careful preparation. From that crucial burn-off to understanding the nuances of gas heat, each step builds your confidence. We found that taking your time to understand your new appliance will prevent common mishaps and set you up for many enjoyable cooking experiences. Remember, every master chef started somewhere, and your kitchen adventures are just beginning!
What should I cook first in a new gas oven?
For your very first dish, we suggest something simple and forgiving, like a tray of roasted vegetables or frozen pizza. This allows you to observe how your oven heats and cooks without the pressure of a complex recipe. It’s a low-stakes way to learn your oven’s unique quirks.
Why does my new gas oven smell like burning plastic?
That initial smell, often described as burning plastic or chemicals, is usually the residue from the manufacturing process burning off. It’s completely normal for a new oven and why the “burn-off” cycle is so important. Ensure good ventilation, and the smell will dissipate after a few uses.
Do gas ovens cook differently than electric ovens?
Yes, gas ovens often cook with a “moister” heat, which can be great for roasting and preventing food from drying out. They also tend to heat up and cool down faster once the flame is active. However, they might have more temperature fluctuations and can sometimes create hot spots compared to the dry, even heat of electric ovens.
How do I calibrate my gas oven if it’s not accurate?
If your oven thermometer consistently shows a different temperature than your oven’s setting, you might need to calibrate it. Many modern gas ovens have a calibration feature in their settings menu, allowing you to adjust the temperature up or down. Check your oven’s user manual for specific instructions on how to access and use this feature.
Can I use aluminum foil on the bottom of my gas oven?
Many experts strongly advise against lining the bottom of a gas oven with aluminum foil. It can trap heat, block the airflow from the burner, lead to uneven cooking, and potentially damage the oven’s enamel finish or internal components. It’s best to use baking sheets or oven-safe dishes to catch spills instead.