
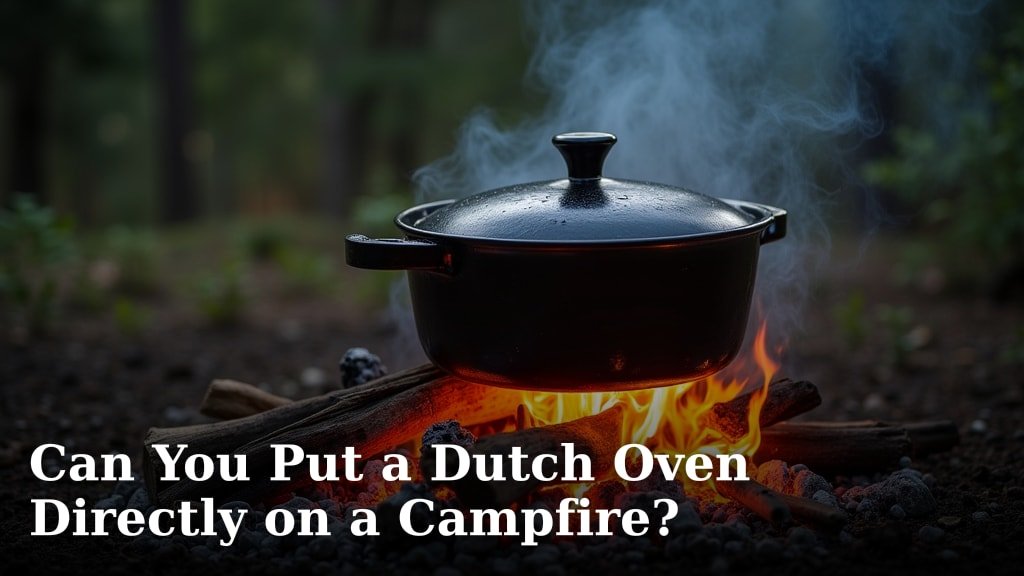
Yes, you absolutely can put a Dutch oven directly on a campfire, but there are a few key things you need to know. Doing it right ensures you get delicious campfire meals without damaging your pot. It’s a fantastic way to cook when you’re out camping.
Campfires offer a unique cooking heat source. A well-seasoned cast iron Dutch oven is built for this kind of rugged use. It handles the direct heat and smoke beautifully. You just need to prepare it and the fire properly.
- You can cook with a Dutch oven on a campfire.
- Use a well-seasoned cast iron model.
- Make sure your fire is ready for cooking.
- Protect your pot and your food.
- Clean it up afterward.
Ready to get cooking? Let’s walk through exactly how to safely place your Dutch oven directly into the campfire embers for an amazing meal.
Cooking with Your Dutch Oven in a Campfire
Yes, you absolutely can put a Dutch oven directly onto a campfire. It’s a classic way to cook outdoors. A well-seasoned cast iron Dutch oven is made for this kind of cooking. It can handle the direct heat and the smoky environment of a fire. You just need to prepare your fire and your pot correctly. This guide will walk you through exactly how to do it safely and effectively.
Imagine this: you’re out camping, the stars are out, and you’re cooking a hearty meal right over the crackling fire. That’s the magic of campfire cooking with a Dutch oven. It’s more than just cooking; it’s an experience. But to make sure that experience is delicious and safe, there are a few key steps you’ll want to follow.
Choosing the Right Dutch Oven for Campfire Cooking
Not all Dutch ovens are created equal when it comes to campfire use. Your best bet is a sturdy, well-seasoned cast iron model. This material is fantastic because it distributes heat evenly and holds onto it for a long time. This means your food cooks consistently, even in the uneven heat of a campfire.
Why Cast Iron is King for Campfires
Cast iron is incredibly durable. It’s designed to withstand high temperatures and direct contact with heat sources. A good cast iron Dutch oven can last for generations if you take care of it. Its weight is also a plus when cooking on uneven surfaces like campfire embers. It helps keep the pot stable.
Seasoning is Your Superpower
The seasoning on your Dutch oven is like a protective, non-stick coating. It’s a layer of polymerized oil that bonds to the iron. A well-seasoned pot is less likely to rust and makes cleanup a breeze. If your Dutch oven is new or hasn’t been used much, you might need to season it before heading out. You can do this by coating it with a thin layer of cooking oil and baking it in your oven at home. If your Dutch oven is new or hasn’t been used much, you might need to season it before heading out.
We found that many campers swear by a high-quality cast iron Dutch oven for its sheer toughness. It’s the kind of pot that can handle being placed directly in the fire and scraped clean without complaint.
Preparing Your Campfire for Dutch Oven Cooking
The fire itself is just as important as the pot. You don’t want a raging inferno. Instead, you need a bed of hot, glowing embers. These provide a more consistent and manageable heat than flames do. Flames can scorch your food or unevenly cook it.
Building the Perfect Cooking Fire
Start your campfire well in advance of when you want to cook. You need time for the wood to burn down into coals. Hardwoods like oak, hickory, or maple burn longer and hotter, creating excellent coals. Avoid softwoods like pine, as they burn too quickly and can leave a sticky residue on your pot.
A good rule of thumb is to start your fire at least 45 minutes to an hour before you plan to put your Dutch oven in. You’re looking for a thick layer of glowing red coals, not leaping flames. Think of it like getting a perfect bed of coals for grilling – consistent heat is key.
Managing Heat with Embers
Once you have a good bed of coals, you can arrange them. You might want to push some coals to one side to create a cooler zone. This allows you to move the Dutch oven if it’s getting too hot. You can also bank coals around the sides and top of the Dutch oven. This creates a more even, oven-like heat.
Using a Shovel for Control
A small shovel or a sturdy stick is your best friend here. Use it to carefully arrange the coals. You can scoop coals under the pot and then carefully place more coals on the lid. This provides heat from all directions, mimicking a conventional oven.
Temperature Guessing Game
Figuring out the right amount of heat can be tricky at first. A general guideline for oven-like cooking is to use about 16-18 coals underneath and 14-16 coals on the lid for a 10-12 inch Dutch oven. This is a starting point, and you’ll learn to adjust based on the heat of your fire and the recipe.
Many experienced campers found that using a lid lifter and a shovel makes managing the coals much easier and safer. It helps keep your hands away from the heat.
Placing Your Dutch Oven on the Campfire
Now for the main event! When your fire has a good bed of coals, you’re ready to place your Dutch oven. Remember, the goal is consistent, even heat. You don’t want to set it directly in the hottest part of the flames.
Direct Placement in the Embers
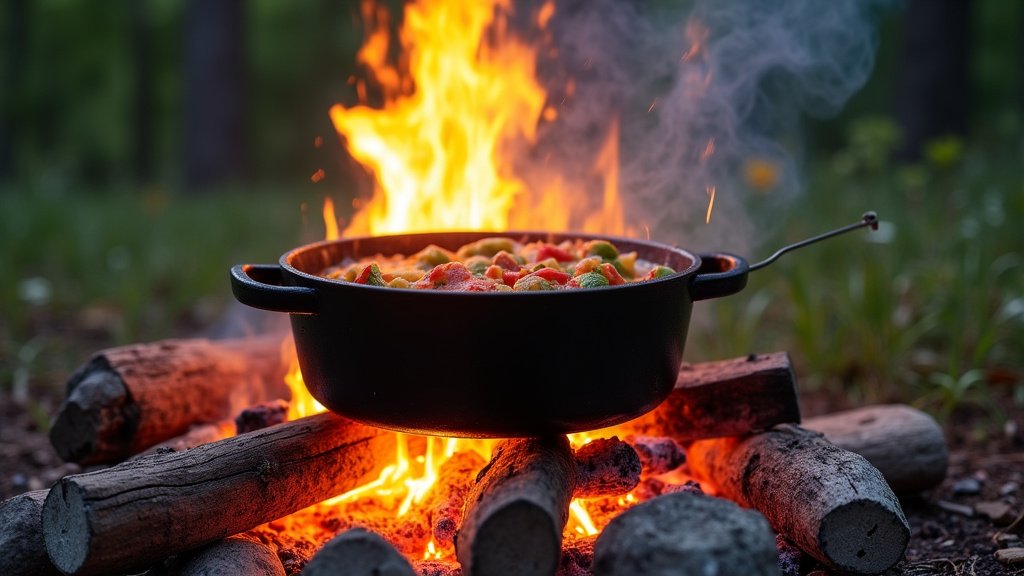
Carefully scoop out a space in the hot embers. You want a relatively flat, stable area. Gently place the bottom of your Dutch oven onto these prepared coals. Ensure the pot is sitting level and doesn’t wobble.
Using a Lid Lifter for Safety
A lid lifter is essential. It’s a sturdy tool that allows you to safely lift the hot lid without burning your hands. You’ll be using it frequently to check your food and add coals. Always keep your lid lifter handy.
Banking Coals for Even Cooking
Once the pot is in place, you’ll want to carefully add coals to the lid. Use your shovel or stick to scoop hot coals and distribute them evenly over the lid. Aim for a generous layer. This heat from above is what helps your food cook through and get that nice browned finish.
We found that a sturdy pair of heat-resistant gloves is also a lifesaver. They give you extra confidence when handling the pot or moving coals.
Protecting Your Dutch Oven and Your Meal
Even though cast iron is tough, you still want to protect it and, more importantly, your food. Direct contact with the hottest parts of the fire or ash can impact your meal.
Using a Trivet or Coals for Spacing
Sometimes, you might want a little buffer between the pot and the coals. A cast iron trivet designed for Dutch ovens works perfectly. You can also use a few larger, flatter rocks that have been heated in the fire. These create a slightly elevated space, preventing scorching.
Alternatively, you can simply control the heat by managing the number of coals. If you notice your food is cooking too fast, remove some coals from underneath. This is where the shovel becomes your best friend for precise heat control.
Keeping Ash and Debris Out
When you’re cooking directly in the fire, ash and bits of charcoal can get into your food. A tight-fitting lid is your first line of defense. Make sure the lid is securely on the Dutch oven. When you lift the lid, do so carefully. Brush off any obvious ash from the lid before you remove it entirely.
Some people like to place a piece of heavy-duty aluminum foil around the rim where the lid meets the pot. This can help create a better seal and keep ash out. It’s an extra step, but it can make a difference.
When to Add or Remove Coals
You’ll need to monitor the coals throughout the cooking process. The coals will eventually burn out. You may need to add more hot coals periodically to maintain the desired temperature. If your food is cooking too quickly, carefully scoop some coals away from the bottom. Patience is key here.
Cleaning Your Dutch Oven After Campfire Use
Cleaning your Dutch oven after a campfire meal is important for its longevity. Don’t let it sit dirty for too long, especially if it’s cast iron.
Scraping Out the Leftovers
Once the pot has cooled down enough to handle safely, use a stiff brush or a scraper to remove any food residue. Avoid using harsh metal scouring pads, as these can damage the seasoning. For really stuck-on bits, you can add a little water and heat it on the fire (or a camping stove) to loosen them up.
Rinsing and Drying Thoroughly
Rinse the pot with water. Never use soap on a well-seasoned cast iron Dutch oven, as it can strip away the seasoning. After rinsing, it’s absolutely critical to dry it completely. You can dry it with a towel, and then place it back on low heat for a few minutes to ensure all moisture has evaporated. Never use soap on a well-seasoned cast iron Dutch oven, as it can strip away the seasoning.
Re-seasoning for Storage
After drying, apply a very thin coat of cooking oil all over the inside and outside of the pot. Wipe off any excess oil. This light coating will protect the cast iron from rust while it’s in storage. It’s a simple step that makes a big difference in keeping your Dutch oven in top condition for your next adventure.
Many experts recommend this routine. A well-maintained cast iron Dutch oven will be your trusty companion for countless campfire meals to come.
Safety Checklist for Campfire Dutch Oven Cooking
Before you head out, or right at the campsite, run through this quick checklist to ensure a safe and delicious cooking experience.
- Fire Prepared: Ensure you have a good bed of hot, glowing coals, not active flames.
- Seasoned Pot: Confirm your Dutch oven is well-seasoned cast iron.
- Tools Ready: Have a lid lifter, heat-resistant gloves, and a shovel on hand.
- Stable Surface: Find or create a level spot in the embers for your pot.
- Ash Protection: Use a tight-fitting lid and consider foil around the rim.
- Cooling Down: Let the pot cool before cleaning; dry thoroughly afterward.
Conclusion
You’ve learned that placing your Dutch oven directly on campfire embers is a rewarding cooking method. It requires a well-seasoned cast iron pot and a properly prepared bed of coals for consistent heat. By managing your fire, protecting your pot, and cleaning it well afterward, you ensure great meals and a long-lasting cooking companion. So, grab your trusty Dutch oven, head to the campfire, and get ready to cook up some unforgettable outdoor meals. Your next delicious adventure awaits!
Frequently Asked Questions
Can I use a Dutch oven with a glass lid on a campfire?
It’s generally not recommended to use a Dutch oven with a glass lid directly in campfire embers. The extreme and uneven heat can cause glass to crack or shatter, posing a safety risk and damaging your pot. Stick to cast iron lids for campfire cooking.
How do I know if my Dutch oven is well-seasoned enough for a campfire?
A well-seasoned Dutch oven will have a smooth, dark, and somewhat glossy surface. It should feel slick to the touch. If it looks dull, patchy, or shows signs of rust, it likely needs more seasoning before being placed directly in the fire to prevent sticking and rust.
What if my campfire doesn’t have many coals left?
If your fire is burning low on coals, you can carefully add more dry, seasoned hardwood to a corner of the fire and let it burn down for about 20-30 minutes. Use a shovel to transfer the newly formed hot embers under and around your Dutch oven.
Is it okay to put a Dutch oven with food in it directly onto hot coals?
Yes, that’s exactly how you cook with it! The key is to place the Dutch oven onto a bed of hot embers, not into active flames. You’ll also add coals to the lid to create an oven-like environment for even cooking.
How do I prevent my Dutch oven from getting buried in ash?
Ensure you choose a relatively clear spot in the embers for your Dutch oven. A tight-fitting lid is your best defense against ash. You can also carefully brush away any loose ash from the lid before opening it, or use a layer of heavy-duty foil around the rim for an extra seal.
