
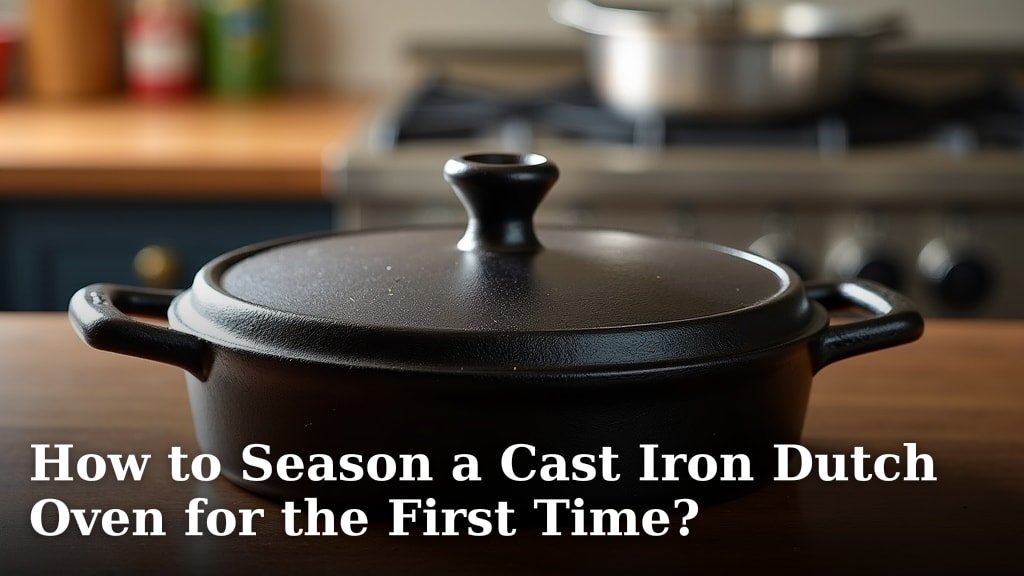
To season a cast iron Dutch oven for the first time, simply clean it thoroughly, apply a thin, even layer of cooking oil, and then bake it upside down in an oven. This process creates a durable, non-stick surface and prevents rust, which is crucial for the longevity of your cookware. Proper seasoning ensures your new Dutch oven is ready for delicious meals.
You’re starting an adventure with your new Dutch oven, and proper care from the beginning makes all the difference. Many first-time owners wonder about this initial preparation. We found that a few simple steps can turn your raw cast iron into a culinary workhorse, building up that all-important non-stick coating. This first seasoning sets the stage for years of great cooking.
TL;DR:
- Preheat your oven.
- Wash your new Dutch oven well.
- Apply a thin layer of high-smoke-point oil.
- Bake it upside down.
- Let it cool completely.
Ready to get started? Let’s walk through exactly how to season a cast iron Dutch oven for the first time, step by step, so you can cook confidently.
Preparing Your Brand-New Cast Iron Dutch Oven
You’ve just unboxed your shiny new cast iron Dutch oven. Congratulations! The first step before you even think about cooking is to get it ready for seasoning. This initial preparation makes sure your seasoning sticks properly and lasts longer.
Initial Cleaning: Why It Matters
Even though your new Dutch oven looks clean, it’s probably not. Most manufacturers apply a protective wax or oil to prevent rust during shipping and storage. You need to remove this layer completely.
Think of it like washing a new car before applying wax. You want a perfectly clean surface for the best foundation. Skipping this step can lead to a sticky, uneven seasoning that won’t perform as well.
Washing Away the Factory Residues
Grab some warm water and a mild dish soap. Don’t worry, a little soap is fine just this one time. For regular cleaning of seasoned cast iron, you’ll avoid soap, but for this initial factory residue, it’s your friend.
- Use warm, soapy water: Fill your sink or the Dutch oven itself.
- Scrub thoroughly: Use a sponge or a non-abrasive brush. Get into every nook and cranny, including the lid.
- Rinse completely: Ensure all soap residue is gone. Any leftover soap can hinder the seasoning process.
- Dry immediately and completely: This is very important! Water is cast iron’s enemy when it comes to rust. You can towel dry, or even better, place it on a low burner on your stovetop for a few minutes until all moisture evaporates. You want it bone dry.
Choosing the Best Oil for Seasoning Your Dutch Oven
The type of oil you choose for seasoning is more important than you might think. We found that not all cooking oils are created equal for this task. You need an oil that can withstand high temperatures without breaking down quickly.
This is where the concept of “smoke point” comes into play. The smoke point is the temperature at which an oil starts to burn and smoke. For seasoning, you want an oil with a high smoke point.
Understanding High Smoke Point Oils
When you heat oil on cast iron, it undergoes a process called polymerization. This means the oil molecules break down and then bond together, forming a hard, plastic-like layer. This layer is your seasoning!
An oil with a high smoke point allows it to reach the necessary temperature for polymerization without just turning into a smoky mess. If the oil smokes too much, it means it’s burning, not properly polymerizing, which can lead to a sticky, ineffective seasoning.
Recommended Oils for Initial Seasoning
Based on our research and common recommendations from culinary experts, here are some excellent choices:
- Grapeseed Oil: A top pick due to its very high smoke point (420°F / 215°C) and neutral flavor.
- Flaxseed Oil: While it has a slightly lower smoke point (225°F / 107°C), it’s known for creating a very hard, durable seasoning. However, it can sometimes be more prone to flaking for beginners if not applied perfectly thin.
- Vegetable Oil (Generic Blend): A good, affordable, and readily available option. Check the bottle; many blends have smoke points around 400-450°F (204-232°C).
- Canola Oil: Similar to vegetable oil, it’s a popular and accessible choice with a decent smoke point (400°F / 204°C).
- Crisco (Vegetable Shortening): A traditional choice for many. It has a high smoke point and often results in a very smooth, consistent seasoning.
What about olive oil? While great for cooking, its lower smoke point (around 375°F / 190°C for extra virgin) makes it less ideal for seasoning. You might end up with more smoke and less effective polymerization.
Here’s a quick comparison of some common oils and their smoke points:
| Oil Type | Approx. Smoke Point | Notes for Seasoning |
|---|---|---|
| Grapeseed Oil | 420°F (215°C) | Excellent, neutral flavor. |
| Canola Oil | 400°F (204°C) | Good, readily available. |
| Vegetable Oil | 400-450°F (204-232°C) | Reliable and cost-effective. |
| Crisco (Shortening) | 360°F (182°C) | Traditional, very smooth results. |
| Flaxseed Oil | 225°F (107°C) | Creates a very hard layer, but can be tricky. |
| Olive Oil (Extra Virgin) | 375°F (190°C) | Generally not recommended due to lower smoke point. |
The Step-by-Step Seasoning Process
Now for the main event! Follow these steps carefully, and you’ll be well on your way to a perfectly seasoned Dutch oven. Precision here helps ensure a durable, non-stick surface.
Preheating Your Oven Correctly
Before you even touch the oil, get your oven ready. You’ll need to reach a high temperature to polymerize the oil effectively.
Set your oven to 450-500°F (232-260°C). Many experts recommend aiming for the higher end of this range (America’s Test Kitchen). Make sure to let it preheat fully, not just when the light goes off. Give it an extra 15-20 minutes after it signals it’s ready.
Also, place a baking sheet or aluminum foil on the bottom rack of your oven. Why? Because even with the thinnest oil application, a little might drip, and you don’t want to clean a smoky mess from the bottom of your oven later!
Applying the Oil: Less is More
This is probably the most crucial step. You want an incredibly thin, even layer of oil. When we say thin, we mean barely perceptible.
Pour about a teaspoon of your chosen oil into the Dutch oven. Use a paper towel to rub it all over the entire surface – inside, outside, the lid, the handle, everywhere. Think of it like trying to rub the oil off rather than putting it on. You want to wipe away as much as you can.
A common mistake is using too much oil. Too much oil will result in a sticky, gummy, or uneven seasoning that can flake off. It won’t be a nice, hard surface. Imagine wiping a thin coat of varnish versus globbing on a thick layer; the thin coat cures better.
After you think you’ve wiped enough, grab a fresh, clean paper towel and wipe it again. You should barely see any oil residue. It should look dry, but with a slight sheen.
Baking for the Best Seasoning
Once your Dutch oven is perfectly oiled, it’s time to bake it.
- Place upside down: Put your Dutch oven (and its lid, separately) upside down on the top or middle rack of your preheated oven. This allows any excess oil to drip off, preventing puddles that would create sticky spots.
- Bake for one hour: Let it bake for a full 60 minutes at 450-500°F (232-260°C). During this time, the oil will polymerize, turning into that hard, non-stick surface. You might notice a little smoke; this is normal as the oil burns off and bonds.
- Turn off the oven and cool: After an hour, turn off the oven, but leave the Dutch oven inside. Let it cool down completely with the oven door closed, or slightly ajar if you’re in a hurry (but closed is better for a slow, even cool-down). This slow cooling helps the seasoning set.
Repeating the Process for Durability
One layer of seasoning is good, but multiple layers are better. Many experts suggest doing this process (clean, oil, bake) 3-4 times for the initial seasoning (Lodge Cast Iron). This builds up a robust foundation.
You don’t need to re-wash it between seasoning rounds. Just let it cool completely, then apply another super-thin layer of oil, and repeat the baking and cooling steps. Each layer adds to the non-stick properties and durability.

Your First Seasoning Checklist
To help you keep track, here’s a quick checklist for seasoning your new cast iron Dutch oven:
- Wash your Dutch oven thoroughly with warm, soapy water and a scrub brush.
- Rinse completely and dry immediately and thoroughly (stovetop drying is a bonus!).
- Preheat your oven to 450-500°F (232-260°C) with foil on the bottom rack.
- Apply a super-thin, even layer of high-smoke-point oil (like grapeseed or canola) to all surfaces.
- Bake upside down for one hour, then turn off the oven and let it cool completely inside.
- Repeat the oiling, baking, and cooling process 3-4 times for best results.
Once you’ve done this, your Dutch oven is ready for its first culinary adventure! Each time you cook with it, especially with fats, you’ll continue to build on this initial seasoning, making it even better over time.
Conclusion
You’ve taken the essential first step with your new cast iron Dutch oven. By diligently cleaning it, applying a super-thin layer of high-smoke-point oil, and baking it multiple times, you’ve created a strong, non-stick foundation. This initial effort prevents rust and ensures your cookware performs beautifully for years. Remember, consistency in care now will yield incredible cooking results later. Go ahead, start cooking, and enjoy your culinary journey!
Frequently Asked Questions
How often do I need to season my cast iron Dutch oven after the first time?
After the initial seasoning, you generally only need to re-season if your Dutch oven looks dull, food starts sticking more often, or you see signs of rust. Regular cooking with fats will naturally maintain and improve your seasoning over time.
Can I use butter to season my cast iron Dutch oven?
No, butter is not recommended for seasoning. It contains milk solids and has a low smoke point. This means it will burn easily and leave a sticky, uneven residue rather than a hard, protective layer.
My Dutch oven turned sticky after seasoning. What went wrong?
A sticky surface usually means you applied too much oil. The excess oil didn’t polymerize properly. To fix it, scrub off the sticky residue with warm, soapy water and a stiff brush, then re-season using an even thinner coat of oil.
Is pre-seasoned cast iron truly ready to use?
While many new Dutch ovens come “pre-seasoned,” this is typically a base layer from the factory. We found that performing your own initial seasoning process (as described here) still greatly improves its durability and non-stick properties before your first cook.
What if I only seasoned it once? Do I have to start all over?
Not at all! One layer is a good start. Just let your Dutch oven cool completely, then apply another thin layer of oil and repeat the baking and cooling steps. You can build up the seasoning gradually with each session.
