
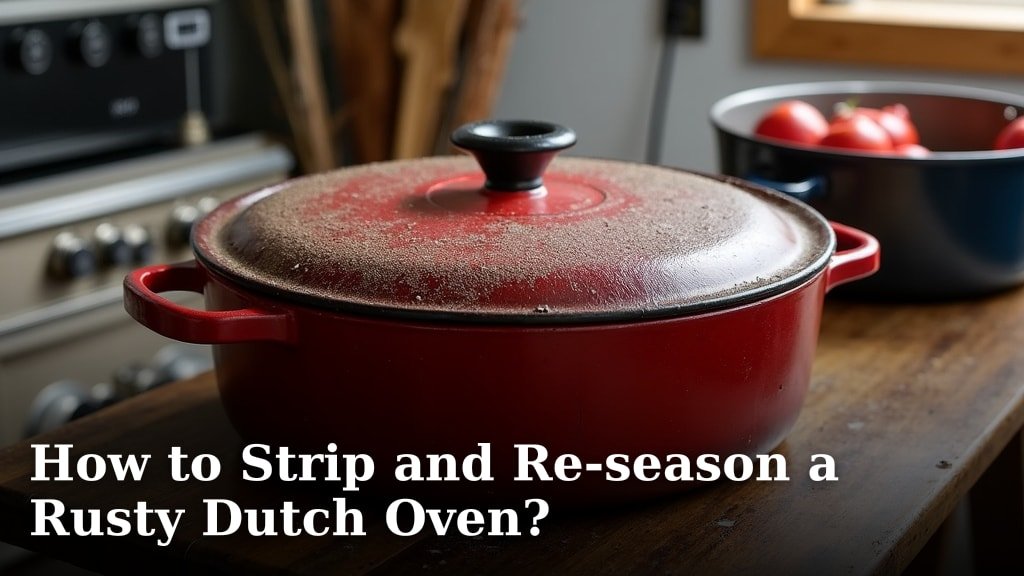
Yes, you can absolutely strip and re-season a rusty Dutch oven. It’s a straightforward process that brings your beloved cookware back to life. You’ll want to remove the rust completely and then create a new, non-stick surface. This will make your Dutch oven ready for many more delicious meals.
Rust happens when the protective seasoning layer is compromised, exposing the cast iron. Don’t worry, a little rust doesn’t mean your Dutch oven is ruined. By following a few simple steps, you can restore its functionality and appearance. This process is essential for maintaining your cookware.
- Remove rust with common household items.
- Wash and thoroughly dry your oven.
- Apply a thin layer of oil.
- Bake it to create a new seasoning layer.
- Repeat the oiling and baking process.
Ready to rescue your rusty cast iron? Let’s walk through exactly how to strip and re-season your Dutch oven step by step.
Restoring Your Rusty Dutch Oven: A Step-by-Step Guide
Don’t let a little rust get you down! Restoring your beloved Dutch oven is completely achievable. We’ll guide you through removing that unsightly rust and rebuilding a durable, non-stick surface. Your pot will be ready for stews, roasts, and all your favorite recipes again.
Assessing the Rust Damage
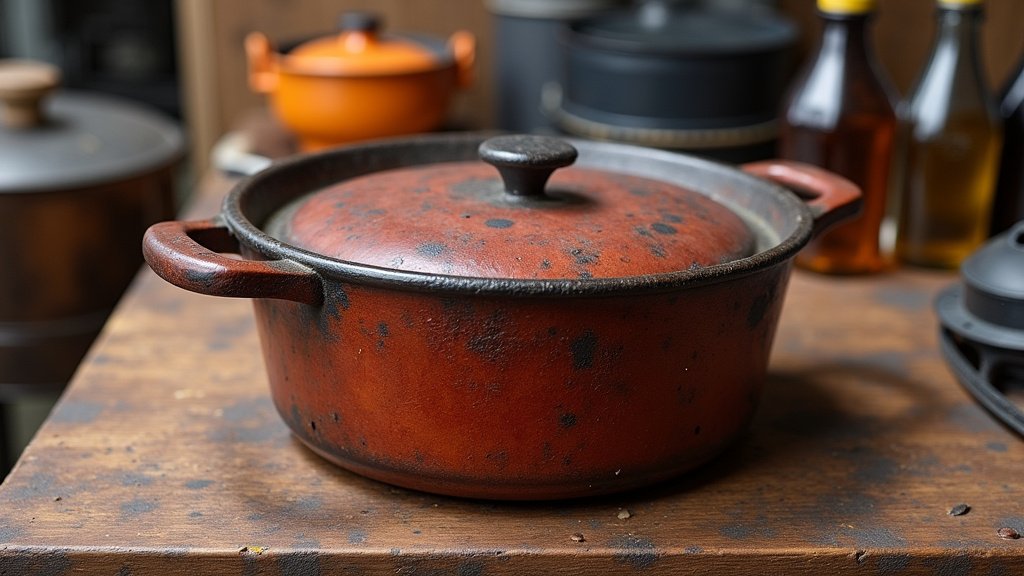
First things first, let’s take a good look at your Dutch oven. Is it just a few spots, or is the entire surface covered in an orange-brown film? This helps determine how much work is needed. A light dusting of rust is easy to tackle. Deeper pitting might take a bit more effort, but it’s still salvageable.
Understanding Why Rust Forms
Cast iron is porous. It needs a protective layer, known as seasoning, to prevent moisture from reaching the metal. When this seasoning is scratched, scraped away, or not properly maintained, moisture can seep in and cause rust. This is common if the oven is left to air dry or if acidic foods are cooked without adequate seasoning (Cleveland Clinic).
What About Enamel-Coated Dutch Ovens?
It’s important to note that this guide is specifically for bare cast iron Dutch ovens. If your Dutch oven has an enamel coating, rust is less common. If you see rust on an enamel pot, it’s usually around the rim where the cast iron is exposed. The process for fixing that is a bit different and less intensive.
Step 1: Removing the Rust Effectively
This is where we get down to business. You have a few options for rust removal, and many use common household items. The goal here is to scrub away every last bit of rust. You want to get down to the bare metal.
Using Steel Wool and Elbow Grease
For lighter rust, a good old-fashioned scrub pad or fine-grade steel wool (000 or 0000) can do the trick. You’ll need some warm water and a bit of dish soap to help lift the rust. Be prepared to scrub thoroughly. You might need to rinse and scrub again until all the orange is gone.
The Vinegar Soak Method
For more stubborn rust, a 50/50 solution of white vinegar and water is a fantastic rust remover. Submerge the affected parts of your Dutch oven in this solution. The acidity of the vinegar helps break down the rust. However, don’t leave it too long – 30 minutes to an hour is usually sufficient. Over-soaking can damage the iron itself.
After the soak, use your steel wool or a stiff brush to scrub away the loosened rust. Rinse thoroughly with water. You’ll want to make sure absolutely no vinegar residue remains. Many cooking resources recommend this method for its effectiveness (National Park Service).
Lye Bath (For Extreme Cases)
If your Dutch oven is heavily rusted or has layers of old, gunked-up seasoning alongside rust, a lye bath might be an option. However, lye is caustic and requires extreme caution. You’ll need heavy-duty rubber gloves, eye protection, and good ventilation. This method is typically used by restoration specialists. We recommend sticking to the vinegar method for home use.
Step 2: Washing and Thoroughly Drying
Once all the rust is gone, it’s time for a good wash. Use warm water and a mild dish soap. This step is crucial to remove any residual rust particles or cleaning agents. Scrub gently with a soft sponge or cloth. After all the rust is gone, wash your Dutch oven with mild dish soap and warm water.
The Importance of Immediate Drying
Cast iron rusts quickly. As soon as you’ve washed your Dutch oven, you need to dry it completely. Don’t let it air dry! Use a clean towel to dry it as thoroughly as possible. After towel-drying, place it on a stovetop over low heat for a few minutes. This will evaporate any remaining moisture hiding in the pores of the iron.
You’ll notice steam rising if there’s still moisture. Keep heating it until the steaming stops. This ensures your pot is bone dry, setting you up for successful re-seasoning. Think of it like preparing a canvas before painting – a clean, dry surface is essential.
Step 3: The Re-Seasoning Process
Now for the magic! Re-seasoning creates that protective, non-stick layer. This involves applying a thin layer of oil and baking it in the oven. You’ll repeat this process multiple times to build up a strong seasoning.
Choosing the Right Oil
What oil should you use? Many people swear by flaxseed oil for its hard finish. However, it can sometimes be prone to flaking. We found that common cooking oils work wonderfully and are readily available. Good choices include:
- Vegetable oil
- Canola oil
- Grapeseed oil
- Shortening
Avoid olive oil, as its smoke point is too low for effective seasoning. You want an oil that can get hot enough to polymerize, creating that hard, slick surface.
Applying the First Layer of Oil
Once your Dutch oven is completely dry and slightly cooled, apply a very thin layer of your chosen oil to the entire interior and exterior surface. Use a paper towel or a lint-free cloth. Then, take a clean paper towel and wipe off all the excess oil. You want it to look dry, not greasy. This is key! Too much oil will result in a sticky, uneven seasoning.
The Baking Stage
Preheat your oven to a high temperature. We recommend 450-500°F (230-260°C). Place your Dutch oven upside down on the middle rack of the oven. Placing it upside down helps any excess oil drip off, preventing pooling.
Place a baking sheet or aluminum foil on the rack below to catch any drips. Bake for one hour. This high heat polymerizes the oil, turning it into a hard, protective coating.
Step 4: Repeating for Durability
One round of seasoning is a good start, but to get a truly robust, non-stick surface, you’ll need to repeat the process. Let your Dutch oven cool completely after the first baking session. Then, reapply another thin layer of oil, wipe off the excess, and bake it again for an hour.
How Many Times Should You Season?
We recommend repeating this oiling and baking process at least 3 to 5 times. The more layers you build, the more durable and non-stick your Dutch oven will become. Some enthusiasts go even further, seasoning up to 10 times for a truly professional finish.
You’ll notice the surface changing with each layer. It will go from a dull grey to a darker, slightly glossy sheen. Keep going until you achieve a smooth, even finish that feels slick to the touch.
Quick Re-Seasoning Checklist
Ready to recap? Here’s a quick checklist to ensure you don’t miss a step:
- Scrub away all visible rust.
- Wash thoroughly and dry completely.
- Apply a very thin layer of cooking oil.
- Wipe off excess oil until it looks dry.
- Bake upside down at 450-500°F for 1 hour.
- Repeat steps 3-5 multiple times.
Maintaining Your Newly Seasoned Dutch Oven
Congratulations, you’ve brought your Dutch oven back to life! Now, how do you keep it that way? Proper maintenance is key to preventing rust from returning.
Cleaning After Use
After each use, let your Dutch oven cool slightly. Then, clean it with hot water and a stiff brush or non-abrasive sponge. Avoid using harsh detergents or metal scouring pads, as these can strip away the seasoning you worked so hard to build. If you have stuck-on food, you can simmer some water in the pot for a few minutes to loosen it.
Drying and Oiling is Crucial
Just like after the rust removal, always dry your Dutch oven immediately and thoroughly after washing. Heat it on the stovetop for a few minutes to ensure all moisture is gone. Then, apply a light coat of cooking oil while it’s still warm. Wipe off any excess. This creates a protective barrier for the next time you use it.
Storing Your Dutch Oven
Store your Dutch oven in a dry place. If you’re stacking other cookware inside, place a paper towel between the lid and the pot to absorb any moisture and prevent scratching. Never store your Dutch oven with the lid on tightly, as this can trap moisture.
Conclusion
You’ve successfully rescued your rusty Dutch oven! By following these steps, you’ve removed unsightly rust and rebuilt a durable, non-stick surface. Remember, consistent care is key to keeping your Dutch oven in top shape for years of delicious cooking.
Don’t let this be the end of your cast iron journey! Now that your pot is restored, plan your first meal to celebrate your hard work. You’ve earned it!
Frequently Asked Questions
Can I use oven cleaner to strip my Dutch oven?
While some suggest oven cleaner, we generally advise against it for bare cast iron. Harsh chemicals can be difficult to remove entirely and might damage the iron. Sticking to the vinegar soak or steel wool method is safer and just as effective for home use.
Why does my Dutch oven keep rusting?
Rust usually returns because moisture is getting to the bare metal. This can happen if your seasoning isn’t strong enough, if you’re not drying it completely after washing, or if it’s stored in a damp environment. Ensure you always dry it thoroughly, even heating it on the stove briefly.
Is it okay if my Dutch oven looks a little uneven after re-seasoning?
A perfectly smooth, even finish may take several rounds of seasoning. Don’t worry if the first few layers look a bit blotchy or uneven. Continue the oiling and baking process, and the seasoning will build up to create a more uniform surface over time.
How long does a re-seasoned Dutch oven last?
With proper care, your re-seasoned Dutch oven can last a lifetime. You’ll want to maintain the seasoning by cleaning and drying it correctly after each use. Occasional touch-up seasoning might be needed if you notice wear or notice food starting to stick.
Can I cook acidic foods like tomato sauce in my re-seasoned Dutch oven?
Once you’ve built up a good, solid seasoning layer (at least 3-5 rounds), you should be able to cook acidic foods. However, always monitor your pot. If you notice the seasoning looks compromised or food starts sticking, it might be time for another re-seasoning session.
