
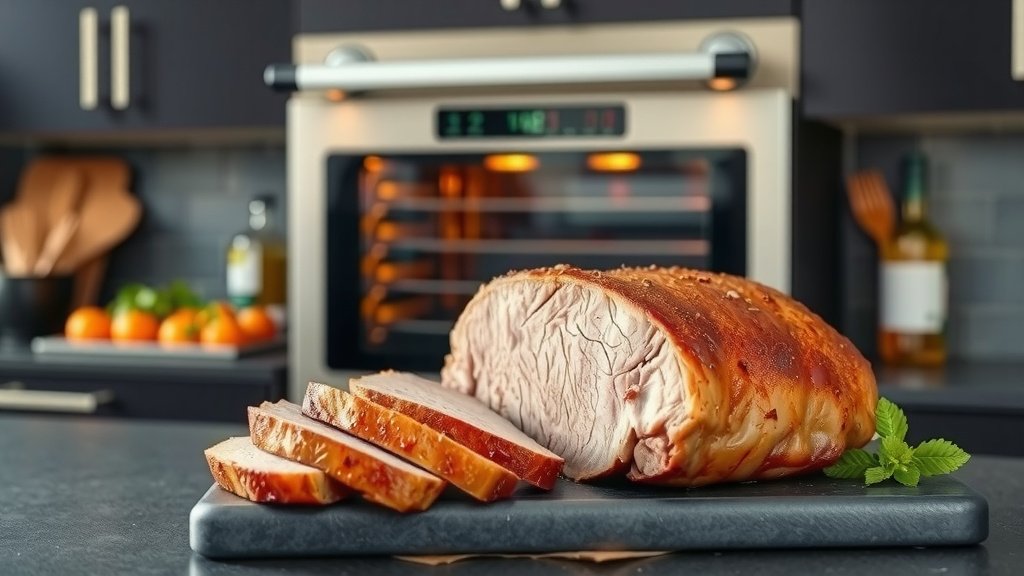
To cook a brisket in an infrared oven, you’ll want to start with a high heat sear for about 15-20 minutes to develop a crust, then reduce the temperature for a long, slow cook to achieve tender results. This method leverages infrared heat for both initial searing and sustained cooking.
An infrared oven excels at cooking brisket by delivering consistent, direct heat that locks in moisture and creates a flavorful bark, often reducing overall cooking time compared to traditional methods.
Here’s a quick look at what you’ll find in this guide:
- Infrared ovens can give your brisket an amazing crust.
- You’ll learn how to perfectly sear your brisket first.
- We’ll cover the best low and slow cooking temperatures.
- Discover the secret to a juicy, tender brisket every time.
- Get practical tips for seasoning and resting your meat.
How To Cook A Brisket In Infrared Oven?
Cooking a brisket in an infrared oven means balancing its intense heat with the need for a low-and-slow approach. You’ll first use the high heat to create a beautiful, flavorful crust, then dial back the temperature for a long, gentle cook to break down tough fibers. This two-phase method ensures your brisket is both crispy outside and incredibly tender within.
Why Infrared for Brisket?
Infrared ovens are fantastic because they heat food directly, like sunshine warms your skin. This means super-efficient cooking and often faster results. For brisket, that direct heat is perfect for searing a beautiful crust, known as the “bark.” It helps seal in juices, keeping your meat from drying out.
Many experts say this direct heat also provides a more even cooking surface. You get fewer hot spots compared to some conventional ovens. This consistency is a big win when you are cooking a large cut like brisket. We found that it makes it easier to achieve a uniform texture throughout.
Choosing Your Brisket Cut
The type of brisket you pick truly matters. A “packer” brisket includes both the flat and the point, offering a nice balance of lean and fatty meat. The fat cap is your friend; it adds flavor and moisture during the long cooking process.
If you choose just the flat, be extra careful to keep it moist, as it’s leaner. The point is richer, with more marbling. Think about the final dish you want to make when you are choosing your cut. A full packer gives you versatility for different textures.
Essential Prep for Success
Preparing your brisket properly sets the stage for a delicious outcome. First, trimming is key. You want to remove hard, excess fat, but leave about a quarter-inch fat cap. This remaining fat will melt and keep the meat moist as it cooks.
Next, apply your rub generously. Don’t be shy! A good rub creates that amazing bark. After applying the rub, let the brisket sit in the refrigerator for several hours, or even overnight. This gives the flavors time to penetrate the meat. Research shows this dry brining effect improves texture and flavor (USDA).
Your Rub Recipe Ideas
A classic brisket rub often contains coarse salt, black pepper, and garlic powder. This simple blend lets the beef flavor shine. Some people prefer a sweeter rub, adding brown sugar or paprika for color and a touch of sweetness.
Feel free to experiment with chili powder, onion powder, or even a dash of cayenne for a little kick. The goal is to create a flavor profile you and your guests will adore. Remember, a good rub is the foundation of your bark.
Setting Up Your Infrared Oven
Before the brisket goes in, preheat your infrared oven thoroughly. This is crucial for that initial sear. Depending on your oven, this might take 15-20 minutes. You want it hot!
Understanding where your oven’s infrared elements are helps you position the brisket. Some ovens have them on the top, others on the bottom. Position your brisket on a rack in a roasting pan. This allows for airflow around the meat. If you’re using an outdoor infrared grill, remember to keep the lid closed to maintain consistent heat.
Temperature Settings for Brisket
Start your brisket in a very hot infrared oven, around 450-500°F (232-260°C), for the first 15-20 minutes. This creates that wonderful sear. After the initial sear, reduce the temperature drastically. We found that a range of 225-275°F (107-135°C) is ideal for the long cook. This lower heat breaks down connective tissues slowly, resulting in a tender product (Texas A&M AgriLife Extension).
It’s a two-stage process: high heat for bark, then low heat for tenderness.
The Infrared Brisket Cooking Process
Once your oven is preheated, place your brisket fat-side up in the roasting pan. Sear it at the high temperature. After the initial sear, lower the heat as discussed. This is where the magic of “low and slow” really happens. Insert a reliable probe thermometer into the thickest part of the flat, avoiding bone or large fat pockets.
Monitor the internal temperature closely. Many experts recommend wrapping the brisket in butcher paper or foil once it hits around 160-170°F (71-77°C). This helps push it through the “stall” and keeps it moist. It’s a long process, so be patient!
Monitoring Internal Temperature
The target internal temperature for tender brisket is usually between 200-205°F (93-96°C). However, temperature is not the only indicator of doneness. You’re also looking for a specific texture. The “stall” is a common phase where the temperature stops rising for a few hours. Don’t panic; this is normal. Wrapping helps push past it. The brisket is ready when a probe slides in with little to no resistance, feeling like soft butter.
The Art of Resting Brisket
This step is non-negotiable for a juicy brisket. After cooking, remove the brisket from the oven and let it rest, still wrapped, for at least 1-2 hours. Many research suggests even longer, up to 4 hours, for a large packer (AmazingRibs.com). This allows the muscle fibers to relax and reabsorb juices. Skipping this step can lead to a dry, less flavorful brisket, no matter how well you cooked it.
Resting ensures that all that hard work doesn’t go to waste. You’ll be amazed at the difference it makes. It’s a simple but powerful technique.
Slicing Your Masterpiece
Once rested, it’s time to slice. Always slice brisket against the grain. This is incredibly important for tenderness. Look closely at the meat to identify the direction of the muscle fibers. Slicing against them shortens the fibers, making each bite more tender and easier to chew.
The flat and point often have grains running in different directions, so you might need to separate them before slicing. Aim for slices about pencil-thick. Each slice should be perfectly tender and ready to enjoy.
Troubleshooting Common Issues
Even with careful planning, sometimes things go sideways. If your brisket feels dry, it might have been cooked too long or at too high a temperature without wrapping. Uneven cooking can happen if your oven has hot spots or if the brisket wasn’t rotated. Using an oven thermometer can help you map out your oven’s heat.
If the brisket is tough, it probably didn’t cook long enough to break down the connective tissues. Remember, patience is a virtue with brisket. Don’t rush the low-and-slow phase. Learning from each cook makes you better.
Here’s a quick comparison:
| Feature | Infrared Oven Brisket | Conventional Oven Brisket |
|---|---|---|
| Searing Quality | Excellent, quick bark formation | Good, but often slower |
| Moisture Retention | High, direct heat locks juices | Good, but can dry out if unwrapped |
| Cook Time | Potentially shorter due to efficiency | Standard long cook times |
| Heat Consistency | Very even, direct heat | Can have more temperature swings |
Before you start, here’s a quick checklist to ensure success:
- Choose a good quality packer brisket.
- Trim fat to about 1/4 inch.
- Apply your favorite rub generously.
- Preheat oven to high for searing.
- Reduce temperature for slow cooking.
- Monitor internal temperature with a probe.
- Wrap the brisket when it hits the stall.
- Rest the brisket for at least 1-2 hours.
- Slice against the grain for tenderness.
Conclusion
Cooking brisket in an infrared oven combines the best of both worlds: intense searing power for that beautiful bark and consistent low heat for incredible tenderness. By understanding the unique properties of infrared technology, you can master a cooking method that locks in moisture and develops deep flavors. Remember the key steps: proper preparation, a two-stage temperature approach, careful monitoring, and crucial resting time. You’ll be serving up a juicy, perfectly cooked brisket that will surely impress. Enjoy the process and the delicious results!
What is the ideal internal temperature for brisket?
The ideal internal temperature for brisket is typically between 200-205°F (93-96°C) in the thickest part of the flat. However, it’s also important to check for tenderness; the probe should slide in with little resistance, feeling like soft butter.
Should I wrap brisket in an infrared oven?
Yes, wrapping brisket, usually in butcher paper or foil, is highly recommended when cooking in an infrared oven, especially after it reaches about 160-170°F (71-77°C). This helps push it through the “stall” and keeps the meat moist during the long cooking process.
How long does it take to cook a brisket in an infrared oven?
The cooking time for brisket in an infrared oven varies depending on its size and thickness, but generally, expect 8-12 hours for a full packer brisket. The initial high-heat sear is short, followed by many hours of low-and-slow cooking until it reaches the target internal temperature and tenderness.
Can I achieve a smoke ring in an infrared oven?
An infrared oven alone typically doesn’t produce a smoke ring, as a smoke ring is formed by nitric oxide from wood smoke reacting with myoglobin in the meat. To get a smoke ring, you would need to introduce actual wood smoke, perhaps by starting it in a smoker before finishing in the infrared oven, or using a smoking attachment if your outdoor infrared grill has one.
What kind of roasting pan is best for brisket in an infrared oven?
A sturdy, heavy-duty roasting pan with a rack is best. The rack lifts the brisket, allowing for better air circulation and even heat distribution around the meat. Choose a pan that fits your brisket comfortably without touching the sides, allowing for any juices to collect below.
