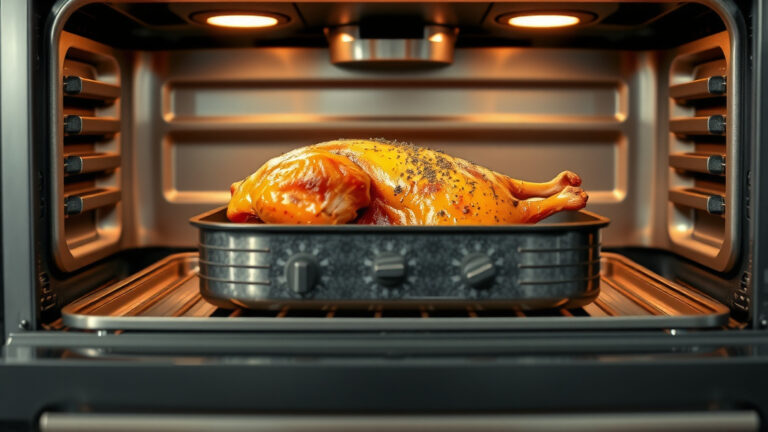
To make a jacket potato in an infrared oven, preheat the oven to a high temperature, around 400°F (200°C), prick the potato all over, rub it with a little oil and salt, then bake until it’s soft inside with a wonderfully crispy skin.
This method significantly speeds up cooking time compared to traditional ovens, giving you that perfect fluffy center and crunchy exterior faster.
Here’s a quick summary of what you’ll discover in this guide:
- Your infrared oven can create an amazing jacket potato much quicker.
- Proper potato preparation is key for optimal texture and taste.
- We will share the best temperatures and timings for infrared cooking.
- You’ll learn tricks for achieving that desirable crispy skin every time.
- Practical tips and a simple checklist will guide you to success.
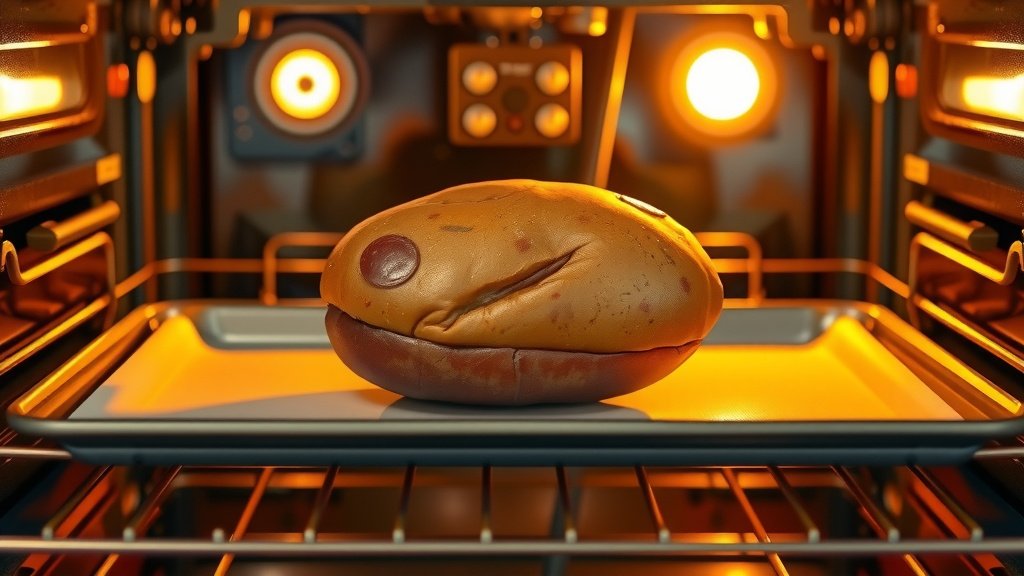
How To Make Jacket Potato In Infrared Oven?
Making a jacket potato in an infrared oven involves prepping your potato and using the oven’s unique heating for a quick, crispy, and fluffy result. It’s truly a game-changer for this classic dish.
Why Choose an Infrared Oven for Your Jacket Potato?
Infrared ovens are often celebrated for their efficiency and speed. They cook food from the inside out and the outside in simultaneously, using radiant heat. This means less waiting time for your delicious meal.
We found that infrared cooking can dramatically cut down baking times. It delivers a superior crispy skin while keeping the potato’s interior light and fluffy. Imagine enjoying your favorite jacket potato even on a busy weeknight!
Understanding Infrared Heat for Baking
Think of infrared heat like the sun warming your skin. It transfers energy directly to the food, not just the air around it. This direct heating creates a fantastic texture that can be harder to achieve with conventional ovens (Food Science Institute).
This direct approach also helps moisture stay within the potato, preventing it from drying out. You get that satisfying steamed-then-baked feel.
Choosing the Perfect Potato
The journey to an amazing jacket potato begins with the right potato. Some varieties simply perform better than others.
Look for starchy potatoes like Russet (Idaho) or King Edward. These types have a fluffy internal structure when cooked, which is exactly what you want.
Choose potatoes that are similar in size for even cooking. Small or oddly shaped potatoes might cook faster or slower than their counterparts, leading to uneven results.
Prepping Your Potato for Infrared Perfection
Preparation is simple but vital. It sets the stage for that ideal crispy skin and tender inside.
Washing and Drying Your Potatoes
First, thoroughly scrub your potatoes under cold running water. You want to remove any dirt. Then, and this is important, dry them completely. Excess moisture prevents that coveted crispy skin from forming.
Pricking Your Potato: A Must-Do Step
Grab a fork and pierce the potato skin several times all over. Why do this? It allows steam to escape during cooking (Culinary Institute of America). If you skip this, steam builds up, and your potato might explode in the oven. No one wants a potato explosion!
The Oil and Salt Rub
Lightly rub your dry, pricked potatoes with a neutral cooking oil, like vegetable or olive oil. A thin coating is all you need. This helps achieve that beautiful crispiness and even browning.
Next, sprinkle generously with coarse sea salt. The salt doesn’t just add flavor; it also helps draw out moisture from the skin, enhancing the crisp factor. We found that a good salt rub makes a noticeable difference.
Setting Your Infrared Oven for Success
Getting the temperature right is a straightforward step to ensure your potato cooks perfectly.
Preheat your infrared oven to 400°F (200°C). This high initial heat helps kickstart the skin crisping process. Allow it to heat up fully for about 10-15 minutes.
The Cooking Process: Time and Technique
Now, it’s showtime! Placing your potatoes correctly and monitoring them will ensure they cook through evenly.
Place the prepared potatoes directly on the oven rack. This allows for excellent air circulation around all sides. Avoid foil, as it traps moisture and prevents crispiness.
The cooking time can vary based on potato size and your oven’s power. Generally, a medium-sized potato will take about 40-60 minutes. A larger potato might need 70-90 minutes.
About halfway through, we recommend turning the potatoes. This promotes even cooking and browning on all sides. It’s like giving them a little rotation for perfect crispiness.
How to Check for Doneness
To check if your jacket potato is ready, simply squeeze it gently. It should feel soft and yield easily. You can also insert a skewer or thin knife; it should slide in with little resistance. A perfectly cooked jacket potato is tender all the way through.
Tips for an Extra Crispy Skin and Fluffy Interior
Want to take your jacket potato from good to amazing? Try these simple expert tips.
- **Don’t Rush the Cooling:** Once baked, let the potatoes sit for 5 minutes before cutting. This allows residual heat to finish cooking and redistribute moisture.
- **A Quick Butter Brush:** After cooking, you can brush the skin with a tiny bit of melted butter. This adds flavor and can enhance crispiness even further.
- **Fluff with a Fork:** Once you cut open your potato, use a fork to gently fluff up the interior. This creates that wonderfully airy texture we all adore.
Troubleshooting Common Jacket Potato Issues
Sometimes things don’t go exactly as planned. Here are fixes for common problems:
| Problem | Possible Cause | Solution |
|---|---|---|
| Potato not crispy | Too much moisture, low heat, foil used | Dry thoroughly, increase heat slightly, bake directly on rack |
| Potato dry inside | Overcooked, wrong potato type | Reduce cooking time, use starchy varieties like Russet |
| Potato hard in spots | Uneven size, not turned | Choose similar sizes, turn halfway through baking |
Your Jacket Potato Success Checklist
Keep this quick checklist handy for your next perfect jacket potato adventure:
- Choose starchy potatoes of similar size.
- Wash and completely dry potatoes.
- Prick potatoes all over with a fork.
- Rub with oil and coarse salt.
- Preheat infrared oven to 400°F (200°C).
- Bake directly on the oven rack.
- Turn potatoes halfway through cooking.
- Check for doneness with a gentle squeeze or skewer.
Conclusion
Making a jacket potato in an infrared oven is an incredibly rewarding experience. You get to enjoy a quicker cooking time without sacrificing that essential crispy skin and fluffy, tender interior. By following these straightforward steps, from careful potato selection and preparation to precise cooking and helpful tips, you’re well on your way to creating a truly satisfying meal. So go ahead, give it a try, and taste the delicious difference infrared technology can make!
Frequently Asked Questions
Can I use an infrared oven for other root vegetables?
Yes, absolutely! Infrared ovens are fantastic for roasting many root vegetables like sweet potatoes, carrots, or parsnips. The direct heat helps them caramelize nicely on the outside while staying tender within. Just adjust cooking times based on the vegetable and its size.
How does an infrared oven differ from a convection oven for potatoes?
A convection oven uses a fan to circulate hot air, cooking food more evenly and often faster than a conventional oven. An infrared oven uses radiant heat that penetrates the food directly. For potatoes, both can be efficient, but many people find infrared excels at achieving that crispy skin faster due to the direct energy transfer.
Do I need to par-boil potatoes before putting them in an infrared oven?
No, there’s no need to par-boil jacket potatoes for an infrared oven. The efficient heating of the infrared oven means they will cook thoroughly from raw. In fact, par-boiling might make it harder to achieve that desired crispy skin.
What are some creative topping ideas for my infrared jacket potato?
Once your infrared jacket potato is beautifully cooked, the topping possibilities are endless! Classic options include butter, cheese, and chives. For something different, try chili con carne, baked beans, tuna mayonnaise, sour cream and bacon bits, or even a dollop of hummus with roasted vegetables. Don’t be shy; experiment with your favorites!
Is an infrared oven more energy-efficient for baking potatoes?
Many experts agree that infrared ovens are generally more energy-efficient than traditional ovens. They heat up faster and cook food quicker because they transfer heat directly to the food, rather than heating the entire air volume inside the oven. This can result in lower energy consumption over time, which is a nice bonus.