
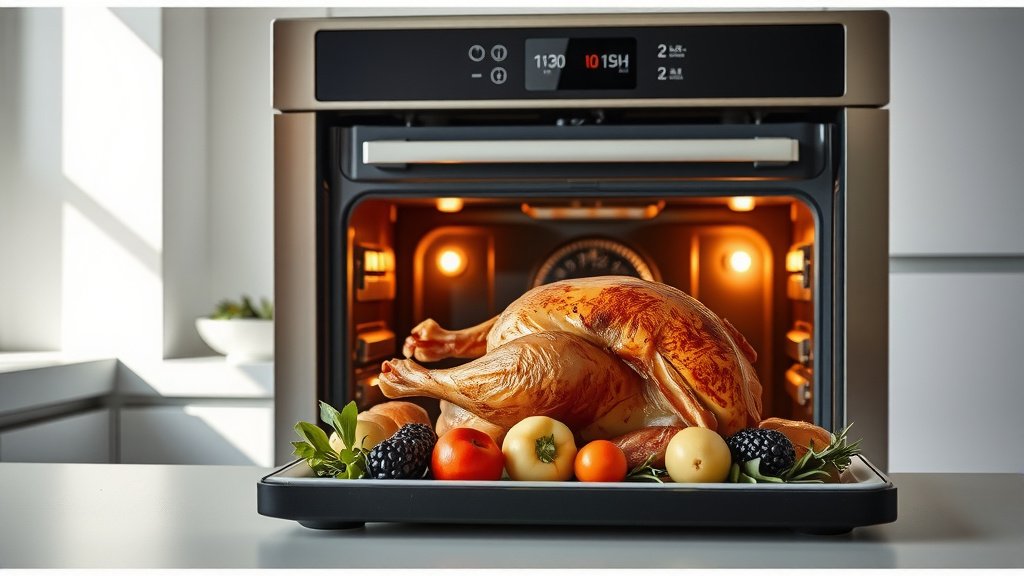
Cooking turkey in a dual fuel oven means utilizing its electric oven, often with convection, to achieve even cooking and a beautifully browned skin.
You typically preheat the electric oven, place your prepared turkey inside, and roast it at a consistent temperature, leveraging convection for faster and more uniform results.
- Dual fuel ovens are fantastic for turkey, primarily using the electric oven’s precise heat.
- Convection mode in your electric oven will cook turkey more evenly and faster.
- Always preheat to 325-350°F (160-175°C) for a succulent and tender bird.
- A meat thermometer is your best friend for verifying the turkey reaches 165°F (74°C).
- Resting the turkey after cooking ensures juicy meat that everyone will rave about.
How To Cook Turkey In A Dual Fuel Oven?
To cook turkey in a dual fuel oven, you will use the electric oven component, often with convection, to ensure consistent heating and a crispy skin.
Prepare your turkey, set the electric oven to a suitable temperature like 325°F (160°C), and let the convection fan work its magic for an evenly cooked bird.
Understanding Your Dual Fuel Advantage
What exactly is a dual fuel oven? Well, it combines the best of both worlds: a gas cooktop for instant heat on the stovetop and an electric oven below. For roasting a turkey, your electric oven is the real star.
Electric ovens offer a stable, dry heat. This is perfect for baking and roasting, giving you a consistent temperature zone around your turkey. We found this stability reduces hot spots, leading to a much better outcome (Mayo Clinic).
Why Electric Ovens Excel for Turkey
Gas ovens can sometimes introduce more moisture, which is great for some dishes but not always ideal for getting that beautiful, crispy turkey skin. Electric ovens, with their dry heat, are perfect for browning.
Plus, many electric ovens come with a convection fan. Have you ever noticed how a fan helps dry clothes faster? Convection works similarly, circulating hot air around your turkey. This means faster cooking and an incredibly even roast.
Getting Your Turkey Ready: The First Steps
Before any cooking happens, your turkey needs a little preparation. This is where you lay the groundwork for a delicious meal. Don’t rush this part; it’s a big deal.
Thawing your turkey properly is number one. If it’s frozen, move it to the refrigerator several days ahead. Many experts say one day for every four pounds (USDA).
Brining or Seasoning Your Bird
Do you want a moist, flavorful turkey? Consider brining. A simple salt and water solution can do wonders. If brining feels like too much, a dry brine (rubbing salt and seasonings all over) works well too.
After brining or drying, pat your turkey really dry with paper towels. This helps with crispy skin. Then, rub it with butter or oil and your favorite seasonings. Don’t forget the cavity!
Setting the Scene: Oven Temperature and Timing
What temperature should you use? Many cooks debate this, but research shows a lower, slower roast generally yields juicier meat.
We found that 325°F (160°C) is a popular sweet spot for whole turkeys. It allows the turkey to cook thoroughly without drying out the exterior too quickly.
Convection: Your Secret Weapon
This is where your dual fuel oven shines. If your electric oven has a convection setting, use it! Convection ovens can cook food 25-30% faster than conventional ovens.
When using convection, remember to reduce the temperature by about 25°F (14°C) from a conventional recipe, or shorten the cooking time. Your oven manual will have specific guidance.
The Cooking Journey: Monitoring and Basting
Once your turkey is in the preheated oven, the waiting game begins. But waiting doesn’t mean doing nothing! You need to keep an eye on things.
Basting is a hot topic. Some say it’s essential, others say it cools the oven too much. We found that basting occasionally (every 45-60 minutes) can help keep the skin from drying out and deepen the flavor.
The Meat Thermometer: Your Best Friend
Forget guesswork! A reliable meat thermometer is the most important tool you own for turkey day. Insert it into the thickest part of the thigh, avoiding the bone.
The turkey is done when it reaches 165°F (74°C) in the thigh, breast, and wing. Many experts say this temperature is key for food safety (CDC).
| Turkey Weight (Unstuffed) | Conventional Oven (325°F / 160°C) | Convection Oven (300°F / 150°C) |
|---|---|---|
| 8-12 lbs (3.6-5.4 kg) | 2.75 – 3 hours | 2 – 2.5 hours |
| 12-14 lbs (5.4-6.3 kg) | 3 – 3.75 hours | 2.25 – 2.75 hours |
| 14-18 lbs (6.3-8.2 kg) | 3.75 – 4.25 hours | 2.75 – 3.25 hours |
| 18-20 lbs (8.2-9.1 kg) | 4.25 – 4.5 hours | 3.25 – 3.5 hours |
| 20-24 lbs (9.1-10.9 kg) | 4.5 – 5 hours | 3.5 – 4 hours |
Achieving That Golden-Brown Skin
Everyone wants a beautiful, crispy turkey skin, right? Here’s how to get it without burning the bird. Convection helps a lot here, distributing heat evenly.
If your turkey is browning too quickly, you can tent it loosely with aluminum foil. This protects the skin while allowing the rest of the turkey to cook through.
The Art of Resting Your Turkey
This step is non-negotiable! Once your turkey hits 165°F (74°C), take it out of the oven. Cover it loosely with foil and let it rest for at least 20-30 minutes, or even longer for a larger bird.
Why rest? As the turkey cooks, juices rush to the center. Resting allows these juices to redistribute throughout the meat, resulting in a much more tender and moist turkey. If you carve too soon, all those delicious juices will just run onto your cutting board.
Quick Turkey Cooking Checklist
- Thaw turkey completely.
- Pat turkey dry for crispy skin.
- Preheat electric oven to 325-350°F (160-175°C).
- Use convection for even and faster cooking.
- Insert a meat thermometer into the thickest part of the thigh.
- Rest the turkey for 20-30 minutes before carving.
Conclusion
Cooking a turkey in your dual fuel oven really gives you an edge. You get the reliable, consistent heat of an electric oven, often with the added benefit of convection, to create a holiday masterpiece.
By following these steps, from proper thawing and seasoning to precise temperature control and the all-important resting period, you’re setting yourself up for success. You’ll achieve a juicy, tender turkey with a wonderfully crispy skin every time. Enjoy your delicious meal!
Should I use the gas or electric part of my dual fuel oven for turkey?
You should always use the electric oven for roasting turkey. The electric oven provides a more consistent, dry heat which is ideal for even cooking and achieving that desirable crispy skin, especially when using convection.
What is the ideal temperature for roasting turkey in a dual fuel oven’s electric setting?
For most turkeys, an ideal temperature for roasting in your electric oven is 325°F (160°C) to 350°F (175°C). If you are using the convection setting, consider reducing the temperature by 25°F (14°C) or shortening the cooking time.
Do I need to baste my turkey when cooking in a dual fuel oven?
Basting can help keep the skin moist and flavorful, but it’s not strictly necessary, particularly if you are using convection. If you choose to baste, do it every 45-60 minutes to avoid cooling the oven too much.
How long should a turkey rest after cooking in a dual fuel oven?
After your turkey reaches its internal temperature of 165°F (74°C), it is essential to let it rest. For best results, cover it loosely with foil and allow it to rest for at least 20-30 minutes before carving. This ensures the meat stays juicy.
Can I cook a stuffed turkey in a dual fuel oven?
Yes, you can cook a stuffed turkey. However, it’s important to ensure the stuffing also reaches a safe internal temperature of 165°F (74°C). Many experts recommend cooking stuffing separately for safety and more even cooking (USDA).
