
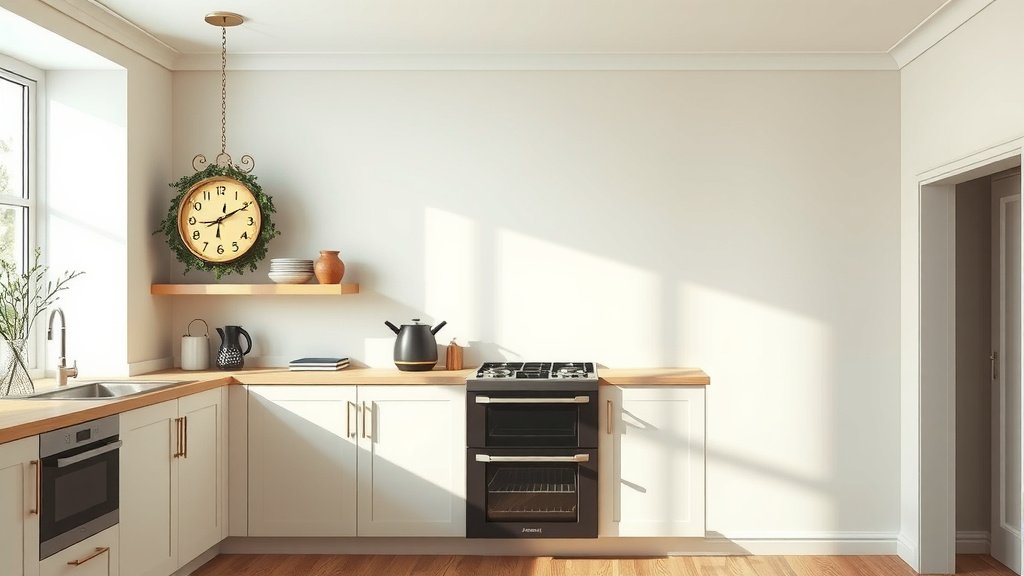
To install a dual fuel oven, you primarily need to connect both its electrical supply and its gas line, ensuring all safety codes are meticulously followed.
This installation often requires professional assistance for the gas and sometimes the electrical components to guarantee a safe and proper setup.
- Always hire certified professionals for gas and electrical connections to ensure safety.
- Carefully measure your space and oven dimensions before purchase and installation.
- Turn off both gas and electricity at the main sources before starting any work.
- Follow your specific oven’s manufacturer guidelines precisely for the best results.
- Thoroughly test all connections for leaks and proper function after installation.
How To Install A Dual Fuel Oven?
Installing a dual fuel oven involves carefully connecting it to both an existing gas supply and a dedicated electrical circuit, which often requires certified technicians.
Always prioritize safety and consult your oven’s manual for specific instructions unique to your model.
Understanding Your Dual Fuel Oven
A dual fuel oven brings together the best of both worlds: a gas cooktop for instant heat and fine control, plus an electric oven for even baking and roasting.
This combination offers great versatility in your kitchen, making it a popular choice for many home chefs (Consumer Reports).
What Makes It “Dual Fuel”?
The name says it all. You have a **gas-powered stovetop** and an **electric-powered oven** in one unit.
This setup means you’ll need both a gas line and an electrical outlet ready for your new appliance.
Safety First: Your Most Important Step
Before you even think about moving your oven, remember that safety is paramount. You’re working with both gas and electricity.
A single mistake can have serious consequences. We found that most installation issues stem from overlooking basic safety protocols.
What to Check Before You Start
Always disconnect the power supply at your main breaker panel. Turn off the gas supply valve at the main meter or the appliance cutoff valve.
Double-check that both are completely off. Many experts say this step alone prevents most accidents (National Fire Protection Association).
Gathering Your Tools and Materials
Think of this like preparing for a cooking project; you need all your ingredients ready. Having the right tools makes the job smoother and safer.
You’ll need a few common items and some specific ones for the gas and electrical parts of the job.
- Adjustable wrench set
- Screwdriver set (Phillips and flathead)
- Pliers
- Gas appliance connector kit (flexible gas line, shut-off valve, pipe thread sealant)
- Electrical outlet and cord (if not already present or needs updating)
- Volt/amp meter (optional, for checking power)
- Leak detection solution (soapy water)
- Tape measure
- Gloves and safety glasses
- Oven manual
Pre-Installation Checklist
Before starting, a quick checklist helps ensure you don’t miss anything vital. It’s like checking ingredients before baking your favorite cake.
Running through these points can save you time and prevent headaches later on.
- Is the oven’s electrical requirement (voltage/amperage) compatible with your home’s circuit?
- Do you have a dedicated 240V circuit for the oven?
- Is there an accessible gas shut-off valve near the installation area?
- Does the oven fit the cabinet opening with proper clearance for ventilation?
- Have you read the manufacturer’s installation manual thoroughly?
- Are all required tools and materials on hand?
Step-by-Step Installation Guide
Now that you’ve got everything ready and safety measures in place, it’s time to get to work. We’ll guide you through the process, step by step.
Remember to take your time and follow the specific instructions from your oven’s manual, as models can vary.
Preparing the Space
First, measure your space. Make sure the width, depth, and height of the opening match your oven’s dimensions exactly.
Clear out any old appliances or debris. Ensure the floor is level and can support the oven’s weight.
Connecting the Electrical Supply
This part needs careful attention. Your dual fuel oven requires a **dedicated 240-volt circuit**.
Most ovens come with a junction box for direct wiring or a pigtail cord to plug into a 240V outlet.
If you’re not comfortable with electrical work, we recommend calling a **licensed electrician** (Electrical Safety Foundation International).
Making the Gas Connection
Connecting the gas line is often the trickiest part, and mistakes can be very dangerous. A **flexible gas connector** is usually used to link the oven to the gas supply pipe.
Apply pipe thread sealant to the threads, then hand-tighten the connections, followed by a quarter-turn with a wrench. Do not overtighten.
Many local codes require a **licensed plumber or gas fitter** for this connection (International Code Council).
Securing the Oven in Place
Once both the electrical and gas connections are solid, gently slide the oven into its cabinet opening.
Most ovens have anti-tip brackets that you’ll need to secure to the wall or floor. This prevents the oven from tipping forward if weight is placed on the door.
Final Checks and Testing
With the oven in place, turn the gas supply back on slowly. Then, apply a **soapy water solution** to all gas connections.
Look for bubbles; if you see any, you have a leak. Tighten connections carefully until bubbles stop.
Restore power at your main breaker. Turn on the oven and stovetop burners to ensure everything functions correctly. Listen for any unusual sounds or smells.
When to Call a Pro: The Value of Expertise
While some homeowners might tackle parts of this job, we often find that professional installation provides peace of mind.
Gas and high-voltage electrical connections are not areas for guesswork. Local codes almost always require licensed professionals for these tasks.
| Task | DIY Feasibility | Recommended Professional |
|---|---|---|
| Measuring & Preparation | High | N/A |
| Moving Old Oven | Medium | Strong helper |
| Electrical Hookup | Low (if not experienced) | Licensed Electrician |
| Gas Line Connection | Very Low | Licensed Plumber/Gas Fitter |
| Securing Oven | Medium | N/A |
| Testing for Leaks/Function | Medium | Pro confirmation ideal |
Common Installation Hiccups and Solutions
Even with careful planning, things can sometimes go sideways. Don’t worry, many common issues have simple fixes.
Here are a few scenarios you might run into and how to address them.
If you slide the oven in and it doesn’t quite fit, **re-measure the opening and the oven** itself. Sometimes, a tiny cabinet adjustment is needed.
If a gas leak is detected with soapy water, **immediately turn off the gas** and re-tighten the connections. If it persists, call a gas professional.
Should the oven not power on after installation, check your **circuit breaker**. Also, confirm the electrical cord is fully seated and wired correctly.
Conclusion
Installing a dual fuel oven is a rewarding project that can greatly enhance your kitchen’s capabilities. It demands careful attention to detail, especially regarding safety.
While preparing the space and securing the oven can be DIY tasks, the gas and electrical connections often require the skill and certification of a professional.
By prioritizing safety, following your manual, and knowing when to call an expert, you can enjoy your new oven with confidence for years to come.
Can I install a dual fuel oven by myself?
While you might handle some basic steps like measuring or positioning, connecting the gas and electrical lines for a dual fuel oven typically requires licensed professionals due to safety regulations and potential hazards. It’s often best to hire an electrician and a gas fitter.
What kind of electrical hookup does a dual fuel oven need?
A dual fuel oven needs a dedicated 240-volt electrical circuit, similar to what a purely electric oven uses. This ensures enough power for the electric oven heating elements without overloading your home’s system.
How do I check for a gas leak after installation?
After connecting the gas line and turning on the gas supply, mix some dish soap with water to create a bubbly solution. Brush this solution over all gas connections. If you see bubbles forming, it indicates a gas leak, and you should immediately turn off the gas and address the connection.
Do I need an anti-tip bracket for my dual fuel oven?
Yes, all freestanding ranges, including dual fuel ovens, require an anti-tip bracket. This bracket attaches the oven to the wall or floor to prevent it from tipping over if significant weight is placed on an open oven door, which can cause serious injury.
How much space do I need around a dual fuel oven for proper ventilation?
Most manufacturers recommend specific clearances around the oven for proper ventilation and to prevent heat buildup. Always refer to your oven’s installation manual for the exact required dimensions, but typically a few inches of space are needed at the rear and sides.
