
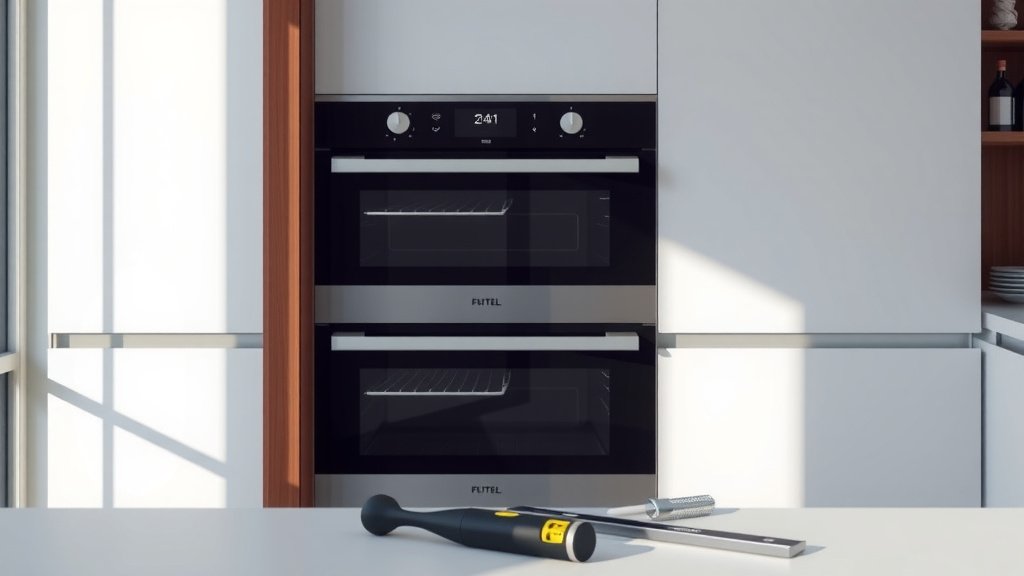
To level a double oven, you generally adjust its leveling legs located at each corner, using a wrench to turn them clockwise to lower or counter-clockwise to raise the unit.
Begin by checking the oven’s level with a bubble level, then carefully tilt or pull out the oven to access and manipulate these legs until your appliance sits perfectly stable and even.
Here’s a quick overview of what you’ll find:
- Discover why a level oven cooks better and lasts longer.
- Gather simple tools like a wrench and a reliable level.
- Learn to locate and adjust the oven’s leveling legs with ease.
- Understand how to tackle both front and rear leg adjustments.
- Get tips for built-in versus freestanding double ovens.
How To Level A Double Oven?
Leveling a double oven means making sure it sits perfectly flat and stable on your kitchen floor, which is key for even cooking and appliance longevity.
Why Does a Level Oven Matter So Much?
You might wonder, “Does a slight tilt really make a difference?” Well, for your oven, it certainly does. An unlevel oven can lead to many frustrations.
One common issue is uneven baking. Imagine a cake that browns beautifully on one side but stays gooey on the other! We found that many professional bakers consider a level oven essential for consistent results (America’s Test Kitchen).
Beyond cooking, an unlevel appliance can cause stress on its internal components. This could potentially shorten its lifespan. Also, a wobbly oven is a safety concern, especially in a busy kitchen.
Gather Your Tools First
Before you begin, gathering your tools makes the job much smoother. You won’t want to stop mid-way to search for something.
Here’s a quick list of what you’ll likely need:
- A reliable bubble level (a 2-foot or 4-foot level works best).
- An adjustable wrench or pliers.
- A flashlight to see into darker areas.
- Work gloves to protect your hands.
- If pulling out the oven, a blanket or cardboard to protect your floor.
- Possibly shims for built-in models.
Safety First: Preparing Your Oven
Your safety is always our top priority. Before doing any adjustments, make sure the oven is completely off and cool.
For electric double ovens, it’s best to unplug the appliance from the wall outlet. If it’s a gas oven, turn off the gas supply valve. This simple step prevents accidental starts and makes the process much safer.
Locating the Leveling Legs
Double ovens typically have four adjustable leveling legs, one at each corner. These are your key to achieving perfect balance.
Front Legs: Usually Easy to Spot
The front leveling legs are generally the easiest to find. They are often visible beneath the oven’s front edge or just behind the kick plate.
You may need to gently remove the kick plate for better access. This usually involves unscrewing a few screws or unclipping it.
Rear Legs: The Trickier Ones
Accessing the rear legs can be a bit more challenging. For freestanding double ovens, you might need to carefully slide the oven out from its position a few inches.
For built-in models, this might mean a more involved process or using a slim wrench to reach them from the front if possible. Many experts recommend having a helper for moving heavy appliances (Consumer Reports).
Checking for Level: The Bubble Test
With your level ready, it’s time to see where your oven stands. This step gives you a clear picture of what adjustments are needed.
Placement of Your Level
Place the bubble level on the oven’s bottom rack, or directly on the oven floor itself. Check it from front to back and then from side to side.
The bubble in the level will tell you exactly which side or corner needs to be raised or lowered. We found that checking in both directions gives you the most accurate reading.
Understanding the Bubble
If the bubble leans to one side, that side is higher. If it leans to the other, that side is lower. Your goal is to get the bubble perfectly centered between the lines, indicating a perfectly level surface.
Making the Adjustments
Now comes the hands-on part. This is where you bring your oven back into perfect alignment.
Adjusting Front Legs
Use your adjustable wrench or pliers to turn the front leveling legs. Turning them clockwise lowers that corner, while turning them counter-clockwise raises it.
Make small adjustments, perhaps a half-turn at a time. Then, re-check with your level. It’s a bit like tuning a guitar; small tweaks lead to harmony.
Adjusting Rear Legs
If you’ve slid your oven out, adjusting the rear legs is similar to the front ones. If you can’t easily pull the oven out, you might need to tilt the oven gently forward or backward to lift a corner just enough to turn the leg.
Always exercise extreme caution when tilting heavy appliances. Having a second person to help steady the oven is always a good idea (NIH workplace safety guidelines often suggest team lifting).
Re-checking and Fine-Tuning
This step is where patience pays off. After each adjustment, slide the oven back into place (if moved) and re-check the level. It might take a few tries to get it just right.
The goal is to have the bubble centered both front-to-back and side-to-side. A little back-and-forth is normal, so don’t get discouraged.
| Adjustment Direction | Effect on Oven Corner | Common Tools |
|---|---|---|
| Clockwise Turn | Lowers the corner | Adjustable Wrench, Pliers |
| Counter-Clockwise Turn | Raises the corner | Adjustable Wrench, Pliers |
Special Considerations: Built-in vs. Freestanding
The type of double oven you have will influence your approach to leveling.
Built-in Double Ovens
These are typically installed within cabinetry and can be trickier. Some models have legs accessible from the front, while others require removing trim pieces or even slightly pulling the unit out.
Sometimes, shims made of wood or composite material are placed under the oven frame or between the oven and cabinet to adjust the level. We found that manufacturer guidelines are especially helpful here.
Freestanding Double Ovens
These are generally simpler as you can usually slide them out from the wall. This gives you much better access to all four leveling legs.
Remember to protect your floor when moving the oven. A thin rug or cardboard can prevent scratches on your beautiful kitchen floor.
Quick Leveling Checklist
Keep this handy as you work through the process:
- Is the oven unplugged or gas off?
- Are all your tools ready?
- Have you checked the level front-to-back and side-to-side?
- Are you making small, controlled adjustments to the legs?
- Have you re-checked the level after each adjustment?
When to Call a Professional
While leveling your oven is a DIY-friendly task, there are times when calling a professional is the smartest choice. Double ovens are heavy appliances.
If the oven is too heavy or difficult to move, or if you encounter structural issues with your floor or cabinetry, it’s always best to call a qualified appliance technician. They have the right tools and expertise for heavy lifting and complex installations.
Conclusion
Leveling your double oven is a straightforward task that can significantly improve your cooking experience and prolong your appliance’s life. By following these steps – from gathering your tools to making careful adjustments – you can ensure your oven is stable, safe, and ready for all your culinary adventures. Remember, a little effort now saves a lot of frustration later!
How do I know if my double oven is unlevel?
You can tell your double oven is unlevel if a bubble level placed on the oven rack or floor shows the bubble leaning significantly to one side. Additionally, you might notice food baking unevenly or the oven rocking when gently pushed.
Can I level a built-in double oven without pulling it out completely?
Yes, for some built-in double ovens, you can often level them without a full removal. Many models have front-accessible leveling legs behind a kick plate. For rear adjustments, you might be able to use shims or carefully tilt the oven forward slightly if the legs are reachable from the front.
What kind of wrench do I need to adjust oven legs?
An adjustable wrench or a pair of pliers is usually sufficient for adjusting oven leveling legs. The specific size of the leg nut can vary, so an adjustable tool provides the most versatility.
How often should I check my oven’s level?
It’s a good practice to check your oven’s level periodically, perhaps once every year or two. Also, re-check it anytime the oven has been moved, such as during a kitchen renovation or deep cleaning.
What if my floor is uneven? Can I still level my oven?
Absolutely, even with an uneven floor, you can level your oven. The adjustable legs are designed precisely for this purpose. You will simply adjust each leg individually to compensate for any dips or rises in your floor, achieving a stable and level cooking surface.
