
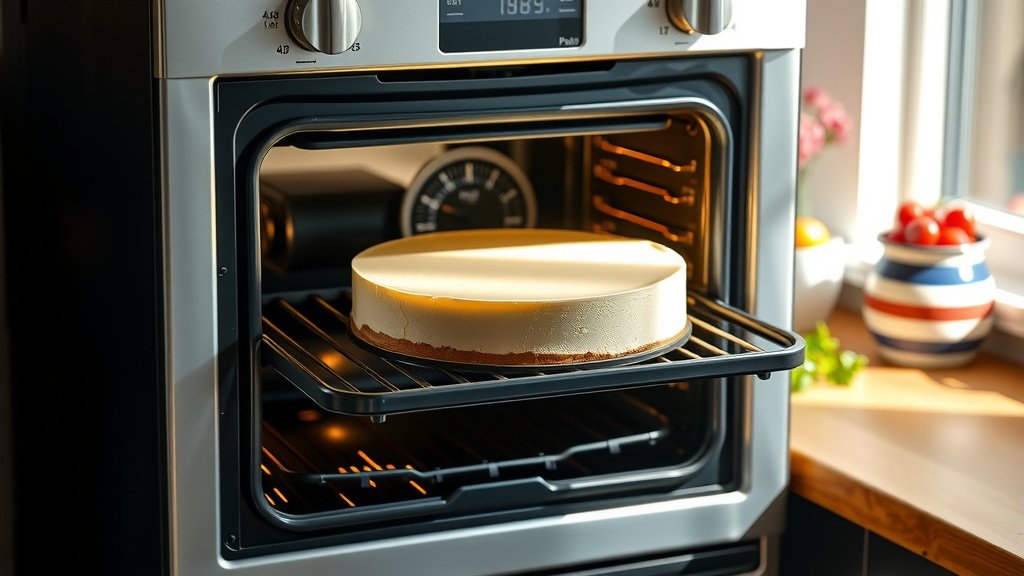
Making cheesecake in an electric oven means you can achieve a wonderfully creamy texture with minimal fuss. The key is controlling the temperature and ensuring a gentle, even bake, often with the help of a water bath.
You can create a perfectly smooth, crack-free cheesecake by using a lower, consistent heat in your electric oven, preventing rapid temperature changes that can lead to problems.
- The secret to a perfect cheesecake in an electric oven lies in **gentle, consistent heat** and a **water bath**.
- Always bring your ingredients to **room temperature** to avoid lumps and ensure a smooth batter.
- Bake your cheesecake at a **lower temperature** for a longer time, preventing cracks and over-browning.
- **Cooling slowly** inside the oven, then on the counter, and finally in the fridge, is as crucial as the baking itself.
- Don’t peek! Opening the oven door too often can cause the cheesecake to **sink or crack**.
How To Make Cheesecake In Electric Oven?
You make cheesecake in an electric oven by baking it at a low, consistent temperature, typically with a water bath, to create a smooth, creamy texture and prevent cracks.
Why Electric Ovens Are Great for Cheesecake
Electric ovens are often celebrated for their **consistent heat**. Unlike gas ovens, which can have fluctuating temperatures, electric models tend to hold a steady warmth. This consistency is your best friend when baking something delicate like cheesecake. You want that gentle, **even cooking** from start to finish.
Many baking experts suggest that the stable heat distribution in an electric oven reduces hot spots. This means your cheesecake will cook more uniformly. Imagine no more surprise burnt edges or undercooked centers! It truly makes the baking process less stressful for you.
Essential Tools for Cheesecake Success
Having the right tools makes all the difference, don’t you think? It’s like a chef with sharp knives. For cheesecake, some items are simply non-negotiable for a smooth experience. You’ll thank yourself later for gathering these ahead of time.
- 9-inch Springform Pan: Essential for easy release.
- Aluminum Foil: Heavy-duty for wrapping the pan for a water bath.
- Large Roasting Pan: To hold your springform pan for the water bath.
- Electric Mixer (Handheld or Stand): For lump-free batter.
- Rubber Spatula: For scraping bowls and folding gently.
- Oven Thermometer: To verify your oven’s actual temperature.
Ingredient Prep: The Foundation of Flavor
The success of your cheesecake starts long before it hits the oven. Proper ingredient preparation is a **game-changer**. It impacts the final texture and taste significantly. Skipping these steps often leads to a less-than-perfect result, and we don’t want that for you!
Room Temperature Magic
Have you ever tried mixing cold cream cheese? It’s lumpy, isn’t it? Bringing your cream cheese, eggs, and sour cream to **room temperature** is non-negotiable. Research often connects room-temperature ingredients with a smoother, more emulsified batter (Food Science Today). This means no lumps and a perfectly blended mix. It also prevents overmixing, which can incorporate too much air.
The Right Cream Cheese
Always opt for **full-fat block cream cheese**. The spreadable kind in a tub has extra water and stabilizers, which can throw off your recipe. Many culinary schools advise against using light or whipped versions for baking. You want that rich, creamy texture that only full-fat cream cheese delivers.
The Crust: Your Cheesecake’s Base
A good crust provides the perfect foundation. Most cheesecakes use a **graham cracker crust**. It’s simple, sweet, and provides a lovely textural contrast. You just mix crushed graham crackers with melted butter and sometimes a little sugar.
Press the mixture firmly into the bottom of your springform pan. You can even bring it up the sides a bit. Some people prefer to bake their crust for about 10 minutes at 350°F (175°C) to set it, while others skip this step. We found that a quick pre-bake helps prevent a soggy bottom. Just make sure to let it cool completely before adding the filling.
Mixing the Batter: Gentle Does It
This is where patience becomes a true virtue. Overmixing your cheesecake batter is a common mistake. You want a smooth, creamy mixture, not a light, airy one. Too much air means cracks later on. Mix your cream cheese until it’s smooth, then add sugar gradually.
Incorporate eggs one at a time, mixing just until combined. Add any sour cream or vanilla at the end. Many experts say to **mix on low speed** and scrape down the bowl often. This ensures everything is combined without adding excess air.
The Water Bath: A Cheesecake’s Best Friend
Have you heard of a water bath? It might sound intimidating, but it’s genuinely simple and makes a huge difference. A water bath, also known as a bain-marie, provides a **moist, even baking environment**. It prevents the edges from cooking faster than the center, a common cause of cracks.
The steam from the water bath helps the cheesecake bake gently and evenly. It’s like a tiny spa for your cheesecake! This moisture ensures that iconic creamy, smooth texture we all love. Without it, your cheesecake is more likely to dry out and develop those unwelcome surface cracks.
Setting Up Your Water Bath
To prepare your water bath, you’ll need to wrap your springform pan securely. Use **several layers of heavy-duty aluminum foil** around the bottom and sides. This prevents water from seeping into your crust. Place the wrapped springform pan into a larger roasting pan. Then, pour hot water into the roasting pan, coming up about halfway or two-thirds of the way up the sides of the springform pan. Carefully transfer this setup to your preheated oven.
Baking Temperatures and Times: The Sweet Spot
Electric ovens offer precise temperature control, which is fantastic for cheesecake. You’re looking for a **low and slow bake**. A common temperature is around 325°F (160°C). Baking time will depend on your cheesecake’s size. Keep an oven thermometer inside to double-check your oven’s accuracy.
| Cheesecake Size | Approximate Bake Time (325°F / 160°C) | Doneness Indicator |
|---|---|---|
| 9-inch (standard) | 60-75 minutes | Edges set, center still jiggles slightly |
| 8-inch | 50-65 minutes | Edges set, center still jiggles slightly |
| Mini Cheesecakes | 20-30 minutes | Set to the touch, no jiggle |
Monitoring for Doneness
How do you know when it’s done? The edges of your cheesecake should appear set and slightly puffed. The center, however, should still have a **slight jiggle** when you gently nudge the pan. It’s like a firm custard. Don’t wait until the center is completely firm, or you’ll likely overbake it. Remember, it will continue to cook as it cools.
Cooling Your Masterpiece: Patience Is A Virtue
The cooling process is arguably as important as the baking itself. Resist the urge to pull your cheesecake out immediately! Rapid temperature changes are the enemy of a smooth, crack-free surface. We found that a slow, gradual cool prevents thermal shock.
First, turn off your oven and **leave the cheesecake inside with the door ajar** for about an hour. Then, remove it from the oven, take it out of the water bath, and let it cool completely on a wire rack at room temperature. This can take several hours. Only once it’s completely cool should you transfer it to the refrigerator for at least 4-6 hours, or ideally overnight. Many baking guidelines point to this slow cooling method as a key to preventing cracks (Food Network Kitchen). This fridge time allows it to fully set and develop its amazing flavor.
Troubleshooting Common Cheesecake Issues
Even seasoned bakers encounter hiccups. Don’t worry, you’re not alone! Here are some common problems and how to tackle them:
- Cracks on the Surface: Often caused by overbaking, too high an oven temperature, or rapid cooling. Ensure you use a water bath, don’t overmix the batter, and cool gradually inside the oven.
- Soggy Crust: This usually happens when water seeps into the pan during the water bath. Make sure your springform pan is wrapped very securely with multiple layers of heavy-duty foil. A pre-baked crust also helps.
- Cheesecake Sinks in the Middle: Can be due to overmixing (too much air incorporated), not enough eggs, or underbaking. Always mix gently and check for that slight jiggle at the center.
- Grainy Texture: This is often from using cold cream cheese or not mixing the cream cheese thoroughly enough before adding other ingredients. Always ensure ingredients are at room temperature.
Conclusion
Making a delicious, crack-free cheesecake in your electric oven is certainly within your reach. By focusing on consistent temperatures, gentle mixing, the power of a water bath, and patient cooling, you can achieve professional-level results at home. Remember, baking is a journey of learning and discovery. Each time you bake, you gain more confidence and understanding. So, go ahead, gather your ingredients, trust the process, and soon you’ll be enjoying a perfectly creamy, homemade cheesecake. Happy baking!
Is a water bath always necessary for cheesecake?
While not strictly mandatory for every single recipe, a water bath is highly recommended for most cheesecakes. It provides a moist environment, ensuring even baking, preventing cracks, and giving you that wonderfully creamy texture. Without it, your cheesecake is more prone to drying out and cracking on top.
How do I prevent my cheesecake from cracking?
To prevent cracks, use room-temperature ingredients, avoid overmixing the batter, bake in a water bath at a lower, consistent temperature, and cool the cheesecake very slowly. Leaving it in the turned-off oven with the door ajar for an hour before cooling on the counter is a good practice.
Can I open the electric oven door while the cheesecake is baking?
It’s best to avoid opening the oven door, especially during the first 45-60 minutes of baking. Opening the door causes a sudden drop in temperature, which can make the cheesecake collapse or crack. Trust your oven and the baking time, only peek towards the end of the specified range.
How can I tell if my electric oven temperature is accurate?
Oven temperatures can vary, even in electric models. We found that using an inexpensive oven thermometer placed inside your oven provides an accurate reading. This allows you to adjust your oven’s setting if it runs hot or cold, ensuring your cheesecake bakes at the correct temperature.
How long should cheesecake chill before serving?
Cheesecake should chill in the refrigerator for at least 4-6 hours, but ideally overnight. This extended chilling time allows the cheesecake to fully set, firm up, and develop its full flavor and creamy texture. Serving it too soon can result in a gooey, unset slice.
