How to Replace an Oven Light Bulb?
On this page (9 sections)
- Replacing Your Oven’s Burnt-Out Light Bulb
- Understanding Your Oven Light Bulb Needs
- Safety First: Preparing for the Bulb Swap
- Locating and Accessing the Oven Light
- Swapping Out the Old Bulb for a New One
- Testing Your Newly Replaced Oven Light
- Checklist: Your Quick Guide to Oven Light Bulb Replacement
- Conclusion
- Frequently Asked Questions
You can absolutely replace your oven light bulb yourself. It’s a fairly simple DIY task. Just be sure to unplug your oven first for safety. You’ll need a new bulb designed for oven use.
A burnt-out oven light can make baking more difficult. You might open the door more often. This can cause your oven temperature to drop. Finding the right replacement bulb is key to getting your oven light working again safely. We’ve found many bulbs are designed to withstand high heat.
- Turn off and unplug your oven.
- Locate the oven light cover.
- Carefully remove the old bulb.
- Install the new, correct bulb.
- Test your new light.
Ready to get your oven light shining again? Let’s walk through exactly how to do it step by step. If you’re new to electric ovens, our guide on how to use an electric oven for the first time can help.
“`htmlReplacing Your Oven’s Burnt-Out Light Bulb
A glowing oven light is more than just a pretty sight. It’s a tool that helps you keep an eye on your culinary creations. Seeing how your cookies are browning or if your roast is developing that perfect crust helps you avoid opening the oven door too often. This keeps your oven at the correct temperature, ensuring consistent results. We know how frustrating it can be when that light bulb finally gives out, leaving you in the dark. But don’t worry, replacing it yourself is totally doable!
Understanding Your Oven Light Bulb Needs
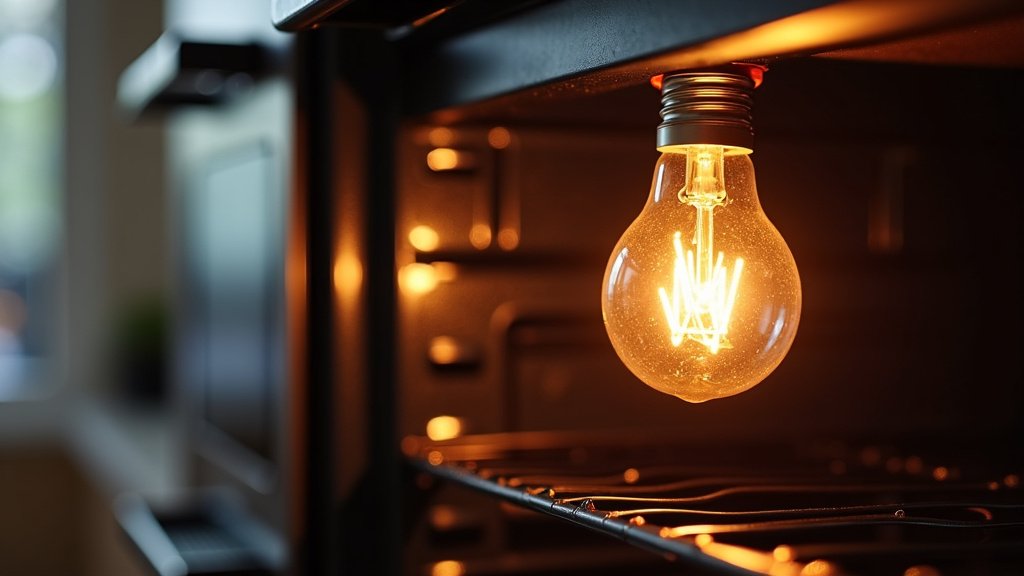
Before you even think about reaching for a screwdriver, let’s talk about the bulb itself. Not just any old light bulb will do for an oven. These bulbs have a tough job. They have to withstand intense heat, often reaching over 500 degrees Fahrenheit. Using the wrong type of bulb can be a fire hazard or simply lead to a quick burnout. Owners of wall ovens can compare light bulbs for wall ovens before buying a replacement. It’s like trying to wear flip-flops in a snowstorm – it just won’t work and could be dangerous.
What Kind of Bulb Do You Need?
Oven light bulbs are specially designed. They are built with high-temperature resistant materials. This allows them to survive the extreme conditions inside your oven. You’ll often see them labeled as “appliance bulbs” or “oven bulbs.” They usually come in lower wattages, around 25 or 40 watts. If you have a toaster oven, see toaster oven light bulbs for models suited to that appliance. This is because they are on for extended periods during cooking. We found that these bulbs are typically small, either candelabra or intermediate base types. Always check your oven’s manual for the exact specifications. It’s your best bet for ensuring compatibility and safety. Many manufacturers use specific bulb types, so a quick look-up is your first line of defense.
Where to Find a Replacement Bulb
Finding the right bulb is key to a successful replacement. You can usually find them at home improvement stores. Major appliance retailers also carry them. Even online marketplaces have a wide selection. When you go to buy, take the old bulb with you if you can. For a range model, compare options in this guide to oven light bulbs for range ovens. This way, you can match the size, base type, and wattage. If you don’t have the old bulb, consult your oven’s user manual. It will clearly state the correct bulb type. We found that ordering online can be convenient, but always verify the seller’s return policy just in case.
Safety First: Preparing for the Bulb Swap
Safety is non-negotiable when working with any home appliance. Ovens, especially, carry risks due to electricity and heat. So, before we get our hands dirty, we need to make sure everything is safe. This is the most critical step, so don’t rush it. Think of it as putting on your oven-mitts before grabbing a hot pan.
Power Down: The Essential First Step
You absolutely must disconnect the power to your oven. This means more than just turning off the oven controls. You need to physically unplug the oven from the electrical outlet. If your oven is hardwired, you’ll need to turn off the corresponding circuit breaker in your home’s electrical panel. We found that many modern ovens have a plug similar to a dryer outlet. Older models might be hardwired. Locating your breaker box is a good skill to have anyway. If you’re unsure about your electrical setup, it’s always best to call a qualified electrician. Safety is the top priority, and a shock is never worth a DIY win.
Let it Cool Down
Even if your oven hasn’t been on recently, internal components can retain heat. Ensure the oven interior is completely cool to the touch before you begin. This prevents burns. Give it at least an hour after it’s been used, or longer if it was on a high setting. We know waiting is hard when you want that light back, but patience here prevents pain. A cool oven is a safe oven.
Locating and Accessing the Oven Light
Every oven is a little different, but the light bulb assembly is usually in a similar spot. It’s designed to illuminate the main oven cavity where your food cooks. Think of it as the spotlight for your baking stage.
Finding the Protective Cover
The oven light bulb is typically covered by a glass or plastic lens. This cover protects the bulb from splatters and heat. It’s usually located on the interior wall or ceiling of the oven cavity. You might need to twist it, push it, or gently pry it open. Some covers unscrew, while others might have small clips holding them in place. Check the area around the light socket. You’re looking for a round or oval fixture.
Removing the Light Cover
Once you’ve located the cover, you’ll need to remove it to get to the bulb. As we mentioned, the method varies by model.
- Twist-off covers: Many covers simply twist counter-clockwise. You might need to apply gentle pressure.
- Clip-on covers: Some covers have small metal or plastic clips. You might need to gently squeeze these clips to release the cover.
- Screw-in covers: Less common, but some might be held by small screws. You would need a screwdriver for these.
Swapping Out the Old Bulb for a New One
Now for the main event! With the power off and the cover removed, you’re ready to handle the bulb itself. This part is straightforward but requires a gentle touch.
Carefully Unscrew the Old Bulb
Once the cover is off, you’ll see the burnt-out bulb. Most oven bulbs unscrew just like a regular household bulb. Grip the bulb gently with your fingers and turn it counter-clockwise. If the bulb is old or has been exposed to high heat, it might be a bit stuck. Don’t force it too much. If it’s really difficult, try using a soft cloth or a rubber gripper to get a better hold. This can provide extra traction without damaging the bulb or socket. We found that sometimes a little bit of gentle wiggling can help loosen a stubborn bulb.
Checking the Socket
Before putting in the new bulb, take a quick look at the socket. Make sure there isn’t any dust, debris, or corrosion. If you see anything, you can gently clean it with a dry, soft brush or a lint-free cloth. Do not use any liquids or cleaning agents inside the socket. You want it clean and dry for a good connection. This is also a good time to ensure the socket itself isn’t damaged. If it looks cracked or melted, you might have a more significant issue that requires professional attention.
Installing the New Oven Light Bulb
Take your new, correct oven light bulb. Carefully align it with the socket. Gently screw it in clockwise. Turn it until it feels snug. Don’t overtighten it, as this can damage the bulb or the socket. Just give it a firm but gentle twist until you feel resistance. It should feel secure. If it feels loose or wobbly, it might not be screwed in properly, or you might have the wrong type of bulb.
Reattaching the Light Cover
Once the new bulb is securely in place, it’s time to put the protective cover back. Reverse the process you used to remove it.
- If it twisted off, twist it back on clockwise until it’s secure.
- If it had clips, align the cover and gently push until the clips snap into place.
- If it had screws, reinsert and tighten them carefully.
Testing Your Newly Replaced Oven Light
The moment of truth! You’re almost done. Now, let’s see if your hard work paid off.
Restoring Power and Flipping the Switch
Go back to your electrical panel and flip the circuit breaker back on, or plug your oven back into the outlet. Locate the light button or switch for your oven. This is usually on the control panel. Press it to turn the light on. Did it illuminate? If so, congratulations! You’ve successfully replaced your oven light bulb. We found that some ovens might have a slight delay before the light turns on, so give it a second or two. Ensuring your oven is properly calibrated is important for all cooking tasks, so learn how to calibrate oven temperature.
Troubleshooting Common Issues
What if the light still doesn’t turn on? See common reasons an oven light stops working after a bulb change. Don’t panic! Here are a few things to check:
Check the Power: Is the oven plugged in? Is the breaker on? Sometimes, in our excitement, we forget a step.
Reseat the Bulb: Unplug the oven again (safety first!). Unscrew the new bulb slightly and then screw it back in firmly. Make sure it’s making good contact.
Verify Bulb Type: Did you buy the correct bulb? Double-check the wattage and base type against your oven’s requirements.
Inspect Socket: As mentioned earlier, ensure the socket isn’t damaged or corroded.
Consult Manual: If none of these steps work, your oven’s manual might have model-specific troubleshooting tips.
Professional Help: If you’ve tried everything and the light still won’t work, or if you suspect a wiring issue, it’s time to call a qualified appliance repair technician. They have the tools and expertise to diagnose and fix more complex problems safely.
Checklist: Your Quick Guide to Oven Light Bulb Replacement
Here’s a handy checklist to keep you on track:
- Safety First: Always unplug your oven or flip the circuit breaker.
- Cool Down: Ensure the oven interior is completely cool.
- Right Bulb: Confirm you have the correct, high-heat oven bulb.
- Gentle Touch: Unscrew the old bulb and screw in the new one carefully.
- Secure Cover: Reattach the protective light cover firmly.
- Test It: Restore power and test the new light.
See? You’ve got this! Replacing your oven light bulb is a simple task that can make a big difference in your kitchen experience. Now you can watch your baked goods rise and brown to perfection without opening the door.
“`Conclusion
You’ve successfully navigated the steps to replace your oven light bulb! Remember, taking the time to unplug your oven and use the correct, high-heat bulb ensures safety and a lasting repair. It’s a small task that makes a big difference, allowing you to keep a close watch on your baking without losing precious heat. You’ve saved yourself a service call and gained a useful new skill. Now, go ahead and test that new light – your delicious creations await!
Frequently Asked Questions
How do I know if my oven light bulb is burnt out?
The most obvious sign is that the light inside your oven doesn’t turn on when you press the light button or open the oven door. If you’re opening the door more often to check your food, that’s also a clue that the light might be out.
Can I use a regular LED or incandescent bulb in my oven?
No, you should not use a regular household bulb. Oven bulbs are specially designed to withstand the extremely high temperatures inside an oven, often exceeding 500 degrees Fahrenheit. Standard bulbs can shatter or become a fire hazard under such heat.
My old bulb is stuck. What should I do?
If your old bulb is stuck, try using a soft cloth or a rubber gripper for a better hold. Gentle wiggling can also help. Never force it, as you could damage the socket. If it remains stubborn, you might need a bit of penetrating oil specifically rated for high heat, but always unplug the oven first and allow it to cool completely.
How often do oven light bulbs typically need replacing?
Oven light bulbs are built for durability, but their lifespan can vary. They usually last several years. Factors like how often you use your oven, the temperatures you cook at, and the bulb’s quality can affect how long it lasts.
What if the new bulb doesn’t work after I install it?
First, double-check that your oven is plugged back in and the circuit breaker is on. Then, try unplugging the oven again, unscrewing the new bulb slightly, and screwing it back in firmly to ensure a good connection. If it still doesn’t work, confirm you have the correct bulb type and check your oven’s manual for specific troubleshooting steps.