
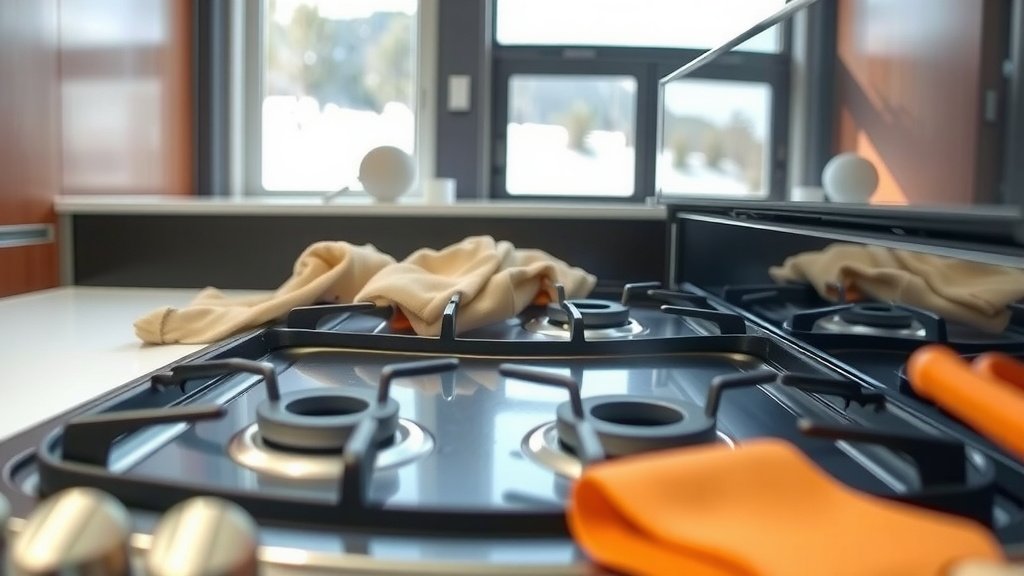
To clean dual fuel oven burners, always start by ensuring the oven is completely cool and the gas supply is turned off for safety. Then, gently remove burner grates and caps before tackling any stuck-on food or grease.
For most stubborn grime on dual fuel oven burners, a simple paste of baking soda and water works wonders; apply it, let it sit, then scrub with a non-abrasive pad or cloth for a sparkling clean finish.
TL;DR: Quick Burner Cleaning Tips
- Always prioritize safety: turn off gas and power first.
- Gather your basic supplies like baking soda and a soft brush.
- Gently remove grates and burner caps for easier access.
- For tough spots, a baking soda paste is your friend.
- Remember to dry everything thoroughly before reassembly.
How To Clean Dual Fuel Oven Burners?
Keeping your dual fuel oven burners clean is not just about looks; it actually helps them perform better and last longer. Think of it like taking care of your car – a little regular maintenance goes a long way. But how do you tackle those sticky, greasy messes without damaging your beloved appliance? Don’t worry, we’re here to guide you, step-by-step.
Safety First: Before You Begin
Before you even think about cleaning, safety is your top priority. We can’t stress this enough. Working with gas and electricity requires caution. Many experts recommend treating your oven with the same respect you’d give a sleeping lion.
Disconnect the Power and Gas
First, always turn off the gas supply to your oven. You’ll usually find a shut-off valve behind or near the appliance. Then, unplug the oven from its power outlet. If you can’t reach the plug, flip the circuit breaker that controls the oven. This ensures no accidental ignitions or shocks.
Quick Safety Checklist:
- Oven completely cool? Check.
- Gas supply turned off? Check.
- Oven unplugged or circuit breaker off? Check.
- Windows open for ventilation? Check.
- Gloves on to protect your hands? Check.
Gather Your Cleaning Arsenal
You don’t need a fancy array of chemicals to get your burners sparkling. Often, the best tools are already in your kitchen. Many homeowners find that simple, natural cleaners are both effective and safer for your home (Environmental Working Group).
What You’ll Need
Here’s a basic list of supplies you’ll want to have on hand:
- Baking soda
- White vinegar
- Dish soap (mild)
- Warm water
- Soft cloths or sponges
- Non-abrasive scrub brush (an old toothbrush works great for crevices!)
- Small bowl or container
- Rubber gloves
- Paper towels or a clean drying cloth
Removing Burner Grates and Caps
Now that safety is handled and your supplies are ready, it’s time to get down to business. Imagine these parts as the “hats” and “shoes” of your burner; they come off easily for a better clean.
Gently lift off the cast iron grates that sit over your burners. These can be quite heavy, so handle them with care. Next, remove the burner caps and burner heads. These usually lift straight off. Pay attention to how they fit, so reassembly is a breeze. If you have any doubts, your oven’s user manual is a fantastic resource.
Tackling the Grates and Caps
These are often the dirtiest parts, bearing the brunt of spills and splatters. A little soaking can make a huge difference here.
Soak Away the Grime
For heavily soiled grates and caps, fill a sink or large tub with hot water. Add a generous squirt of dish soap and a cup of white vinegar. Submerge the grates and caps and let them soak for at least 30 minutes, or even overnight if they’re really crusty. This softens the baked-on food, making scrubbing much easier. We found that a good soak can cut scrubbing time significantly.
Scrubbing and Rinsing
After soaking, use your scrub brush or a non-abrasive sponge to remove any remaining food particles and grease. You’ll be surprised how easily they come off. Rinse thoroughly under warm running water. Ensure all soap residue is gone.
Cleaning the Burner Heads and Igniters
This is where precision matters. The burner heads have small holes for the gas, and the igniters are sensitive.
Gentle Cleaning for Burner Heads
For burner heads, create a paste of baking soda and a little water. Apply the paste to the dirty areas and let it sit for about 15-20 minutes. Then, gently scrub with an old toothbrush or a soft cloth. Be very careful not to get water into the igniter ports.
The Sensitive Igniters
The igniters are the little ceramic rods that spark to light the gas. These are quite delicate. Many experts warn against getting them wet. Instead, use a dry, soft cloth or a cotton swab to gently wipe away any grime. If there’s stubborn crud, a very lightly dampened cloth with only water, immediately followed by a dry cloth, can work, but avoid direct water contact at all costs.
Cleaning the Oven Cooktop Surface
While your burners are off, it’s the perfect time to clean the surrounding cooktop. It’s like giving the whole area a refreshing shower!
Wipe Away Spills
Use a damp cloth with a little dish soap to wipe down the stainless steel or enamel surface around the burners. For tougher spots, a baking soda paste can again be applied, left for a few minutes, then wiped clean. Research often shows that baking soda is a safe, effective degreaser for many kitchen surfaces.
Cleaning Agent Effectiveness
| Cleaning Agent | Best For | Notes |
|---|---|---|
| Baking Soda Paste | Baked-on food, grease, stains | Gentle abrasive, safe for most surfaces, excellent degreaser. |
| White Vinegar Solution | Hard water spots, mild grease, odor removal | Natural disinfectant, good for shining surfaces. |
| Mild Dish Soap | Everyday grease, general wiping | Good for soaking, cuts through light oil. |
| Commercial Degreaser | Very stubborn, heavy grease (use with caution) | Follow product instructions carefully; test in a hidden area. |
Drying and Reassembly
This final step is as important as the cleaning itself. Rushing here can lead to problems.
Thorough Drying is Key
Make sure every single part is completely dry before you put it back. Water left in burner ports can interfere with gas flow or even cause corrosion. You can air dry them or use a clean, dry cloth. Some people even use a hairdryer on a cool setting for burner heads to ensure no moisture remains. We found that patience during drying prevents future headaches.
Putting It All Back Together
Once everything is bone dry, carefully reassemble the burner heads, caps, and grates. Remember how they came off? They should fit snugly back into place. Double-check that all parts are correctly seated. This ensures proper gas flow and ignition.
When to Call a Professional
While DIY cleaning is effective, there are times when it’s best to call in the pros. If you encounter issues like persistent gas odors, strange burner flames (orange or yellow instead of blue), or if your igniters aren’t sparking even after cleaning, it’s time to contact a qualified appliance technician. Your safety is worth the call.
Conclusion
Cleaning your dual fuel oven burners doesn’t have to be a dreaded chore. By following these steps – prioritizing safety, gathering the right tools, and taking a gentle, thorough approach – you can keep your burners in top shape. Regular maintenance means your oven works efficiently, cooks evenly, and looks great for years to come. So, go ahead, roll up your sleeves, and give those burners the care they deserve. You’ll be glad you did!
Frequently Asked Questions About Cleaning Dual Fuel Oven Burners
How often should I clean my dual fuel oven burners?
For optimal performance and hygiene, we recommend a quick wipe-down after any major spill and a more thorough cleaning of the removable parts every 2-3 months. If you cook frequently, you might want to clean them more often.
Can I put dual fuel oven burner grates in the dishwasher?
While some grates might be labeled dishwasher safe, it’s generally not recommended for cast iron grates. The harsh detergents and high heat can remove their seasoning, potentially leading to rust. Hand washing with dish soap and warm water is usually the safest bet.
What if my dual fuel oven burner still isn’t lighting after cleaning?
If your burner still won’t light after a thorough cleaning, double-check that all parts are correctly reassembled and dry. If the problem persists, the igniter might be faulty, or there could be a gas flow issue. At this point, it’s best to contact a certified appliance repair technician for a professional diagnosis and fix.
Are there any cleaning products I should avoid using on my dual fuel oven burners?
Yes, absolutely. Avoid abrasive scrubbers like steel wool, which can scratch and damage surfaces. Also, stay away from harsh chemical cleaners, especially those containing ammonia or bleach, as they can corrode metal parts and leave behind residues that can affect burner performance. Baking soda and vinegar are almost always your best friends.
How do I prevent my dual fuel oven burners from getting so dirty in the first place?
Prevention is key! Use splatter guards when frying, and wipe up spills immediately after they occur (once the oven is cool, of course). Keeping a lid on pots and pans can also significantly reduce food splatters. A quick, gentle wipe-down after each use can prevent grime from building up and becoming a major cleaning project.
