
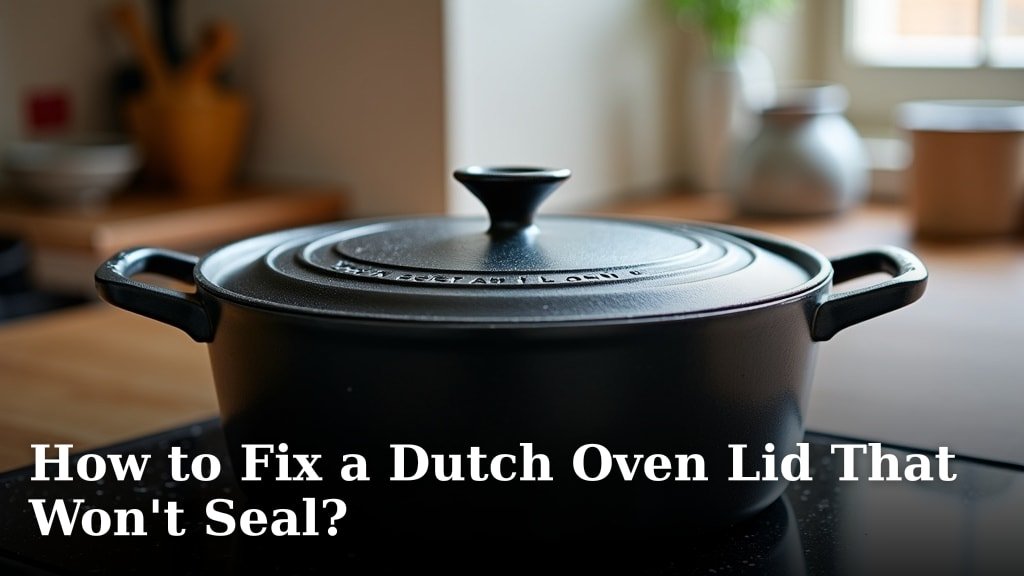
Your Dutch oven lid won’t seal? Don’t worry, this is a common problem. You can often fix a Dutch oven lid that isn’t sealing properly by cleaning the rim and checking for warping or damage. Sometimes a simple clean is all it takes to get a good seal back.
A good seal is essential for proper cooking, especially for braising and slow cooking. When your lid doesn’t seal, your food might cook unevenly or take much longer. We’ve found that checking the lid and pot rim for debris is often the first and best step toward a better seal.
- Clean both the lid and pot rim thoroughly.
- Check for dents or warping on the lid or pot.
- Ensure the lid is the correct one for your pot.
- Consider minor repairs or professional help if needed.
Let’s walk through exactly how to troubleshoot and fix your Dutch oven lid so you can get back to making delicious meals.
Troubleshooting a Dutch Oven Lid That Won’t Seal Properly
A Dutch oven is a kitchen workhorse. It’s perfect for stews, roasts, and even baking bread. But what happens when the lid doesn’t fit snugly anymore? A good seal is critical for trapping moisture and heat. This is especially true for low and slow cooking methods. If your lid is loose, your food might dry out or take much longer to cook. Let’s figure out why your lid isn’t sealing and how to fix it.
Step 1: Thorough Cleaning of the Rim and Lid Edge
Often, the simplest solution is the best one. The first thing you should do is give both the pot’s rim and the lid’s edge a good scrub. Over time, food particles, grease, and even carbonized bits can build up. This debris creates a barrier. It prevents the lid from sitting flush against the pot. This is a very common culprit for a poor seal. You’d be surprised how much a clean surface can help.
Cleaning Materials You’ll Need
Gather these items for a thorough clean. You probably have most of them already.
- A soft sponge or cloth
- Mild dish soap
- A non-abrasive scrub brush (an old toothbrush works well for tight spots)
- Warm water
The Cleaning Process Itself
Start by rinsing the lid and pot rim with warm water. Apply a small amount of mild dish soap to your sponge or cloth. Gently scrub the entire rim of the pot. Pay close attention to any nooks or crannies where food might hide. Do the same for the underside of the lid’s edge. Rinse everything thoroughly. Make sure no soap residue remains. Dry both parts completely with a clean towel. Sometimes, this is all it takes to restore that satisfying seal. We’ve found this step alone solves the problem for many users.
Step 2: Inspecting for Warping and Damage
If cleaning doesn’t do the trick, it’s time to investigate for physical issues. Your Dutch oven lid or pot rim might have become warped. This can happen from extreme temperature changes or accidental drops. Even a small dent can prevent a proper seal. If cleaning doesn’t help, investigate physical issues with the pot or lid, as discussed in this material guide.
Checking for Warping
Place the lid on the pot as you normally would. Gently try to rock the lid. Does it wobble significantly? Is there a gap visible on one side? If so, warping is likely the issue. You can also try placing a straight edge, like a ruler, across the rim of the pot. See if it touches the rim all the way around. If there are gaps, the rim might be uneven. Do the same test with the lid itself.
Looking for Dents and Bends
Visually inspect the rim of the pot and the edge of the lid. Look for any obvious dents, nicks, or bent areas. Cast iron can be quite durable, but it’s not indestructible. A sharp impact can cause a deformation. This deformation will interfere with the seal. Examine these areas closely under good lighting. Even minor imperfections can be enough to disrupt the seal.
Step 3: Ensuring You Have the Correct Lid
This might sound obvious, but it’s worth checking. Do you have the correct lid for your specific Dutch oven? Many Dutch ovens look similar. Different sizes and models often have slightly different lid designs. Using the wrong lid is a surefire way to get a poor seal.
Matching Pot and Lid Numbers/Markings
Most Dutch oven manufacturers include some form of identification. Check the bottom of your pot and the lid itself. You might find a model number, size designation, or a unique symbol. Ensure that the markings on your lid match those on your pot. If you’ve inherited the Dutch oven or lost the original lid, this is especially important to verify.
Trying Other Lids (If Available)
If you own multiple Dutch ovens, try a lid from another pot. Does it fit and seal properly? This can help isolate whether the problem is with the specific pot, the specific lid, or a general issue. If a different lid seals perfectly, you know the issue lies with your original lid or pot rim. This helps narrow down the potential fixes significantly.
Step 4: Addressing Minor Warping or Dents
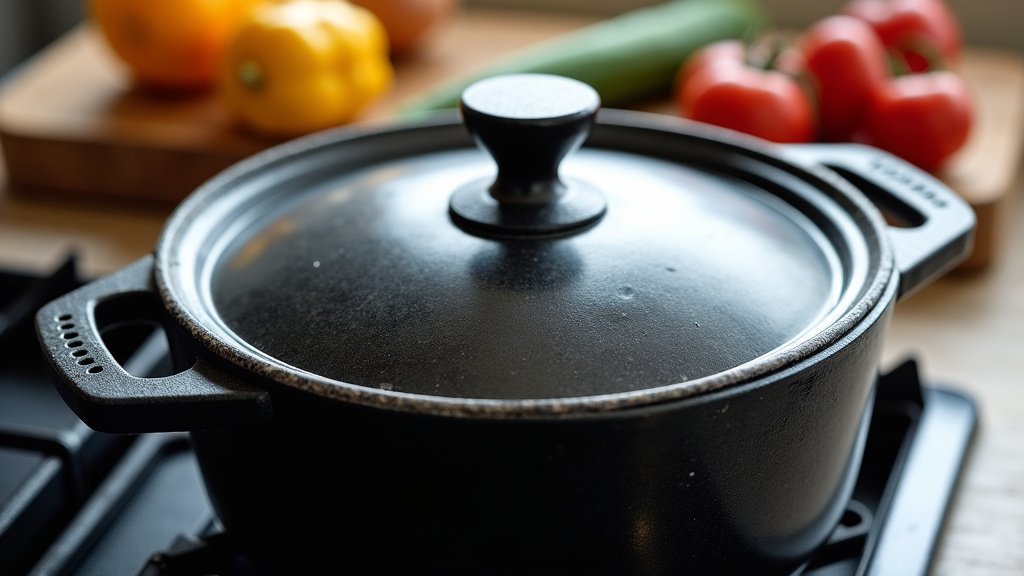
If you’ve identified minor warping or small dents, you might be able to fix them. This requires a bit of care and the right approach. For larger issues, professional help or replacement might be necessary.
Gentle Straightening Techniques
For minor warping on a cast iron rim or lid edge, sometimes gentle pressure can help. Place a piece of wood or a soft cloth over the affected area. Use a rubber mallet or a hammer (with extreme caution and the cloth as padding) to tap the warped area. The goal is to coax it back into shape, not to hammer it flat. This process demands patience. It’s often best done with the pot or lid upside down on a stable surface. We found that small, localized taps are more effective than large, forceful blows.
Using High-Temperature Sealants (Use with Caution)
In some very specific cases, for minor imperfections on the *lid* only, a high-temperature, food-safe sealant might be considered. This is a less common fix and should be approached with extreme caution. Many experts advise against this for cast iron. It can interfere with heat distribution or even degrade over time. If you choose this route, research food-grade, high-heat sealants thoroughly. Always follow the manufacturer’s instructions precisely. Ensure it’s cured properly before cooking food. This is generally a last resort for cosmetic issues, not for significant structural damage. The FDA provides guidance on food-contact substances that is useful to consult.
Step 5: When to Seek Professional Help or Consider Replacement
Sometimes, the damage is beyond simple home remedies. If your Dutch oven is severely warped, cracked, or has large dents, it might be time to consider other options. Trying to force a poorly fitting lid can cause more damage.
Assessing the Severity of Damage
If the lid doesn’t sit flush at all, or if there are large, visible gaps even after cleaning, the damage is likely significant. Cracks in the cast iron are also a serious concern. They can compromise the integrity of the pot. Warping that prevents any semblance of a seal suggests the metal itself has deformed considerably. Many sources, including cookware guides, indicate that severe warping is often irreparable without specialized equipment.
Options: Repair Services and New Purchases
For very high-end or antique Dutch ovens, you might explore professional restoration services. These specialists have the tools and expertise to repair cast iron. For most home cooks, however, this is often not cost-effective. If your Dutch oven is old and heavily damaged, or if repairs are not feasible, it might be time to invest in a new one. Look for brands known for their durability and quality construction. We found that investing in a good quality Dutch oven is often worth it for years of reliable use.
Checklist: Quick Steps to Get Your Dutch Oven Sealing Again
Here’s a quick rundown to help you troubleshoot:
- Clean Everything: Scrub the pot rim and lid edge thoroughly.
- Inspect Closely: Look for dents, bends, or warping.
- Straight Edge Test: Use a ruler to check for an even rim.
- Match the Lid: Confirm you’re using the correct lid for the pot.
- Gentle Taps: Carefully try to straighten minor bends with a mallet.
- Assess & Decide: If damage is severe, consider repair or replacement.
Conclusion
Getting your Dutch oven lid to seal properly is usually quite achievable. You’ve learned that a thorough cleaning of the rim and lid edge often solves the problem. We’ve also walked through how to spot and address common issues like warping or minor damage. Remember to always confirm you’re using the correct lid for your pot. If your Dutch oven shows signs of severe damage, don’t force it. Consider professional repair or investing in a new, reliable piece of cookware.
Your next step is to grab your Dutch oven, a soft sponge, and some mild soap. Give that rim a good scrub and see if you can restore that satisfying, airtight seal. Happy cooking!
Frequently Asked Questions
What if my Dutch oven lid is still loose after cleaning?
If cleaning didn’t work, your next best step is to inspect the lid and pot rim for warping or dents. A slight bend or a small dent can prevent a flush fit. Try the straight edge test to see if the rim is even on both the pot and the lid.
Can I fix a warped Dutch oven lid at home?
For minor warping, you might be able to gently coax the lid or pot rim back into shape using careful tapping with a rubber mallet and a soft cloth. Place the pot or lid on a stable surface and tap the warped area gently. If the warping is severe, it might be beyond home repair.
My Dutch oven has a small crack in the rim, can I still use it?
A crack in the cast iron, even a small one, can compromise the integrity of your Dutch oven. It’s generally not recommended to use a Dutch oven with a cracked rim, especially if it affects the seal. For safety and optimal cooking, consider replacement.
How do I know if I have the correct lid for my Dutch oven?
Most manufacturers mark their pots and lids with matching numbers, sizes, or symbols. Check the bottom of your pot and the underside of the lid. If you’ve lost the original lid or bought a used one, comparing these markings is essential to ensure a proper fit.
Is it safe to use high-temperature sealants on a Dutch oven lid?
While some very specific, food-safe, high-temperature sealants exist, most experts advise against using them on cast iron Dutch ovens. They can interfere with heat distribution or degrade over time. It’s usually a last resort for minor cosmetic issues and should be approached with extreme caution after thorough research.
