
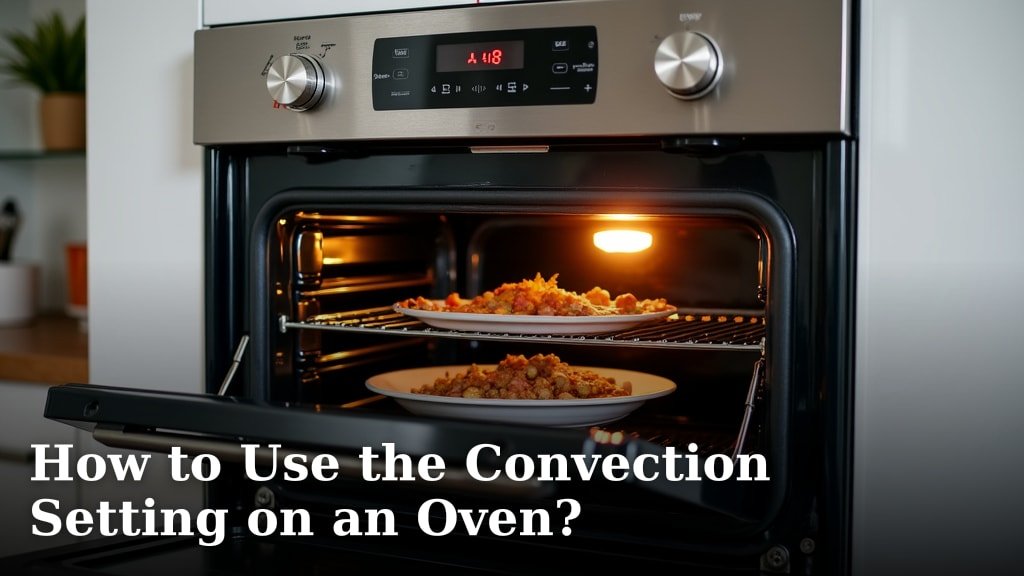
To use the convection setting on an oven, you’ll generally set the temperature 25 degrees Fahrenheit lower than a conventional recipe. You should also check your food about 25% sooner than the recipe suggests, as convection cooks faster and more evenly.
Many home cooks wonder about convection. Does it really make a difference? We found that using convection can lead to crispier exteriors and juicier interiors for many dishes. It circulates hot air, making your oven more efficient and food cook more uniformly.
- Understand what convection does.
- Adjust temperature down.
- Shorten cooking times.
- Know when to use it (and when not to).
- Get tips for optimal results.
Ready to master your oven’s convection setting? Let’s walk through exactly how to get the best results for your cooking and baking.
Activating Your Oven’s Convection Feature
So, you’re ready to dive into the world of convection? Great! First, you need to turn it on. Many ovens have a dedicated “Convection Bake” or “Convection Roast” button. Others might just have a “Convection” button you press after setting your temperature. Check your owner’s manual if you’re unsure. It’s usually a pretty straightforward process.
Unlike a conventional oven that uses radiant heat from heating elements, a convection oven comes equipped with a fan. This fan circulates hot air around your food. Think of it like a mini wind tunnel for your roast chicken or cookies. It cooks food from all sides, reducing hot spots.
Understanding How Convection Works
When you use convection, that fan is the star. It blows hot air throughout the oven cavity. This constant movement makes the air temperature inside your oven more even. We found this even heating contributes to better browning and a crisper texture on the surface of your food.
Another benefit is faster cooking. Because the moving air transfers heat more efficiently, your food cooks more quickly. This is why you’ll often need to reduce both temperature and cooking time. It’s like a gentle breeze helping to dry clothes faster on a line.
Adjusting for Convection: Temperature and Time
This is where many people get tripped up. Do you just press the button and go? Not quite. To get the best results, you need to make a couple of key adjustments. These simple changes ensure your food doesn’t burn or get too dry.
Temperature Adjustments
The golden rule for convection baking is to reduce the temperature by 25 degrees Fahrenheit. If a recipe calls for 375°F in a conventional oven, you’d set your convection oven to 350°F. This small change prevents the outside of your food from cooking too quickly.
Why the reduction? The circulating air makes the oven feel hotter to your food. It creates a more intense cooking environment. By lowering the temperature, you’re helping to achieve the same internal doneness at a slightly cooler, yet still effective, overall temperature.
Time Adjustments
Since convection cooks faster, you’ll want to shorten your cooking time. A good starting point is to reduce the total time by 25%. For example, if a recipe says to bake for 40 minutes, start checking your food around the 30-minute mark.
Always keep an eye on your food. Use a timer and be prepared to take it out sooner. We found that cooking times can vary depending on your specific oven and the type of food. A meat thermometer is your best friend when cooking proteins.
When to Use Convection (and When to Skip It)
Convection isn’t always the answer. Knowing when to use it can make all the difference in your cooking results. It excels in certain situations but can actively harm others.
Ideal Uses for Convection
Convection is fantastic for anything you want to be crispy, brown, or evenly cooked. Think about these scenarios:
- Roasting Meats and Vegetables: It creates a beautiful, caramelized exterior and helps meats cook more evenly through (Mayo Clinic). You’ll get that great crust on your roast chicken or crispy edges on potatoes.
- Baking Cookies and Pastries: Convection promotes even browning, so all your cookies on the sheet cook at a similar rate. Pastries get a flaky, golden crust.
- Toasting Nuts and Granola: Quick, even toasting without constant stirring is a convection superpower.
- Sheet Pan Dinners: The circulating air ensures everything on the pan cooks together and gets nicely browned.
When Conventional Baking is Better
For some dishes, the gentle, unforced heat of a conventional oven is actually preferred. Here’s when to skip the convection:
- Delicate Baked Goods: Think soufflés, custards, and quick breads. The fan can sometimes cause these to become dry or set unevenly.
- High-Rise Cakes: We found the fan can sometimes interfere with the delicate rise of tall cakes, leading to sloped tops or dry edges.
- Yeast Breads: For many artisan bread recipes that rely on specific moisture levels and gentle heat for a good rise and crust, conventional baking often yields better results.
If a recipe specifically calls for a conventional oven or a “still” oven, it’s usually best to follow those instructions. Don’t try to force convection where it doesn’t belong.
Tips for Convection Oven Success
Now that you know the basics, let’s look at some pro tips. These will help you get the most out of your convection oven and avoid common pitfalls.
Don’t Crowd the Oven
Air circulation is key to convection. If you pack your oven too full, you block the airflow. This can lead to uneven cooking, defeating the purpose of convection. Give your food some space!
Use multiple racks if needed, but ensure there’s enough room for air to move around each item. This is especially important for things like cookies or roasted vegetables.
Use the Right Bakeware
For convection, lighter-colored, lower-sided pans work best. Dark or heavy pans absorb more heat and can cause over-browning. Pans with lower sides allow for better air movement around the food.
Avoid covering food unless the recipe specifically calls for it. Covering your food traps steam and hinders the browning process that convection is so good at.
Check for Doneness Early
We can’t stress this enough: start checking your food early. A few minutes can make a big difference with convection. Have your meat thermometer, cake tester, or a keen eye ready.
It’s always easier to cook something for a few more minutes than to fix something that’s overcooked. Trust your senses and don’t rely solely on the clock, especially when you’re first getting used to convection.
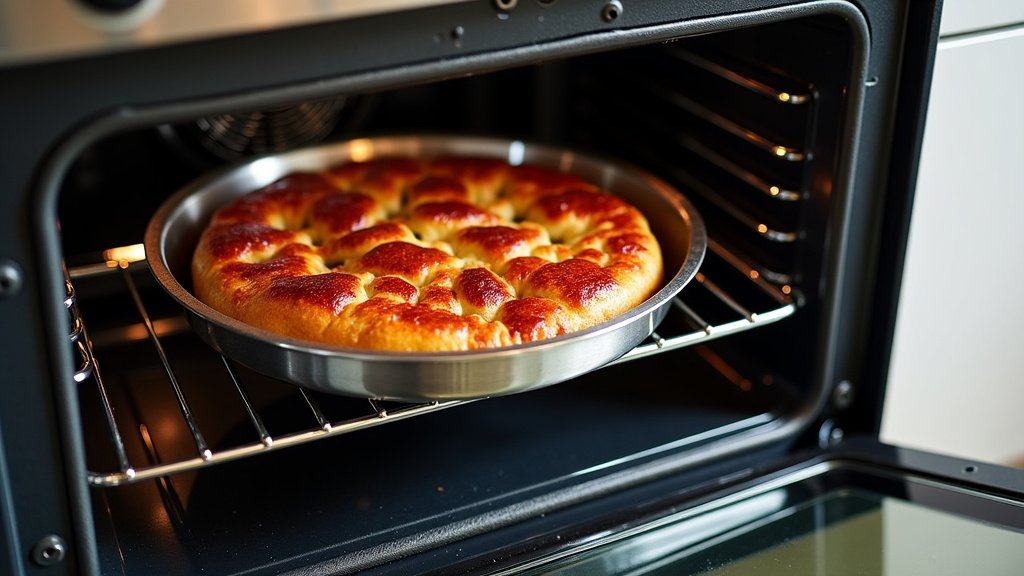
Convection Cooking Checklist
Ready to put it all together? Here’s a quick checklist to guide you each time you use your convection oven:
- Adjust Temperature: Lower by 25°F.
- Adjust Time: Shorten by 25%, but start checking earlier.
- Select Right Mode: Use Convection Bake for most items; Convection Roast for meats.
- Avoid Crowding: Ensure good airflow around food.
- Use Proper Pans: Lighter, lower-sided bakeware is best.
- Monitor Closely: Pay attention to doneness and browning.
Convection vs. Conventional Oven: A Quick Comparison
To summarize the main differences, here’s a quick look at how the two oven types stack up. This should help you decide which setting to use for your next culinary adventure.
| Feature | Conventional Oven | Convection Oven |
|---|---|---|
| Heat Distribution | Radiant heat, sometimes uneven. | Fan-assisted, very even heat. |
| Cooking Time | Standard recipe time. | Faster (reduce by ~25%). |
| Temperature | Recipe temperature. | Lower (reduce by 25°F). |
| Results | Consistent for most recipes, less browning. | Crispier, juicier, more even browning. |
| Best For | Delicate cakes, quick breads, custards. | Roasting, cookies, pizzas, anything crispy. |
As you can see, convection really shines when you want that extra crispiness and uniform cooking. It’s a powerful tool once you understand its nuances.
Conclusion
Mastering your oven’s convection setting can truly transform your cooking. By simply adjusting the temperature down and shortening cooking times, you’ll achieve crispier textures and more even results. Remember to give your food space and choose the right bakeware for optimal airflow. We found that a little practice makes a big difference.
Don’t be afraid to experiment with this powerful feature. Start with simple dishes like roasted vegetables or cookies. Soon, you’ll be confidently cooking a wider range of foods. Get ready to enjoy perfectly cooked meals, every time.
Frequently Asked Questions
Can I use aluminum foil in a convection oven?
Yes, you can absolutely use aluminum foil in a convection oven. It’s safe and won’t interfere with the fan. Just make sure it doesn’t block too much airflow around your food, as that would hinder the convection benefits.
What is “convection bake” versus “convection roast”?
Convection bake is for general use, like cookies, cakes, or casseroles, circulating heat evenly. Convection roast often uses a higher fan speed and sometimes combines the fan with the broiler element for faster browning and crisping, ideal for meats and vegetables.
Does convection dry out food more quickly?
Because convection circulates air, it can dry out certain delicate foods if you don’t adjust cooking times and temperatures correctly. However, for most items, it creates a crispy exterior while helping to seal in moisture, leading to juicier results when properly used.
My oven has “true convection” or “European convection.” What does that mean?
True convection means your oven has a third heating element around the fan, in addition to the standard top and bottom elements. This dedicated heating element preheats the air before it’s circulated, providing even more consistent and uniform temperatures throughout the oven cavity.
Do I need special pans for convection cooking?
While you can use most regular bakeware, lighter-colored, low-sided pans are generally recommended for convection. They allow for better air circulation and prevent over-browning. Avoid dark, heavy pans or pans with high sides that can block airflow.
