
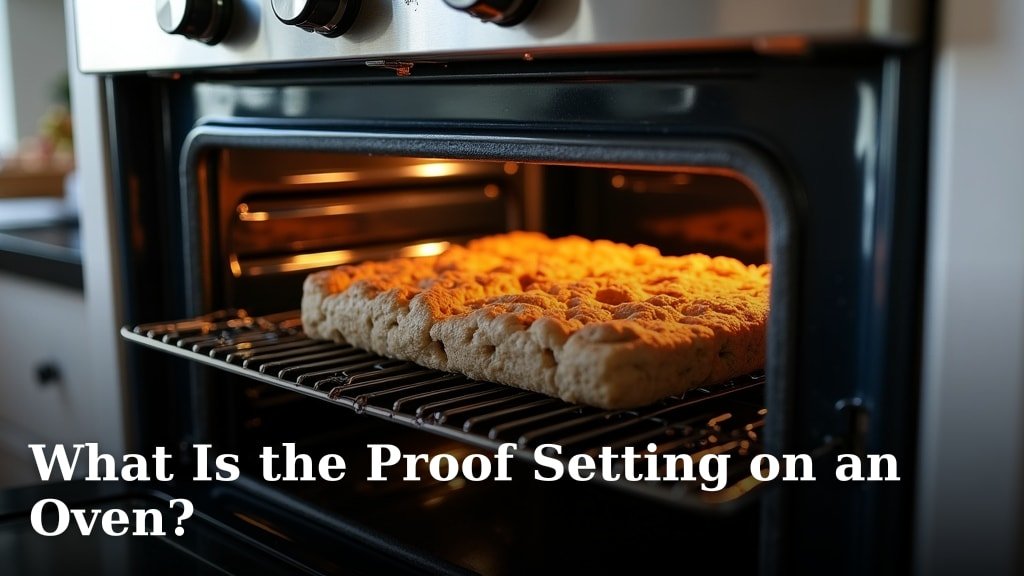
The proof setting on your oven is a low-temperature mode. It’s specifically designed to help your dough rise. Think of it as a warm, cozy spot for yeast to do its magic. This setting helps create the perfect environment for fermentation without baking your dough.
This special function is often overlooked but can be a real game-changer for bakers. Many home cooks discover its benefits when trying to speed up bread making. It provides consistent warmth, which is key for a good rise. We found that using the proof setting can significantly improve the texture of your homemade bread and rolls.
- The proof setting is a low oven temp mode.
- It’s for helping dough rise properly.
- It provides consistent warmth for yeast.
- This improves bread texture and speed.
Let’s take a closer look at what the proof setting is and how you can use it to bake like a pro.
“`htmlUnderstanding Your Oven’s Proof Setting
So, you’ve seen that little icon on your oven and wondered, “What’s this proof thing all about?” It’s like having a tiny, climate-controlled room just for your dough. This special feature is designed to give your bread and pastries the ideal environment to rise. Think of it as a spa day for your yeast!
What Does the Proof Setting Actually Do?
The proof setting, often labeled “Proof” or a symbol resembling a rising loaf, activates a very low temperature inside your oven. We’re talking between 80°F and 115°F (27°C to 46°C). This gentle warmth is perfect for yeast. Yeast is a living organism. It loves warmth and a bit of food to multiply and produce carbon dioxide. This gas is what makes your dough puff up and become light and airy.
Unlike your regular baking temperatures, the proof setting is too low to cook or bake the dough. It simply provides a consistent, cozy spot. This consistent warmth helps your dough rise predictably. You won’t get those unpredictable drafts you might find on a kitchen counter. This consistent environment is key for successful bread making. The proof setting provides consistent warmth, which is crucial for predictable yeast activity and dough rise.
Why Use the Proof Setting? The Benefits for Your Baking
You might be asking, “Why bother with this? Can’t I just let my dough rise on the counter?” While counter-rising works, using the proof setting offers some distinct advantages. It’s especially helpful in cooler kitchens or during winter months when ambient temperatures are low. In these conditions, yeast activity can slow down considerably.
Consistency is Key for Yeast
Yeast thrives on consistency. Your kitchen counter might have cold spots or warm spots. You might even have a draft that cools your dough too quickly. The proof setting eliminates these variables. It maintains a steady temperature throughout the oven cavity. This ensures your yeast works efficiently and at a predictable pace. Many bakers find this leads to a more reliable rise every time.
Speeding Up the Dough Rising Process
Let’s be honest, waiting for dough to rise can take a while. Sometimes it’s an hour, sometimes it’s two, and sometimes it feels like forever. The proof setting can often cut down rising time. By providing that optimal warmth, it encourages yeast to get to work faster. We found that using the proof setting can reduce rising time by up to 50% in some recipes. This is great when you’re short on time or have unexpected guests arriving soon.
Improving Dough Texture and Flavor
A slower rise on the counter can develop more complex flavors. However, a properly controlled proofing environment can also contribute to great texture. The consistent warmth ensures even gas production within the dough. This even distribution results in a lighter crumb and a more uniform texture in your finished bread. Some research suggests that controlled fermentation environments can also influence flavor development (NCBI).
How to Use the Proof Setting Effectively
Using your oven’s proof setting is generally straightforward. Most modern ovens have this feature clearly marked. However, there are a few best practices to keep in mind for the best results.
Preheating and Preparation
Do you need to preheat your oven for the proof setting? Generally, no. The proof setting is designed to operate at a low temperature. It typically doesn’t require preheating. However, some ovens might need to be turned on for a minute or two to reach their lowest temperature setting. Always consult your oven’s manual for specific instructions.
Before placing your dough inside, make sure your oven is clean. You don’t want any stray crumbs to burn at this low temperature. Also, ensure there’s no residual heat from a previous baking cycle. The proofing environment should be gentle, not hot. You can place your dough in a bowl or directly on a baking sheet. Just make sure it fits comfortably without touching the oven walls.
Placing Your Dough in the Oven
Once your dough is ready for proofing, it’s time to move it to its cozy spot. Place your covered bowl or dough on the center rack. This provides the most even heat distribution. Avoid opening the oven door frequently. Every time you open the door, you lose warmth and humidity, which can disrupt the proofing process. Try to peek through the oven window if you can.
Monitoring the Rise
How do you know when your dough is ready? This is where visual cues come in. Your dough should look noticeably larger, almost double in size. It should also feel light and airy when you gently poke it. If you poke it and the indentation springs back slowly, it’s likely ready. If it springs back immediately, it needs more time. If it doesn’t spring back at all, it might have over-proofed (a little rare on proof setting, but possible).
The exact time will vary depending on your recipe, the type of yeast, and the ambient temperature outside the oven. We found that checking your dough visually is more important than relying solely on a timer. Your recipe might suggest a time, but always trust your dough.
What If My Oven Doesn’t Have a Dedicated Proof Setting?
Don’t despair if your oven lacks a specific “Proof” button! You can still create a similar environment. Many home cooks have been doing this for years with great success. It just requires a bit more attention.
Using the Oven Light Method
One popular method is to simply turn on your oven’s interior light. The heat generated by the light bulb is often enough to create a warm environment. Place your dough inside with the oven door closed. The light bulb will provide a gentle, consistent warmth. This is a very low-heat method and works well for many recipes. Many baking blogs recommend this technique (Cook’s Illustrated).
The “Lowest Temperature” Trick
Another option is to set your oven to its absolute lowest temperature. This is often around 150°F to 170°F (65°C to 77°C). Then, you’ll need to be extra vigilant. Open the oven door every 10-15 minutes to let out excess heat. You can also prop the door open slightly with a wooden spoon. This allows just enough heat to escape to prevent the dough from baking. This method requires more monitoring, so set a timer to remind yourself to check it.
The “Boiling Water” Technique
For a humid and warm environment, you can try the boiling water method. Place a pan of boiling water on the lowest rack of your oven. Then, place your dough on the rack above it. Close the oven door. The steam from the water will create humidity, and the residual heat from the oven (even if it’s off) will provide warmth. This is a good option for recipes that benefit from extra moisture during proofing.
Common Questions About Using the Proof Setting
Let’s address some common queries you might have about this handy feature. Understanding these can help you avoid potential pitfalls.
Can I Bake in My Oven While Proofing Dough?
No, you cannot bake your bread or pastries while using the proof setting. The proof setting is a low-temperature mode designed solely for rising dough. Baking requires much higher temperatures. Attempting to bake with the proof setting engaged will not cook your food and could potentially damage your oven or dough.
Is the Proof Setting the Same as a Dehydrator Setting?
No, these are different functions. A dehydrator setting uses a low temperature along with a fan to remove moisture. It’s for drying foods like fruits or jerky. The proof setting is purely about providing gentle warmth to encourage yeast activity. It doesn’t typically involve the fan or aim to remove moisture; in fact, some humidity is often beneficial.
What Types of Dough Benefit Most?
Almost any yeast-leavened dough can benefit. This includes bread doughs (white, whole wheat, sourdough), pizza dough, cinnamon rolls, dinner rolls, and even some pastry doughs. If a recipe calls for a rise or proofing, your oven’s proof setting can likely help.
Here’s a quick checklist for successful proofing:
- Ensure your dough is covered.
- Place dough on the center oven rack.
- Avoid opening the oven door too often.
- Check dough visually for doubling in size.
- Monitor for the “poke test” for readiness.
- Clean your oven before proofing.
Conclusion
You’ve now seen how your oven’s proof setting is a simple yet powerful tool for any home baker. It creates the ideal, gentle warmth your dough needs to rise beautifully. We found it can drastically improve your bread’s texture and save you precious time. So, don’t let this feature go unused!
Next time you’re baking bread or rolls, try out the proof setting. Pay attention to how your dough looks and feels. You’ll be surprised at the difference a little consistent warmth can make. Happy baking!
Frequently Asked Questions
Can I use the proof setting for anything other than bread dough?
Yes, you can use the proof setting for other yeast-leavened items. This includes things like pizza dough, cinnamon rolls, and even some pastry doughs that require rising. If your recipe involves yeast, the proof setting is likely beneficial.
How long should I let my dough proof in the oven?
The proofing time will vary based on your recipe, the amount of yeast used, and your room temperature. We found it’s best to watch your dough, not the clock. Look for it to roughly double in size and feel airy when gently poked.
What’s the difference between proofing and resting dough?
Proofing specifically refers to the final rise of dough before baking, where yeast activity creates gas to make it expand. Resting dough usually happens earlier in the process, allowing gluten to relax after kneading, making it easier to shape.
Will the proof setting dry out my dough?
No, the proof setting is designed to be a warm and humid environment, not a drying one. It provides gentle heat that encourages yeast activity without removing moisture. Covering your dough will further help retain humidity.
Is it safe to leave dough to proof in the oven overnight?
Generally, it’s not recommended to leave dough in the oven overnight, even on the proof setting. Yeast can continue to ferment over long periods, potentially leading to over-proofing or flavor changes. Shorter proofing times, as recommended by your recipe, are usually best.
