
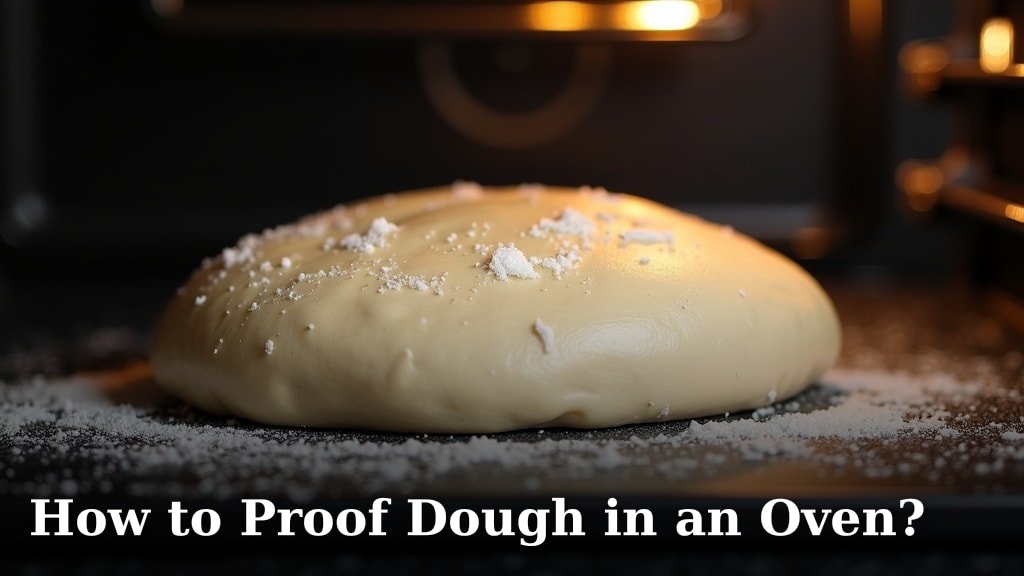
Yes, you can absolutely proof dough in an oven! It’s a fantastic method for providing a warm and draft-free environment for your dough to rise. This technique helps create the perfect conditions for yeast activity, leading to a lighter, airier loaf. It’s a reliable way to proof dough, even when your kitchen is chilly.
Many bakers turn to their ovens for proofing because it offers more control than leaving dough on the counter. You can ensure a consistent temperature and avoid pesky drafts that might shock your yeast. This method is especially helpful during colder months when ambient temperatures can hinder proofing. It’s a simple trick that can make a big difference in your baking results.
- Turn your oven on its lowest setting for a few minutes, then turn it off.
- Place your covered dough inside the now-warm, but not hot, oven.
- You can also add a pan of hot water to the oven to create steam.
- Let the dough rise until doubled in size, checking periodically.
Ready to give it a try? Below, we’ll walk you through the exact steps to proof your dough in the oven, along with some handy tips to ensure perfect results every time.
Proofing Your Dough in the Oven: A Simple Guide
Proofing dough in the oven is a brilliant technique. It provides the ideal warm and draft-free haven for your yeast to work its magic. This method ensures consistent conditions, which is especially helpful when your kitchen air is a bit too cool for happy yeast. We’ll walk you through how to make your oven a cozy spot for your dough to rise perfectly.
Why Use Your Oven for Dough Proofing?
Many bakers swear by using their oven for proofing. Why? Because it offers reliable temperature control. Unlike a cool kitchen counter or a drafty windowsill, your oven can maintain a steady warmth. This consistency is key for predictable dough rising. It’s like giving your dough a personal spa treatment, tailored just for it.
The Science Behind Warm Proofing
Yeast are living organisms. They thrive in warmth, but not too much heat. Yeast activity speeds up when temperatures are ideal. Research shows that yeast ferments best between 75°F and 85°F (24°C to 29°C). Too cold, and they slow down. Too hot, and they can die off. Your oven, when used correctly, can hit that sweet spot. This helps your dough develop its flavor and achieve a beautiful texture.
Common Proofing Pitfalls and How the Oven Helps
You might have experienced dough that just won’t rise. Often, this is due to cold temperatures or drafts. These can shock the yeast, halting their fermentation process. Cold air can even kill off some of the yeast cells. A drafty kitchen can feel like a chilly winter wind to your delicate dough. Using your oven creates a controlled environment, protecting your dough from these common problems.
Setting Up Your Oven for Perfect Proofing
Getting your oven ready is surprisingly simple. You don’t need any special equipment. The goal is to create a gentle warmth, not to cook your dough. We’ll cover the main methods, from using just the residual heat to adding a little extra steam.
Method 1: The “Pilot Light” or Residual Heat Method
This is the most common and straightforward way. You’ll use the heat your oven has already generated. First, turn your oven on its lowest setting. This is usually around 170°F to 200°F (77°C to 93°C). Let it heat up for just a few minutes. Then, turn the oven completely OFF.
Allow the oven to cool slightly. You want it to be warm to the touch, but not hot. A good test is to hold your hand inside for a few seconds. If it feels comfortably warm, it’s ready. You’re aiming for a temperature around 80°F to 90°F (27°C to 32°C). This gentle warmth is perfect for encouraging yeast growth without damaging it.
Method 2: The Oven Light Method
If your oven has a small incandescent light bulb, you can use that for gentle, consistent heat. Turn the oven light ON and leave the oven OFF. The small amount of heat emitted by the bulb can be enough to create a warm environment. This method is great for cooler climates or if your oven doesn’t hold residual heat well.
Keep the oven door closed. The heat from the bulb will slowly warm the interior. This is a more passive approach. It provides a steady, low-level warmth. Many bakers find this method provides a very stable proofing temperature.
Method 3: Adding Steam for Humidity
Sometimes, dough can dry out during proofing, forming a crust. Adding a pan of hot water to the oven can help prevent this. It creates a steamy environment. This keeps the dough surface moist and pliable. Many bread recipes benefit from this added humidity.
Here’s how to do it safely: After you’ve warmed your oven using Method 1 or 2, place a baking pan on a lower rack. Fill this pan with hot, but not boiling, water. You can use water from a kettle or tap. This creates a humid atmosphere inside the oven. Make sure the pan is stable and won’t tip over. The steam will help keep your dough from forming a skin.
Placing Your Dough for Proofing
Once your oven environment is ready, it’s time to introduce your dough. You’ll need to prepare your dough bowl first. Ensure your dough is in a bowl that has been lightly oiled or floured. Then, cover the bowl tightly. Plastic wrap, a damp kitchen towel, or a snug-fitting lid all work well.
This covering is essential. It prevents a dry skin from forming on your dough. A skin can restrict the dough’s expansion as it rises. It can also lead to a less desirable texture in your finished bread. A good cover traps moisture and allows your dough to breathe a little.
Into the Warm Oven It Goes!
Carefully place the covered bowl of dough onto the center rack of your prepared oven. If you’re using the steam method, ensure the pan of water is securely on the lower rack. Close the oven door gently. You don’t want to jolt the oven and disturb your dough.
How Long Should Dough Proof in the Oven?
Proofing time can vary. It depends on the recipe, the yeast activity, and the exact temperature of your oven. A general guideline is that dough will double in size. This usually takes between 1 to 2 hours. However, some doughs might proof faster or slower.
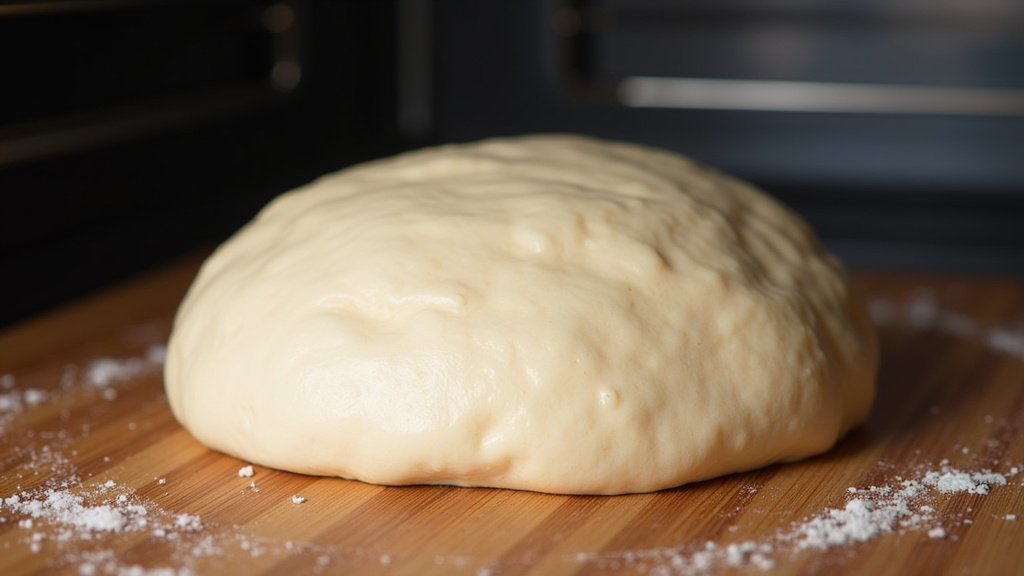
Your best bet is to watch the dough, not the clock. Look for visual cues. The dough should appear visibly puffed up. It should look about 1.5 to 2 times its original size. A gentle poke test can also help. If you lightly flour your finger and poke the dough, the indentation should spring back slowly. If it springs back immediately, it needs more time. If it collapses, it may have over-proofed.
Checking Your Dough’s Progress
It’s important to check on your dough periodically. Open the oven door quietly and carefully. You don’t want to let too much heat escape. Give your dough a gentle nudge to see how it feels. Is it getting close to doubling? Does it look airy and relaxed?
The Poke Test Explained
This is a baker’s secret weapon. Lightly dust your finger with flour. Gently press the side of the dough about half an inch deep. Observe how the indentation behaves.
- Perfect Proof: The indentation springs back slowly, leaving a small mark.
- Under-proofed: The indentation springs back almost completely. The dough needs more time.
- Over-proofed: The indentation stays completely, or the dough might even deflate.
If your dough is under-proofed, simply close the oven door and let it continue. If it looks like it’s over-proofed, you might need to bake it immediately. Don’t worry too much if this happens; it’s a learning curve!
What If My Oven Gets Too Hot?
This is a common concern, but it’s manageable. If your oven doesn’t have a reliable low setting or doesn’t cool down quickly after being turned off, you can use a thermometer. Place an oven thermometer inside while you’re warming it up. If your oven temperature is unreliable, you can use a thermometer to check it.
You can also open the oven door slightly to release excess heat. A wooden spoon can be useful here. Place a wooden spoon between the oven door and the frame to keep it ajar. This allows hot air to escape. This simple trick helps regulate the temperature and keeps it from getting too hot for your dough. You’re aiming for that gentle warmth, not a baking environment.
When to Take Dough Out of the Oven
You want to remove your dough just before you’re ready to bake it. Once it has reached the desired size and passed the poke test, it’s time. You can turn the oven back on to your desired baking temperature at this point.
If you used the steam method, carefully remove the pan of hot water before preheating the oven for baking. This prevents excess steam when you actually want a dry heat for crust development. Transfer your beautifully proofed dough to your baking surface, and get ready for a delicious bake!
Proofing Temperature Guidelines at a Glance
To help you visualize the ideal conditions, here’s a quick reference table. Remember, these are general guidelines. Your dough might respond slightly differently based on ingredients and environment.
| Proofing Stage | Ideal Temperature Range | What to Look For |
|---|---|---|
| Ideal Dough Proofing | 75°F – 85°F (24°C – 29°C) | Dough rises predictably, doubles in size, passes poke test. |
| Slightly Cooler (but acceptable) | 70°F – 74°F (21°C – 23°C) | Proofing will be slower, requiring more time. |
| Too Warm (Risk of over-proofing or killing yeast) | Above 90°F (32°C) | Dough rises very quickly, may collapse, can have off flavors. |
| Too Cold (Yeast activity slows dramatically) | Below 70°F (21°C) | Dough rises very slowly or not at all. |
Your Oven Proofing Checklist
Ready to try it yourself? Here’s a quick checklist to keep you on track:
- Confirm your oven can maintain a gentle, warm temperature.
- Turn oven on lowest setting for a few minutes, then turn OFF.
- Place covered dough inside the warm (not hot) oven.
- Consider adding a pan of hot water for steam if needed.
- Check dough periodically using the poke test.
- Remove dough when doubled and ready for baking.
Conclusion
You’ve learned how to transform your oven into the perfect proofing environment for your bread dough. By controlling the warmth and humidity, you can ensure your yeast works its magic, leading to a beautifully risen loaf every time. Remember, consistency is key, and your oven offers a reliable solution, especially when your kitchen feels a bit too cool. Take the guesswork out of proofing and bake with confidence!
Your next step is simple: grab your favorite dough recipe and give the oven proofing method a try. You’ll be amazed at the difference it makes in your homemade bread.
Frequently Asked Questions
Can I proof dough in a cold oven that’s turned off?
Yes, you can! A completely turned-off oven might still retain enough residual warmth from its last use to create a suitable proofing environment. If your oven is very cold, you can also use the oven light method described in the article to add a gentle heat source.
What if my oven doesn’t have a “lowest setting” or it’s too hot?
If your oven’s lowest setting is still too high, you can still use the residual heat method by just turning it on for a couple of minutes and then turning it completely off. To manage the temperature, you can prop the oven door open slightly with a wooden spoon to release excess heat.
How do I know if my dough is proofed enough in the oven?
The best way to check is using the “poke test.” Lightly flour your finger and gently press into the side of the dough. If the indentation springs back slowly, it’s ready. If it springs back immediately, it needs more time; if it stays completely, it might be over-proofed.
Is adding steam really necessary for proofing dough in the oven?
Adding steam is helpful but not always strictly necessary, especially for simpler doughs. It’s highly recommended if your dough seems prone to drying out or forming a crust during proofing, as it keeps the surface moist and pliable for better expansion.
Can I proof multiple doughs at once in the oven?
Yes, you can! As long as you have enough space for the dough bowls, your oven can accommodate multiple batches. Just ensure they aren’t too crowded, allowing each bowl enough room to expand as the dough rises.
