
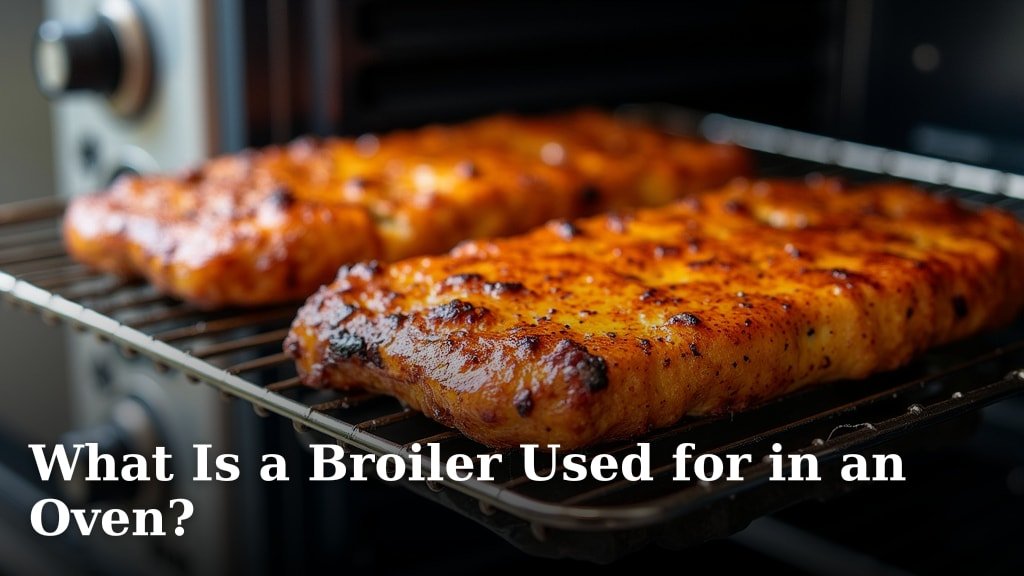
A broiler in an oven is essentially a heating element, usually located at the top of the oven cavity. Its primary job is to provide intense, direct heat from above, perfect for searing, browning, and cooking foods quickly. Think of it as your oven’s built-in, super-powered grill.
Many home cooks use the broiler setting for dishes like steaks, chicken, and vegetables. It’s a fantastic tool for achieving that desirable crispy, browned exterior that mimics grilling. We found that understanding its placement and heat intensity is key to using it effectively without burning your food.
- The broiler is a top heating element.
- It provides intense, direct heat.
- Great for browning and searing.
- Use it to finish dishes under the heat.
So, what exactly is this powerful heating element used for, and how can you best utilize it in your kitchen? Let’s break down the broiler’s role and how you can make it your new best friend for delicious meals. Let’s break down how you can best utilize it in your kitchen with our guide on how to use broil on an electric oven.
Understanding Your Oven’s Broiler Function
Your oven’s broiler is a really versatile cooking tool. It’s designed to give your food that beautiful, crispy, browned finish. Think of it as an upside-down grill inside your oven. We found that mastering the broiler can seriously upgrade your home cooking. It’s perfect for when you want that seared look fast. It gives food a wonderful char.
The broiler uses intense radiant heat. This heat comes from the heating element at the very top of your oven. It’s much hotter than a conventional oven. This is why it cooks and browns food so quickly. We recommend using it for just a few minutes at a time. This prevents your food from burning. It’s a skill that takes a little practice.
How the Broiler Differs from Baking or Roasting
Baking and roasting use heat from all around your food. The oven walls radiate heat. The heating elements, often at the bottom and back, provide consistent warmth. This cooks food gently and evenly. It’s great for cakes, breads, and larger roasts.
The broiler, on the other hand, is all about direct, intense heat from above. It’s not meant for cooking large items all the way through. It’s more for finishing, searing, or toasting. We found that understanding this difference is key. It helps you choose the right cooking method for your dish. You wouldn’t bake a cake under the broiler.
The Different Types of Broilers
Most ovens come with one of two types of broilers. The first is the standard oven broiler. This is the element at the top of your oven cavity. It’s usually a long, straight bar. It gets very hot.
The second type is the gas broiler. This is often found underneath the main oven compartment in gas ranges. It has a different heating mechanism. It typically uses a gas burner. While the heat source differs, its purpose is much the same: quick, intense heat. Many modern ovens have an electric broiler element at the top. We found that electric broilers tend to offer more consistent temperature control.
Key Uses for Your Oven’s Broiler
So, what exactly can you whip up with this powerful heat source? Its primary function is to add color and texture to food. It’s excellent for getting that perfect sear. Think of a beautifully browned steak. Or chicken skin that’s wonderfully crisp.
Searing Meats for a Perfect Crust
This is perhaps the most popular use for the broiler. You can get a fantastic sear on steaks, chops, and chicken pieces. Place your seasoned meat on a broiler-safe pan. Position it close to the heat source. We found that searing for just a few minutes per side creates a delicious crust. This locks in juices. It also adds a wonderful smoky flavor. Remember to watch it closely.
For thicker cuts of meat, you might want to sear them under the broiler. Then, finish cooking them in the main oven cavity at a lower temperature. This ensures the inside cooks through. The broiler provides the beautiful exterior. This method gives you the best of both worlds. Many chefs recommend this two-step approach.
Browning and Toasting Foods
The broiler is your best friend for making things golden brown. Do you want to toast bread or bagels? Pop them under the broiler for a minute or two. Watch them carefully; they can burn quickly.
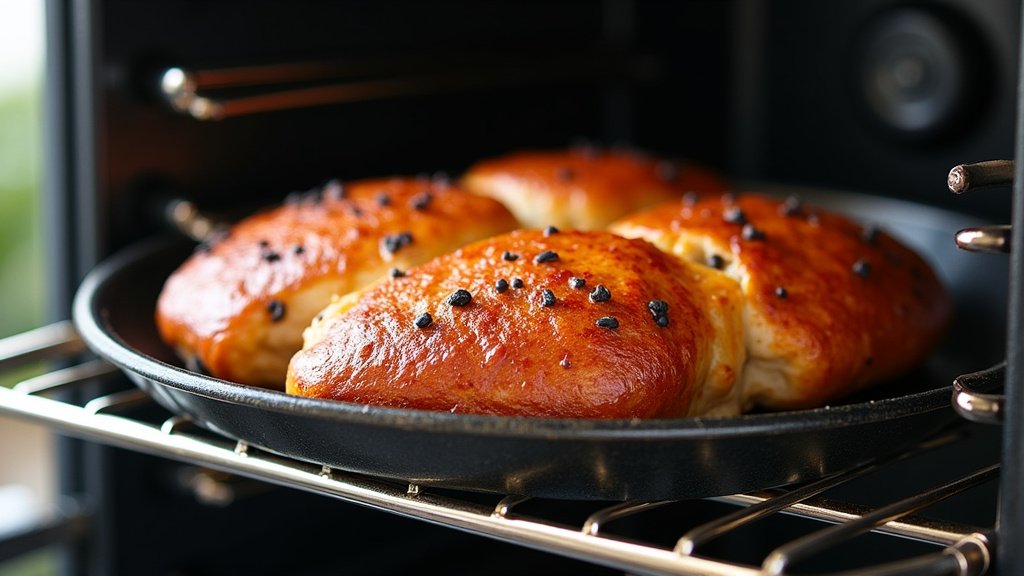
You can also use it to brown the tops of casseroles. Think about lasagna or mac and cheese. A few minutes under the broiler will give you that gooey, bubbly cheese topping. It’s a quick way to finish off many dishes. We found that this step really enhances the visual appeal. It also adds a delightful crispy texture.
Quickly Cooking Delicate Items
Certain foods cook very fast. They benefit from the broiler’s direct heat. Fish fillets, like salmon or tilapia, are perfect candidates. They can cook through in just a few minutes. This prevents them from drying out.
Shrimp and scallops also cook beautifully under the broiler. They develop a lovely slight char. This adds amazing flavor. We found that marinating them first can add even more taste. Just a few minutes is all it takes.
Melting Cheese and Glazing Foods
Want perfectly melted cheese on your dishes? The broiler is your secret weapon. It melts cheese quickly and evenly. Think about French onion soup. The cheese gets wonderfully bubbly and browned.
Broilers are also great for applying glazes. You can brush a glaze onto chicken wings or ribs. Then, place them under the broiler for a minute. This caramelizes the glaze. It creates a sticky, delicious coating. We found that a sticky glaze looks amazing and tastes even better.
Essential Broiler Safety and Best Practices
Using the broiler is simple, but safety is important. Because the heat is so intense, you need to be careful. We found that following a few guidelines will help you avoid accidents. And it will help you achieve perfect results every time.
Positioning Your Food Correctly
The distance between your food and the broiler element is crucial. Closer is hotter and faster. Further away is less intense. For searing meats, you might start closer. Then, you can move the rack further away.
For browning casseroles or melting cheese, you often want the rack in the middle. This allows the heat to melt and brown without burning the edges. We recommend consulting your oven manual. It often provides specific rack positions for broiling.
Using the Right Cookware
Not all cookware can handle the broiler’s intense heat. You need to use broiler-safe pans. These are typically made of heavy-duty metal. Stainless steel, cast iron, and some enamelware are good choices.
Avoid glass or ceramic dishes unless they are specifically marked as broiler-safe. These can crack under extreme heat. Always ensure handles are oven-safe too. We found that a good quality baking sheet with a rack insert is very useful.
Never Leave Food Unattended
This is the golden rule of broiling. Food can go from perfectly cooked to burnt in a matter of seconds. The intense heat requires your constant attention. We found that staying in the kitchen is essential. You need to watch the food closely.
Turn the food frequently. Check the browning. Adjust the rack position if needed. This vigilance is what separates a delicious meal from a smoky disaster.
Checking for Doneness
Because broiling is so fast, you need to know when your food is ready. For meats, use an instant-read meat thermometer. Insert it into the thickest part. This will give you an accurate temperature reading.
For vegetables, look for tenderness and browning. You can pierce them with a fork. For toast or melted cheese, you can visually check the color. We found that frequent checks prevent overcooking.
Cleaning Up After Broiling
Broiling can create grease splatters. These can sometimes bake onto the oven surfaces. It’s best to clean up spills as soon as the oven has cooled.
Many oven interiors have a self-cleaning function. However, it’s often better to do a spot clean after broiling. This prevents burnt-on residue from becoming a bigger problem. We found that cleaning the broiler pan promptly makes future use much easier.
Quick Broiler Tips Checklist
Ready to put your broiler to work? Keep these quick tips in mind:
- Always use broiler-safe cookware.
- Position your oven rack correctly for your dish.
- Stay in the kitchen and watch food closely.
- Turn food often for even browning.
- Use an instant-read thermometer for meats.
- Clean your broiler pan after use.
Conclusion
You’ve now learned that your oven’s broiler is a powerful tool for adding amazing flavor and texture to your meals. It’s your secret weapon for achieving that perfect sear on meats, a golden-brown finish on casseroles, and beautifully melted cheese. Remember that mastering the broiler comes down to understanding its intense heat and practicing safe usage, like keeping a close eye on your food. So, don’t be afraid to experiment! Your next delicious, restaurant-quality dish is just a few minutes under the broiler away. Go ahead and give it a try on your favorite recipe tonight!
Frequently Asked Questions
Can I use the broiler for everyday cooking?
The broiler is best for specific tasks like searing, browning, and finishing dishes quickly. For cooking larger items all the way through, you’ll want to use your oven’s regular baking or roasting functions. We’ve found it’s most effective as a finishing touch or for fast-cooking delicate foods.
What’s the difference between broiling and grilling?
While both use direct heat, a broiler uses a heating element inside your oven, whereas a grill uses an external heat source, typically charcoal or gas. The broiler provides intense, radiant heat from above. Grilling can offer heat from below or above, often with more smoky flavor.
Why does my food burn so quickly under the broiler?
Broilers produce very intense, direct heat. Food placed too close to the heating element can burn in seconds. We recommend starting with the oven rack in a middle position and adjusting as needed. Always stay in the kitchen and watch your food closely!
Can I broil raw meat directly?
Yes, you can broil raw meat, especially thinner cuts like steaks, chops, or chicken pieces. For thicker cuts, we often recommend searing them under the broiler first to get a nice crust, then finishing them in the main oven cavity at a lower temperature. This ensures the inside cooks through properly.
How do I clean my broiler pan?
Broiler pans can get messy with grease and food bits. It’s best to clean them as soon as they’ve cooled down. For stubborn residue, soak the pan in hot, soapy water and use a non-abrasive scrubbing pad. Some broiler pans are also dishwasher safe, but always check your oven’s manual.
