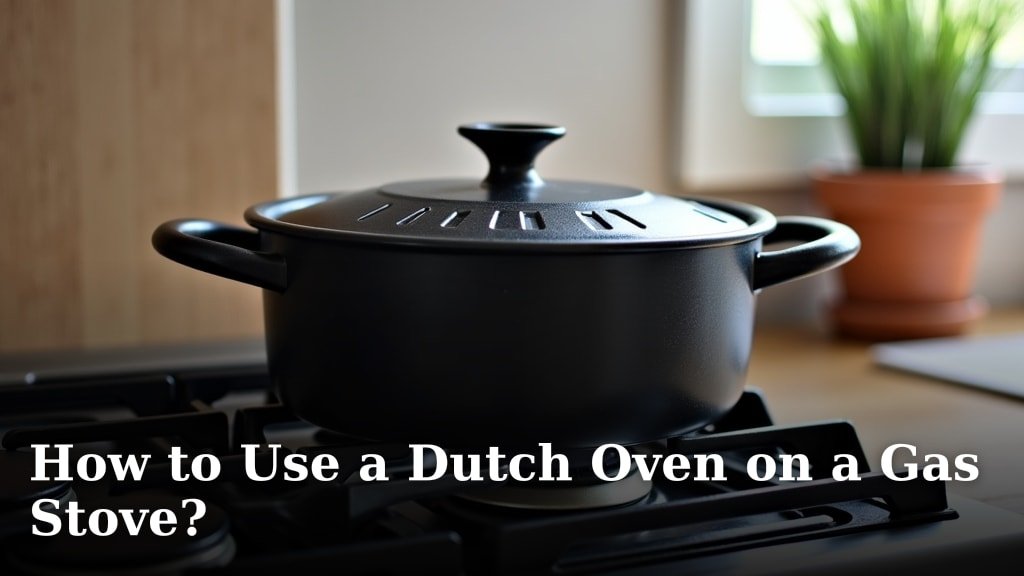
Yes, you can absolutely use a Dutch oven on a gas stove. These versatile pots are excellent for many cooking tasks. You just need to know a few simple tricks for best results. We found that cooking with a Dutch oven on gas is quite easy.
Many home cooks love their Dutch ovens. They are perfect for stews, soups, and even frying. Using one on a gas burner is common and effective. It’s all about managing your heat and cookware. We’ll show you how to do it right.
- Dutch ovens work great on gas stoves.
- Manage heat for even cooking.
- Preheating is key for non-stick results.
- Cleanup is simple with the right steps.
- Enjoy versatile cooking with your Dutch oven.
Ready to get cooking? Let’s walk through exactly how to use your Dutch oven on a gas stove, step by step.
Cooking with Your Dutch Oven on a Gas Stove
You can use your Dutch oven for many cooking methods on a gas stove. We’ll show you how to get the most out of it.
Choosing the Right Dutch Oven for Gas
Not all Dutch ovens are created equal, especially when it comes to gas burners. You’ll want one that can handle direct, often intense heat.
Material Matters: Cast Iron vs. Enameled Cast Iron
Most Dutch ovens are made from cast iron. This material is Understanding the best material for a Dutch oven can help you choose the right pot for your gas stove.excellent for heat retention and even cooking. There are two main types:
- Bare Cast Iron: This needs seasoning to be non-stick and prevent rust. It’s incredibly durable and can get very hot.
- Enameled Cast Iron: This has a glass-like coating. It’s easier to clean and doesn’t require seasoning. It’s also less reactive with acidic foods. We found most home cooks prefer enameled for its convenience.
Both types work well on gas. Enameled cast iron is often a bit more forgiving with temperature changes. It helps prevent food from sticking.
Size and Weight Considerations
Consider the size of your Dutch oven. A 5-quart or 6-quart is a popular choice for families. Larger pots can be heavy, especially when full. Ensure your gas stove grates can support the weight. You don’t want it to wobble.
Smaller Dutch ovens heat up faster. Larger ones might take longer to come to temperature. We found that a mid-size pot offers the best balance.
Setting Up Your Gas Burner for Success
Using a gas stove gives you precise control over heat. This is a big advantage with a Dutch oven.
Choosing the Right Burner
Most gas stoves have different size burners. For a Dutch oven, choose a burner that matches the pot’s bottom. A larger burner spreads heat more evenly across the wide base of your Dutch oven. Using a small burner for a large pot can create hot spots in the middle.
Heat Management: Low and Slow is Your Friend
Gas flames are very direct. This means heat transfers quickly to your pot. For most Dutch oven cooking, you want to cook low and slow. This allows the heavy cast iron to absorb and distribute heat evenly. It prevents burning on the bottom.
Start with medium-low heat. Let the pot warm up gradually. Then, adjust as needed. You can always turn the heat up. It’s harder to recover from scorched food.
Preheating Your Dutch Oven Properly
Preheating is one of the most important steps. It sets you up for successful cooking. Think of it like warming up a car engine before a long trip.
Why Preheating Matters
A well-preheated Dutch oven prevents food from sticking. It also ensures even cooking from the start. Cold spots can lead to unevenly cooked meals. We found this step makes a big difference in stew and braise quality.
How to Preheat on a Gas Stove
Place your empty Dutch oven on the chosen burner. Turn the heat to medium-low. Let it sit for 5-10 minutes. You might see a slight shimmer on the bottom if it’s enameled. Be careful not to overheat it, especially if dry. Overheating an empty enameled pot can damage the coating.
Add a little oil or liquid after it’s warm. This helps gauge the temperature. A drop of water should sizzle gently. That means it’s ready.
Cooking Techniques for Your Gas Stove
Now that your Dutch oven is hot, what can you make? The options are endless.
Browning Meats and Sautéing Vegetables
This is where your Dutch oven shines. Get the pot hot (medium heat). Add a tablespoon or two of oil. Brown your meat in batches. Don’t overcrowd the pot. Overcrowding lowers the temperature and steams the meat instead of browning it. Remove browned meat. Then, add your vegetables to the same pot. Sauté until tender.
The browned bits (fond) left in the pot add a lot of flavor. This is perfect for building a rich sauce later.
Simmering and Braising
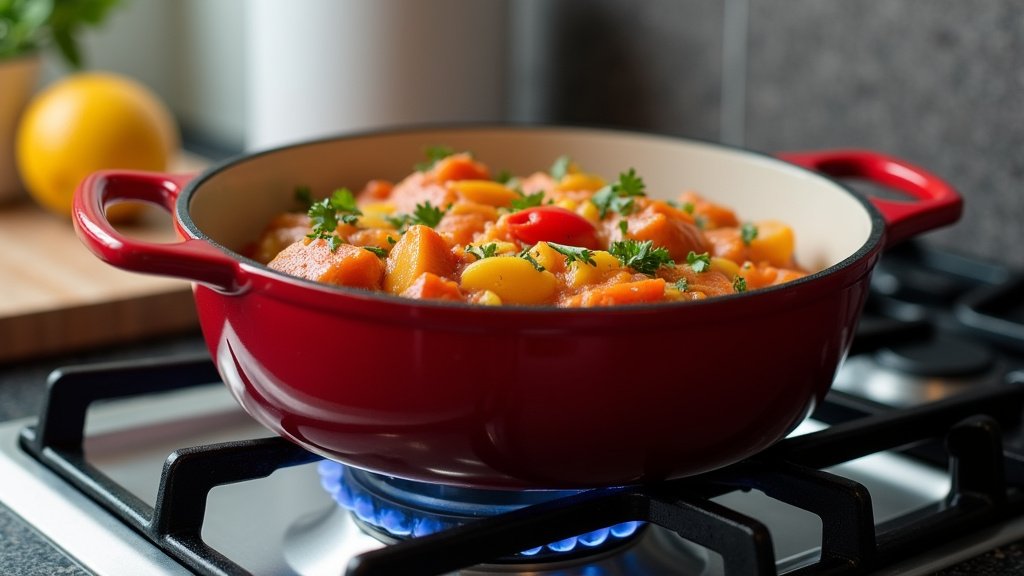
After browning, add your liquids and other ingredients. Bring everything to a gentle simmer. This is typically done on low heat. The heavy lid of the Dutch oven traps moisture. This creates a steamy environment. It’s ideal for tenderizing tough cuts of meat. Keep an eye on the simmer. You want small bubbles, not a rolling boil (NIH).
Deep Frying in a Dutch Oven
Yes, you can deep fry! The thick walls hold heat very well. This keeps the oil temperature stable. Fill the pot no more than halfway with oil. Heat slowly to the desired temperature. Use a thermometer. Fry in small batches. The even heat distribution helps food cook crisply and evenly.
Just be careful with hot oil. Always have a lid nearby to smother any potential fires. And never leave hot oil unattended.
Common Challenges and Solutions
You might run into a few issues. But don’t worry, they are easy to fix.
Food Sticking to the Bottom
This usually means one of two things: your pot wasn’t hot enough when you added food, or you didn’t use enough oil. Try preheating longer next time. Also, make sure you add a decent amount of fat for browning. For enameled Dutch ovens, avoid metal utensils that can scratch the surface.
Burning on the Bottom
Burning usually comes from too high heat. Gas stoves can be powerful. Turn the heat down. If you’re simmering, ensure it’s just a gentle bubble. A diffuser plate can help if your burner is too strong for low heat. Some cooks also swear by placing a heat-proof trivet between the burner and the pot for very delicate dishes (Cleveland Clinic).
Hot Spots and Uneven Cooking
This can happen if your burner is too small for the pot. Or if the flame is too concentrated. Try using a larger burner. You can also occasionally stir your food to help distribute heat. Rotating the pot every now and then can also help. We found that regular stirring is often enough to combat this.
Essential Care and Cleaning for Your Dutch Oven
Proper cleaning ensures your Dutch oven lasts for years. It’s not hard once you know how.
Immediate Cleanup is Best
Once cooking is done and the pot has cooled slightly, clean it. Don’t let food dry on. For enameled Dutch ovens, hot soapy water and a sponge work wonders. For bare cast iron, follow seasoning instructions. Avoid harsh detergents on bare cast iron. They strip the seasoning. If you have bare cast iron, learning how to season a cast iron Dutch oven for the first time is crucial for its longevity.
Dealing with Stubborn Stuck-On Food
If food is really stuck, fill the pot with water. Bring it to a simmer on the gas stove. Let it simmer for 10-15 minutes. This will loosen most stuck bits. Then, you can easily scrape them off with a wooden spoon or scraper. Never use metal scouring pads on enameled surfaces. They will scratch.
Drying and Storage
Always dry your Dutch oven completely. This is especially true for bare cast iron to prevent rust. You can even place it back on a low burner for a few minutes to ensure it’s bone dry. Store with the lid slightly ajar to allow air circulation. This prevents musty smells. Some people place a paper towel inside to absorb any moisture.
Your Dutch Oven Checklist for Gas Stove Cooking
Here’s a quick summary to keep you on track:
- Choose the right size and type of Dutch oven for your needs.
- Match the Dutch oven’s base to your gas burner size.
- Always preheat your pot slowly on medium-low heat.
- Use medium to medium-high heat for browning, then low for simmering.
- Monitor your heat closely; gas stoves offer excellent control.
- Clean your Dutch oven promptly and dry it thoroughly after each use.
You’re now ready to use your Dutch oven confidently on your gas stove. Enjoy cooking delicious meals!
Conclusion
Using your Dutch oven on a gas stove opens up a world of culinary possibilities. You’ve learned that controlling the heat, choosing the right burner, and proper preheating are your best friends. These simple steps ensure delicious results every time. Don’t forget that consistent cleaning and careful storage will keep your Dutch oven performing beautifully for decades.
Now you have all the knowledge you need. Go ahead and confidently create amazing meals, from hearty stews to crispy fried chicken, right on your gas stovetop. Happy cooking!
Frequently Asked Questions
Can I put a very hot Dutch oven directly into cold water?
No, you should avoid this. Extreme temperature changes can cause thermal shock. This might crack or warp your Dutch oven, especially enameled cast iron. Always let it cool down gradually before washing.
Is it okay to use metal utensils in an enameled Dutch oven on a gas stove?
It’s best to use wooden, silicone, or plastic utensils. Metal can scratch and damage the enamel coating. Scratches can lead to chipping over time, reducing its non-stick properties.
How do I prevent my Dutch oven from scratching my gas stove grates?
Dutch ovens are heavy. You can place a heat-resistant trivet or burner protector on your grates. This adds a layer of protection. Always lift, rather than slide, your pot when moving it on the stove.
Can I use a Dutch oven for baking sourdough bread on a gas stove?
While Dutch ovens are fantastic for baking bread in the oven, using them for baking on a gas stovetop is generally not recommended. A gas stove heats from the bottom. This will likely burn the bottom of your bread before the top is cooked through. For bread, stick to oven baking.
What if my gas flame licks up the sides of the Dutch oven?
If the flame extends beyond the bottom of the pot, it’s too high. This wastes gas and can scorch the sides of your food. It can also overheat the handles. Reduce the flame so it only heats the bottom of the Dutch oven for efficient and safe cooking.